If you’re looking for a relaxing introduction to quilting, wholecloth quilting is an excellent option. With wholecloth quilting, there’s no need to piece together numerous small blocks or stress about matching seams. Instead, you simply layer your fabric, batting, and backing, then let your stitching become the star of the show.
Many beginners are drawn to wholecloth quilting because it allows you to showcase large prints or solid fabrics, and it requires minimal cutting and sewing. This straightforward approach makes it easy to create a wholecloth quilt that is both beautiful and meaningful.
Fanda Fabrics provides soft, high-quality cotton quilting fabrics that are perfect for your wholecloth quilting projects, ensuring the process is both easy and enjoyable.
Key Takeaways
Wholecloth quilting uses one large fabric piece for the quilt top, letting your stitching create the design without piecing fabrics together.
Choosing high-quality cotton fabric makes quilting easier and helps your stitches stand out, with solid or subtle prints working best.
Preparing your fabric by washing, starching, and pressing ensures smooth cutting and accurate marking for a neat quilt.
Simple quilting techniques like kantha running stitches are perfect for beginners to build skills and enjoy the process.
Finishing your quilt with careful trimming, binding, and gentle washing keeps it looking beautiful and lasting for years.
Wholecloth Quilting Basics
What Is a Wholecloth Quilt?
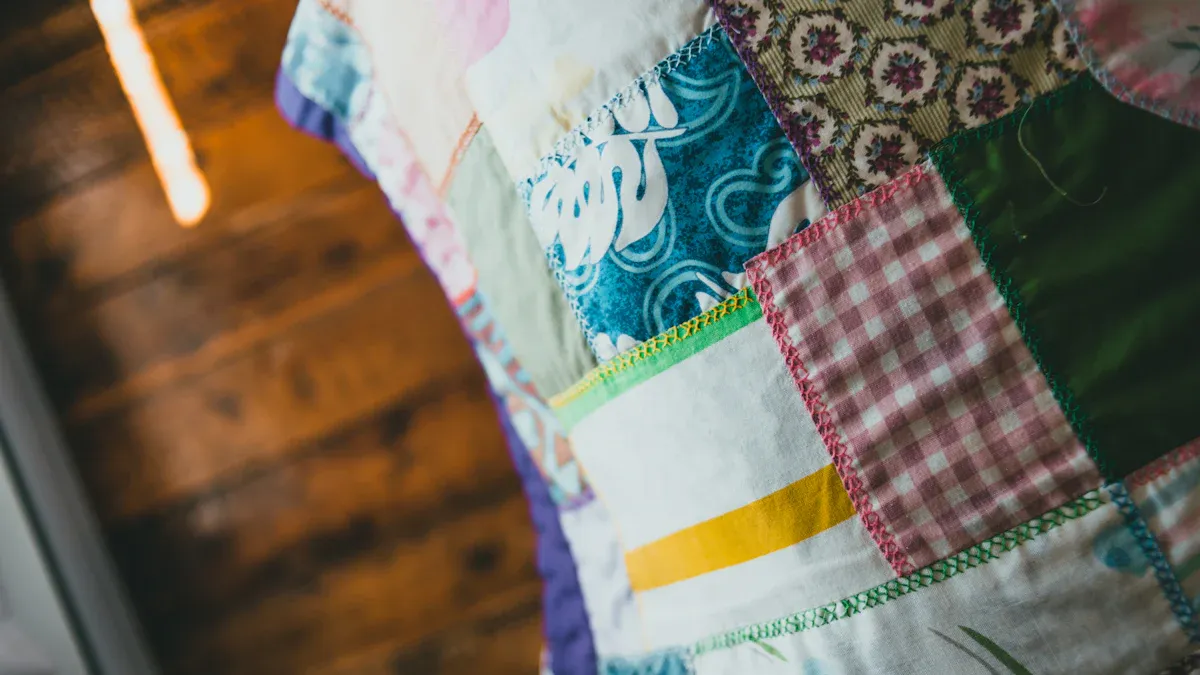
If you’re new to quilting, you might wonder what makes a wholecloth quilt different from other quilts. In wholecloth quilting, you use one large piece of fabric for the quilt top instead of sewing together many smaller pieces. You layer this fabric with batting and a backing, then use your quilting stitches to create beautiful patterns right on the fabric.
The design comes from your stitching, not from piecing together different fabrics. This style goes back to early American colonial times, when quilters used a single piece of fabric and held it together with fine needlework. The result is a quilt where the texture and stitching really stand out.
Wholecloth quilts have a rich history. Quilting itself dates back to ancient times, but wholecloth quilts became especially popular in the early 19th century. Some of the oldest surviving quilts, like the Tristan Quilt from 14th-century Sicily, show how this technique has been loved for centuries.
Early American wholecloth quilts often featured solid tops with intricate quilting, sometimes using extra stuffing to create raised designs. Today, you can find both traditional and modern wholecloth quilts, with options for hand or machine quilting.
Why Choose Wholecloth Quilts?
Wholecloth quilting is a great choice if you want a simple, stress-free start to quilting. You don’t have to worry about matching colors or cutting lots of pieces. You just pick a fabric you love and focus on your stitching.
This makes the process less overwhelming and lets you practice quilting techniques right away. Many beginners find that wholecloth quilts help them build confidence and skills without the extra steps of patchwork.
Here’s why you might love starting with a wholecloth quilt:
You only need to choose one fabric for the top, which makes shopping easy.
The main focus is on quilting patterns, so you get to try out different stitches and designs.
Pre-printed quilt tops are available, making it even easier to get started.
You can finish your project faster since there’s less cutting and piecing.
If you want to make your first wholecloth quilt, high-quality cotton fabric makes a big difference. Fanda Fabrics offers premium cotton quilting fabrics in a wide range of colors and patterns.
Their fabrics are soft, durable, and perfect for both classic and modern wholecloth quilting. You’ll find everything you need for your next tutorial or creative project.
Materials for Wholecloth Quilts
Essential Supplies
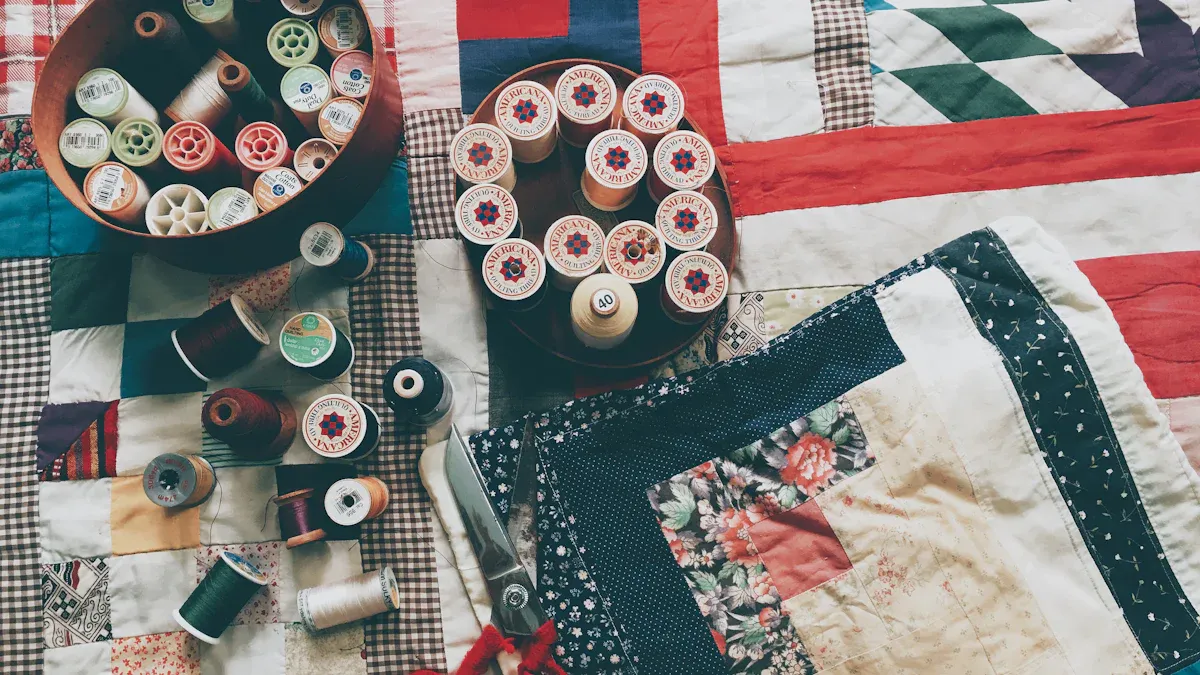
Before you start your wholecloth quilt, gather everything you need. Having the right tools makes your quilting experience smoother and more enjoyable. Here’s a handy checklist:
100% cotton quilting fabric for the quilt top and backing
Batting (cotton or cotton blend works well)
Quilting thread
Quilting needles (hand or machine, depending on your method)
Fabric scissors or rotary cutter
Quilting ruler and measuring tape
Fabric marking tools (washable pen or chalk)
Safety pins or basting spray
Iron and ironing board
Binding fabric
If you’re following a tutorial, these supplies will help you stay on track and avoid last-minute trips to the store.
Choosing Cotton Quilting Fabric
Picking the right fabric is key for a successful wholecloth project. Most quilters choose high-quality cotton because it’s durable, easy to sew, and comes in many colors and patterns.
Fanda Fabrics offers a wide range of cotton quilting fabrics, including their Quilting Collection, which is perfect for both classic and modern designs. You’ll find soft, smooth options that make your stitches stand out.
Tip: Solid colors or subtle prints work best for wholecloth quilts, especially if you want your quilting patterns to shine. Avoid shiny or coarse fabrics, as they can be tricky for beginners.
Here’s a quick look at common fabric types for wholecloth quilting:
Fabric Type | Advantages | Disadvantages |
|---|---|---|
Quilting Cotton | Durable, easy to sew, lots of choices | Limited texture options |
Lawn Cotton | Soft, smooth, lightweight | Can be delicate |
Woven Cotton | Strong, easy to care for | Can feel stiff |
Poly-Cotton Blend | Affordable, soft, easy care | Less durable, heat-sensitive |
Linen | Unique texture, rustic look | More expensive, fewer designs |
For most beginners, quilting cotton is the top pick. If you’re making baby quilts or following a tutorial, look for fabric that’s at least 44-45 inches wide. For a lap quilt, 1.5 yards each for the top and back works well. For baby quilts, 1 yard each is enough.
Using Quilting Fabric Bundles
Quilting fabric bundles are a game-changer, especially if you’re new to quilting. Fanda Fabrics’ bundles give you a variety of coordinated fabrics in pre-cut sizes, so you don’t have to worry about matching colors or cutting straight lines. This saves time and reduces stress, letting you jump right into your tutorial or creative project.
Pre-cut bundles are budget-friendly and help you sample different fabrics without buying large amounts.
They’re perfect for small projects like baby quilts or for practicing new techniques.
Many tutorials use pre-cuts, so you can follow along easily and confidently.
With the right materials from Fanda Fabrics, you’ll find that starting your first wholecloth quilt is simple and fun.
Preparing a Wholecloth Quilt
Getting your fabric ready is a big part of making a beautiful wholecloth quilt. If you take your time with these steps, you’ll set yourself up for success and avoid headaches later. Here’s a simple guide to walk you through the process.
Washing and Pressing
Before you even think about cutting or marking, you want your fabric to be clean, smooth, and stable. Pre-washing your cotton fabric helps prevent any surprises after your quilt is finished. Here’s a set of step-by-step instructions to get your fabric in perfect shape:
Wash your cotton quilting fabric in cold water. This helps prevent shrinkage after you finish your quilt.
Dry the fabric completely. Don’t leave it damp, or you might get wrinkles that are hard to remove.
Starch your fabric if you want it extra crisp. Starching makes it easier to mark designs and cut straight lines.
Iron the fabric until it’s smooth and wrinkle-free. Use steam for the best results.
Give your quilt sandwich (the top, batting, and backing) one last press before you start quilting. This keeps everything flat and secure.
Tip: Stiffened fabric is much easier to mark and cut. You’ll get cleaner lines and more accurate results, especially if you’re following a tutorial.
Cutting and Measuring
Accurate cutting and measuring make a huge difference in how your wholecloth quilt turns out. You don’t need fancy tools, but you do need the right ones. Here’s what works best:
Use a self-healing cutting mat. It gives you a firm, safe surface and keeps your rulers from slipping.
A rotary cutter (45 mm is great for beginners) lets you slice through fabric smoothly and quickly.
Clear acrylic rulers with bold markings help you measure and cut at the same time.
Starch your fabric before cutting. This keeps it stable and helps you get sharp, straight edges.
Always press your fabric before cutting. Wrinkles can throw off your measurements.
Square up your fabric by trimming the selvages and lining up the edges with your mat.
Measure twice, cut once. It’s a classic rule for a reason!
Hold your ruler firmly so it doesn’t slip while you cut.
Cut slowly and carefully, especially if you’re working with multiple layers.
If you’re following a tutorial, cut your fabric in strips first. This makes sub-cutting easier and reduces waste.
Note: Templates can help if you need to cut the same shape over and over. For most wholecloth quilts, though, you’ll just need to cut large rectangles or squares.
Avoiding Common Mistakes
Even experienced quilters run into trouble sometimes, but you can dodge the most common pitfalls with a little planning. Here are some things to watch out for when preparing a wholecloth quilt:
Don’t use slippery or stretchy fabrics like silk or low-quality cottons. Stick with high-quality 100% cotton or batik fabrics for the best results.
Never skip pre-washing and starching. If you don’t, your quilt might shrink or distort after the first wash.
Choose your batting carefully. Polyester batting works well for wholecloth quilts, especially if you’re using light-colored fabrics. It won’t shrink or leave lint behind.
Secure your fabric when marking designs. Use a lightbox or tape your fabric down so it doesn’t shift.
Always test your marking tools on a scrap piece of fabric. Some pens or pencils don’t wash out as promised.
Make sure your fabric is flat and smooth before you cut or mark. Any bumps or wrinkles can throw off your measurements and design.
Tip: Take your time with each step. Rushing can lead to mistakes that are hard to fix later. If you’re following a tutorial, double-check each instruction before moving on.
By following these steps, you’ll have a smooth, stable foundation for your wholecloth project. Careful preparation means your quilting stitches will look crisp, your design will stay true, and you’ll enjoy the process from start to finish.
Marking and Quilting

Marking the Design
Marking a quilt is the first creative step in your wholecloth journey. You have several options, so you can pick what feels easiest. Many beginners start with simple tools like a hera marker, painter’s tape, or even a sliver of soap. These marking devices help you draw straight lines or gentle curves right on your fabric.
If you want to transfer a more detailed pattern, try using a lightbox or tape your design to a sunny window and trace it onto your fabric. For light-colored fabrics, you can sometimes see the pattern underneath without extra tools. Some quilters use tissue paper or tracing paper with a tracing wheel for marking a quilt, especially if they want to avoid leaving marks on the fabric.
Always test your marking devices on a scrap first to make sure they wash out. Fanda Fabrics’ solid cottons and printed panels work beautifully for these methods, giving you a smooth surface for marking a quilt.
Quilting Techniques
Wholecloth quilting lets you focus on the stitches, not the piecing. The most beginner-friendly technique is kantha, which uses simple running stitches. You just sew straight or gently curved lines across your quilt. Kantha doesn’t require perfect stitches, so you can relax and enjoy the process.
If you want to try something different, free motion quilting or dense stippling can add texture, but these are best once you feel comfortable. For your first project, stick with kantha or straight-line quilting.
Use cotton batting and start quilting from the center out. This keeps your layers smooth and helps you avoid puckers. Many tutorials suggest marking only a few lines to keep things simple.
Stitching Tips
Getting even stitches takes practice, but you’ll improve quickly. Cut your thread to about 18-24 inches to prevent tangling. Use a quilter’s knot to start, then insert your needle about an inch from the starting point, catching just the top layer. Pull the thread gently and focus on making your running stitches as even as possible.
Kantha is forgiving, so don’t stress about perfection. Marking a quilt before you start can make the process less stressful. Remember, the goal is to enjoy quilting and watch your skills grow with each project.
Finishing Your Wholecloth Quilt
Trimming and Binding
You’ve finished your kantha stitches, and now your wholecloth quilt is almost ready to shine. Trimming and binding give your quilt that crisp, professional look. Here’s how you can do it:
First, lay your quilt flat and use a rotary cutter and quilting ruler to trim the edges. Make sure you leave a 1/4 inch seam allowance and square up the corners.
For binding, you have a few beginner-friendly options. Many quilters use double-fold binding made from 100% cotton. It’s durable and easy to handle, especially if you’re following a tutorial.
You can create your own binding strips by cutting fabric 2 to 2.5 inches wide, joining them with diagonal seams, and folding them lengthwise.
Attach the binding to the front of your quilt with a sewing machine, starting in the middle of one side. Leave a tail, sew to the corners, and fold the binding at a 45-degree angle for neat mitered corners.
Fold the binding over to the back and secure it with clips or pins. Finish by hand stitching for a polished look, or use big stitch binding with thicker thread for a hand-finished vibe that pairs well with kantha.
If you want a seamless finish, try folding the quilt backing over the edges as binding. This works especially well for wholecloth quilts with simple kantha lines.
Tip: Press your binding folds carefully for crisp, smooth edges. Take your time—this step makes a big difference!
Final Care
You want your wholecloth quilt to last for years, especially after all those kantha stitches. Here’s how to care for it:
Test for colorfastness before washing. Rub a damp white cloth on dark fabrics to check for dye transfer.
Use a gentle, fragrance-free detergent. Avoid bleach and harsh chemicals.
Wash sturdy cotton quilts in a front-loading machine on a delicate cycle with cold or lukewarm water. For delicate or heavily embellished kantha quilts, hand wash gently.
Air dry your quilt flat on a clean surface. Reshape it while damp and avoid hanging by the edges.
Limit washing by using a top sheet, spot cleaning stains, and airing out your quilt. Dust display quilts regularly.
Puckering sometimes happens, especially with kantha or wholecloth quilts. Don’t worry—some puckers add character. To prevent major issues, avoid stretching your fabric during basting and let the top layer lie naturally.
Share your finished wholecloth or kantha quilt with friends or on social media! Tag Fanda Fabrics and check out their quilting collection for your next tutorial or creative adventure. Every quilt you finish builds your skills and confidence.
Conclusion
Making your first wholecloth quilts feels rewarding, even if your stitches aren’t perfect. Many beginners love how these quilts let you skip tricky piecing and focus on learning new techniques. Using soft, high-quality cotton from Fanda Fabrics makes the process smoother and your finished quilt more durable.
Share your progress in online quilting groups or local guilds—you’ll find lots of support and inspiration. Keep quilting, keep learning, and enjoy every step of your creative journey!
FAQ
How do I pick the right fabric for my first wholecloth quilt?
Start with 100% cotton quilting fabric. It’s easy to sew, soft, and holds stitches well. Fanda Fabrics offers a wide range of colors and patterns, so you can find something that matches your style.
Can I quilt by hand, or do I need a sewing machine?
You can do both! Hand quilting gives a classic look and feels relaxing. Machine quilting works faster and gives neat results. Try both and see which one you enjoy more.
What size should I make my first wholecloth quilt?
A baby quilt or lap quilt is a great place to start. These sizes are easy to handle and finish quickly. You’ll need about 1 to 1.5 yards of fabric for each side.
How do I keep my quilt layers from shifting while quilting?
Use safety pins or basting spray to hold your layers together. Start quilting from the center and work outward. This helps keep everything smooth and prevents bunching.