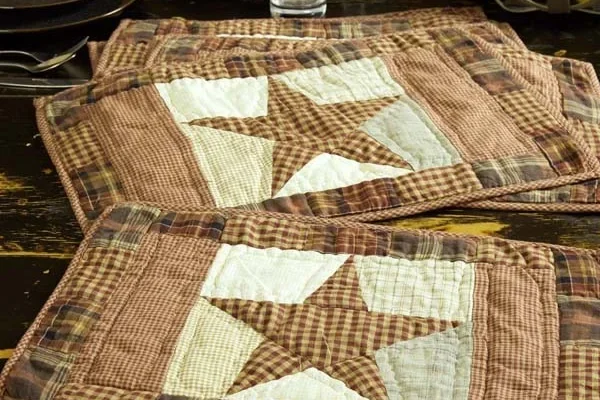
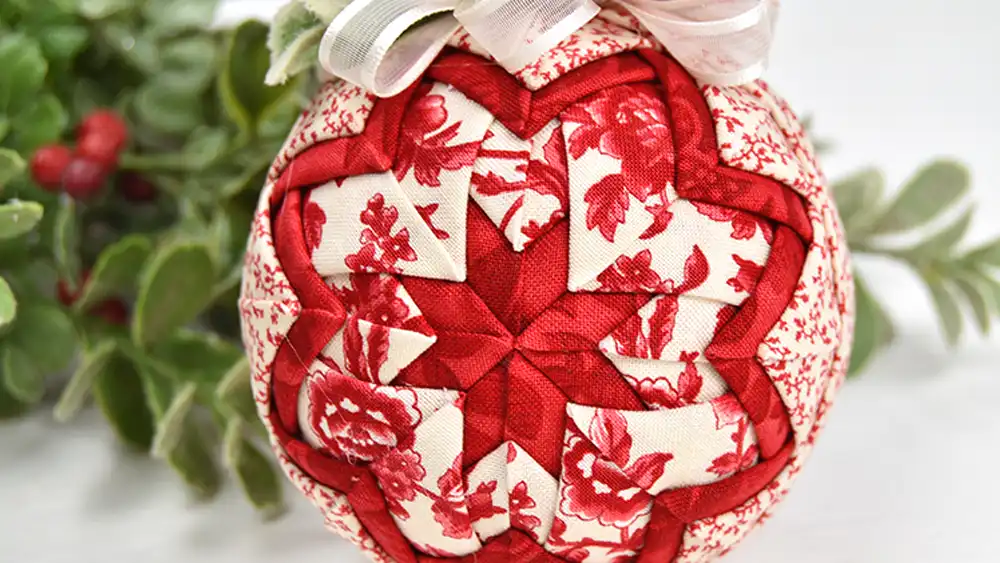
Quilted fabric is made by layering two or more fabrics with padding or batting in between, then stitching them together in beautiful patterns. This technique, which dates back centuries, has been gaining even more popularity in 2025.
Today, you can find quilted fabric everywhere, from cozy throws to chic jackets and stylish home décor. Whether you’re working with pre-quilted fabrics or creating your own, this versatile material adds texture, warmth, and structure to any project.
Whether you’re making a new wardrobe piece, a cozy home accessory, or a gift for someone special, understanding how to make quilted fabric can take your projects to the next level. Ready to start quilting? Keep reading to learn all the tips and techniques you need to get started today!
What Is Quilted Fabric?
Quilted fabric is made by layering two or more fabrics with padding or batting in between and stitching them together, often in decorative patterns. This process adds warmth, texture, and extra structure to your projects. Quilting is both an art and a technique, combining creativity with practicality to make beautiful, long-lasting pieces.
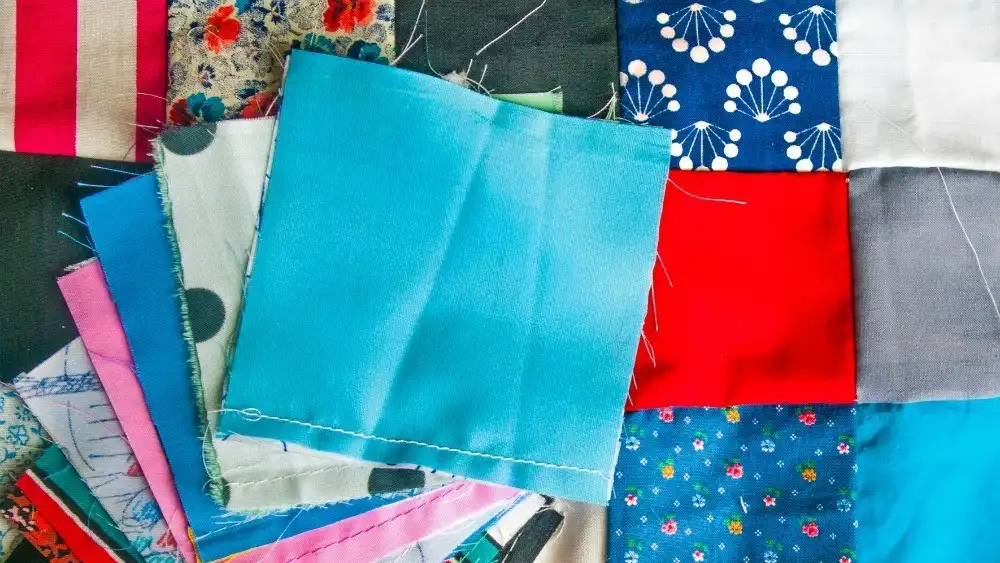
Key Materials for Quilted Fabric Projects
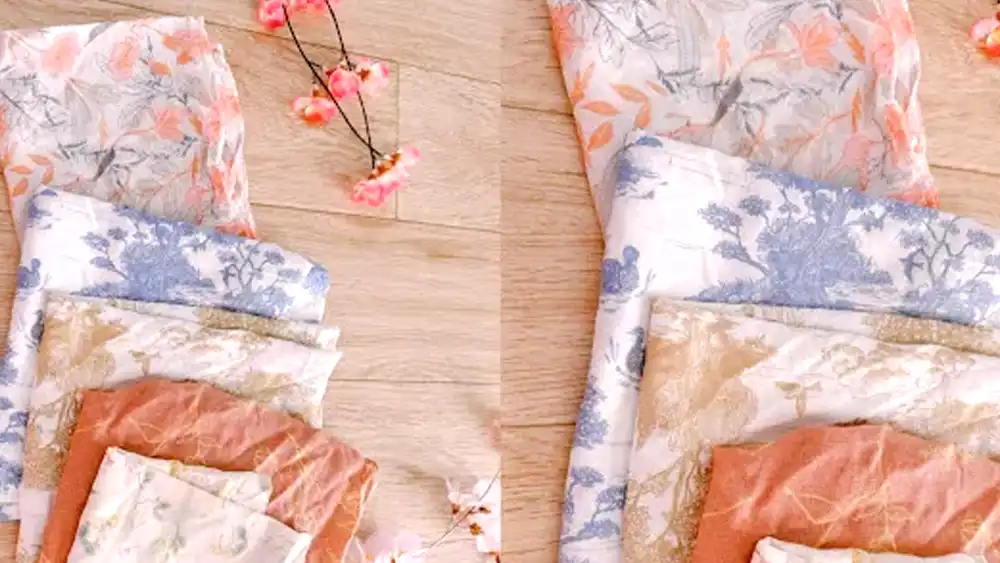
When you’re ready to dive into quilting, having the right materials on hand is key to making your project a success. Here’s a breakdown of the essential supplies you’ll need:
- Outer fabric
- Lining fabric (optional)
- Quilt batting
- Fabric marker or chalk
- Ruler
- Pins
- Thread
- Walking foot (optional)
Preparing Your Quilted Fabric Project
Pre-Washing Your Fabric
Pre-washing your fabric is a must in quilting. It helps prevent shrinkage and color bleeding down the road. Fabrics, especially cotton, can shrink after washing, so it’s best to do this upfront. Just toss your fabric in the washer with cold water and dry it as usual to prepare it for your project. This way, you’ll avoid any surprises once your quilt gets its first wash!
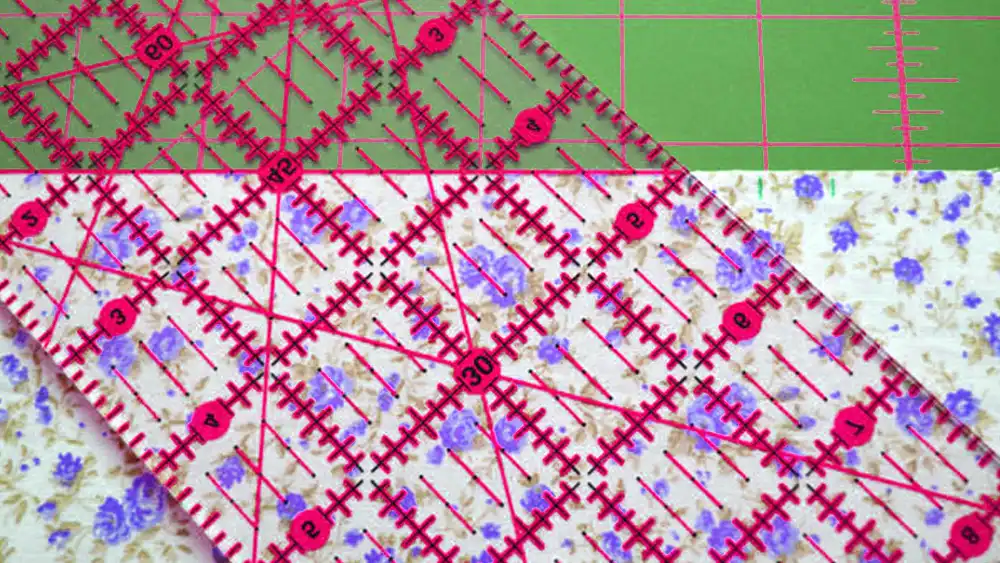
Cutting and Organizing Fabric Pieces
Cutting fabric accurately is key to a professional-looking quilt. Use a rotary cutter, ruler, and cutting mat to get those straight, even cuts. It’s always a good idea to measure twice before cutting—especially for smaller pieces.
And trust me, organizing your fabric before sewing will save you tons of time and frustration later! Keep everything in separate piles or small containers, and lay them out in the order you’ll be using them. This will make your quilt assembly a breeze.
Marking Sewing Lines
Marking your sewing lines keeps things precise and consistent. Use fabric markers or chalk to lightly draw your lines on the fabric—don’t worry, they wash out easily. Take your time to carefully transfer your quilting patterns, especially if you’re working with intricate designs. This ensures your stitches follow the right path, giving your quilt a neat and polished finish.
How to Make Quilted Fabric: Step-by-Step Guide
1. Creating the Fabric Sandwich
The first thing you’ll do is create your “fabric sandwich.” Layer your outer fabric, batting, and lining (if you’re using it). Be sure to smooth out any wrinkles or creases, especially in the batting, so everything stays flat. This is super important because your quilt needs to be even before you start sewing—it helps everything come together beautifully in the end.
2. Pinning the Layers Together
Use quilting pins or fabric clips to keep everything secure, but be careful not to shift the fabric as you pin. Space your pins out evenly to avoid any fabric slipping while you sew. This step keeps your layers aligned and gives your quilt that clean, professional finish you’re aiming for.
3. Using a Walking Foot
If you have a walking foot, now’s the time to install it on your machine. This tool helps move the fabric evenly through your sewing machine, which reduces the chance of fabric bunching or shifting. A walking foot works differently than a regular presser foot—it feeds the fabric from both the top and bottom, making quilting a smoother process.
4. Sewing the Quilt Lines
Sewing along the center lines to keep everything even. Then, work your way outwards, both vertically and horizontally, to complete your quilt design. Adjust the stitch length to fit your pattern—smaller stitches are perfect for intricate designs, while longer ones are better for larger spaces. Take your time and enjoy the process!
Common Mistakes to Avoid
As you quilt, watch out for things like puckering, uneven stitches, or fabric shifting. If something goes wrong, don’t panic—just pause and make adjustments. Using a walking foot helps a lot, but be sure to keep your fabric smooth and your pins in place. Also, check your stitch length and machine tension if needed to keep everything looking neat and professional.
Advanced Quilting Techniques
Free Motion Quilting
Free-motion quilting is a fantastic way to unleash your creativity! Unlike traditional quilting, where you follow straight lines, free-motion quilting lets you move the fabric in any direction, creating beautiful, intricate designs.
This technique is perfect for adding custom details like flowers, swirls, or any other fun patterns you imagine. To get smooth, consistent stitches, practice controlling the fabric with your hands while adjusting the stitch length and tension on your machine. It may take a little practice, but once you’ve got it down, you’ll be able to add stunning designs to your quilts!
Quilt-as-You-Go Method
The Quilt-as-You-Go method is a real time-saver, especially for smaller projects or pieced quilts. Instead of quilting the entire quilt top all at once, you quilt each section individually as you go along.
This makes it easier to handle smaller sections and lets you build your quilt from the back to the front. It’s great for quilts with lots of piecing, like placemats, table runners, or wall hangings, where you want to move quickly but still have that beautiful quilted effect without all the bulk.
Using Decorative Stitches
If you want to add extra texture or personality to your quilt, decorative stitches are an awesome choice! From zigzags to hearts and swirls, the options are endless.
You can use these stitches as borders, in-between quilting, or to highlight sections of your design. Not only do decorative stitches make your quilt stand out, but they also give it a more professional, artistic touch. So, get creative and try out different patterns to add flair to your projects.
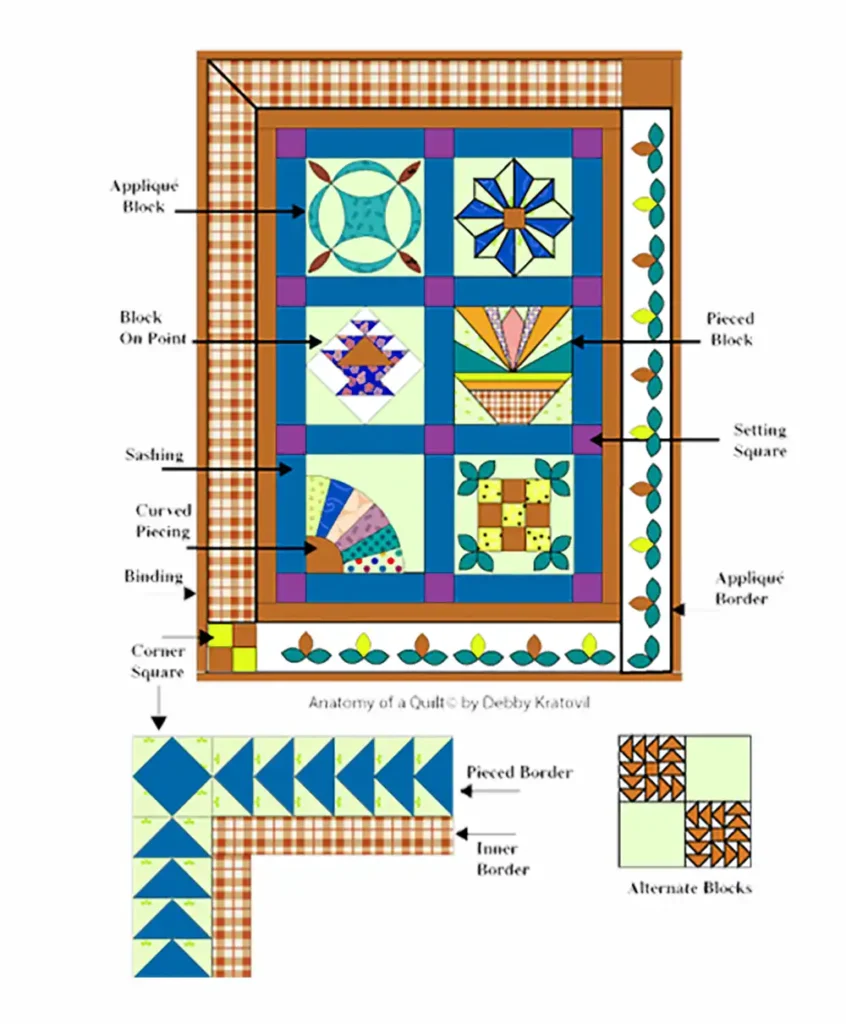
Creating Custom Patterns
Want to make your quilt completely one-of-a-kind? Designing custom patterns is easier than you might think! You can create your own quilting designs using software or templates. Once you have your design, simply transfer it onto your fabric using a lightbox or fabric marker. This gives you total control over the look of your quilt and lets you add your own personal touch to every project.
Finishing Your Quilted Fabric Projects
Trimming the Edges
Trimming the edges of your quilt is a crucial step in getting rid of excess fabric and batting that can cause bulk or make the edges uneven. This step ensures your quilt has clean, straight edges, and that the binding sits perfectly.
Grab a rotary cutter or sharp scissors to carefully trim the outer edges, making sure everything is aligned and smooth. It’s a simple step, but it makes a world of difference in how polished your quilt looks!
Binding Your Quilt
With your edges neat, it’s time to add the binding, which is what gives your quilt that finished, professional look. To make your binding, cut fabric strips (usually about 2.5 inches wide) and sew them together to form one long continuous strip.
To apply the binding, fold it over the quilt edges and either hand-sew or machine-sew it in place. Be sure to start at the corners and get those sharp, clean folds. It may take some patience, but once it’s done, you’ll love the sleek, polished finish it gives your quilt.
Adding Final Touches
Now here’s where you can get creative and make your quilt truly yours! Consider adding a personalized label to the back to mark it as your creation, or embroider your initials, a special date, or a little message. You can also incorporate appliqué or fabric patches to add some flair.
Want to bring in a bit more texture? Hand-stitched details or embellishments will give your quilt a unique touch that feels extra special. These personal touches not only add character to your quilt but make it even more meaningful to you or the person receiving it.
Troubleshooting Common Issues in Quilting
Troubleshooting Common Issues in Quilting
Even the most experienced quilters hit a few bumps along the way. But don’t stress—these common problems are easy to solve with the right know-how. Here’s how to tackle some of the most frequent quilting challenges:
Fabric Shifting During Quilting
It’s so frustrating when the fabric layers shift or get misaligned while you’re stitching. To avoid this, make sure you pin or clip your fabric layers securely before you begin sewing.
A walking foot is a lifesaver for keeping everything moving smoothly through the machine, especially when you’re working with multiple layers. And don’t forget: sewing slowly can make a big difference, especially when you’re dealing with thicker fabrics.
Uneven Quilting Stitches
Uneven stitches usually come from incorrect tension or an inconsistent stitch length. Start by adjusting your thread tension—if your stitches are too tight or loose, tweak the dial until they’re just right. Also, check your stitch length to make sure it matches the type of quilting you’re doing. Test on some scrap fabric to make sure everything is looking good before you dive into your project.
Dealing with Puckering
Puckering happens when your fabric bunches up or wrinkles unevenly while you’re quilting. This can be caused by pulling the fabric too tightly or using the wrong needle or thread.
To prevent it, keep the fabric smooth as you sew, and avoid tugging on it. If you end up with a pucker, just press it with a steam iron to smooth it out. For those tough puckers, you can always stitch over them with a longer stitch length to even things out.
Caring for Quilted Fabric
Taking care of your quilted fabric is important to keep it looking beautiful and lasting for years to come. Here are some simple tips for washing, drying, ironing, and storing your quilts to keep them in top shape:
Washing Quilted Projects
- Check fabric care labels before washing.
- Wash quilts on a gentle cycle in cold water to maintain softness, sheen, and durability.
- Avoid using harsh detergents or bleach to preserve the quilt’s vibrancy.
- Hand wash delicate quilts or use a quilt bag to protect them in the wash.
- After washing, give the quilt a gentle shake to redistribute the batting inside.
Drying and Ironing Tips
- Air dry quilts for the gentlest option and to preserve softness.
- If machine drying, use a low heat setting and remove the quilt while it’s still slightly damp to prevent shrinking.
- For ironing, use a steam iron to remove wrinkles but avoid pressing on quilted seams (it can flatten them).
- Iron from the back side or use a pressing cloth to protect the quilt’s texture.
Storing Quilted Fabric
- Store quilts in a cool, dry place when not in use.
- Avoid folding quilts too tightly to prevent creases and distortion.
- For long-term storage, use a breathable fabric bag or cotton storage bin to protect from dust and moisture.
- Store fabric pieces in a cool, dry place away from direct sunlight to prevent fading.
Conclusion
Starting your quilting journey is incredibly rewarding, no matter your experience level. Whether you’re creating something for your home, a special piece of clothing, or a heartfelt gift, there’s something magical about turning fabric into a beautiful, functional creation. The process may take time and practice, but the satisfaction of seeing your work come together is worth every stitch.
As you continue your quilting adventure, don’t forget to connect with the quilting community. Online quilting forums, workshops, and resources are a great way to learn new techniques and share ideas with fellow quilters. And if you’re ready to dive into your next project, be sure to check out the wide variety of quilting fabrics at F&A Fabric – your next masterpiece is just a fabric away!