Quilting is a beloved craft that allows individuals to express their creativity while creating functional and beautiful pieces. One essential step in the quilting process is pinning fabric, which ensures that the layers stay together during sewing.
In this guide, we will explore the step-by-step process of pinning fabric for quilting, along with tips and techniques to achieve professional results.
Define the Quilting Process
When we talk about defining the quilting process, we’re essentially breaking down what quilting entails and how it’s done. Quilting is a form of sewing that involves stitching together multiple layers of fabric to create a padded material. These layers typically include a top fabric, a layer of batting (which provides the quilt’s thickness and warmth), and a backing fabric.
The process of quilting can vary depending on the style and complexity of the quilt being created. Traditional quilting often involves sewing together smaller pieces of fabric to form a larger design, while modern quilting may incorporate improvisational techniques and non-traditional materials.
Importance of Properly Pinning Fabric

Properly pinning fabric is crucial for ensuring the success of a quilting project. When you’re quilting, you’re essentially sewing together multiple layers of fabric to create a cohesive and beautiful piece.
Here’s why proper pinning is so important:
- Alignment: Pinning helps keep all the layers of fabric aligned properly. This is essential for maintaining the integrity of your design and preventing any shifting or misalignment during the sewing process.
- Prevents Bunching: By pinning the layers together securely, you prevent them from bunching up or moving around as you sew. This ensures smooth and even stitches, resulting in a professional-looking finish.
- Accuracy: Proper pinning ensures that your fabric stays in place as you sew, allowing you to accurately follow your pattern or design. This is especially important for intricate or detailed quilting projects where precision is key.
- Ease of Sewing: When your fabric is securely pinned in place, it’s much easier to sew without worrying about fabric slipping or shifting under the needle. This makes the quilting process smoother and more enjoyable.
- Professional Results: Ultimately, proper pinning leads to professional results. Your finished quilt will look neat, tidy, and well-crafted, with all the layers securely held together.
Proper pinning is a foundational step in the quilting process. It may seem like a small detail, but it makes a big difference in the final outcome of your project.
Types of Pins for Fabric

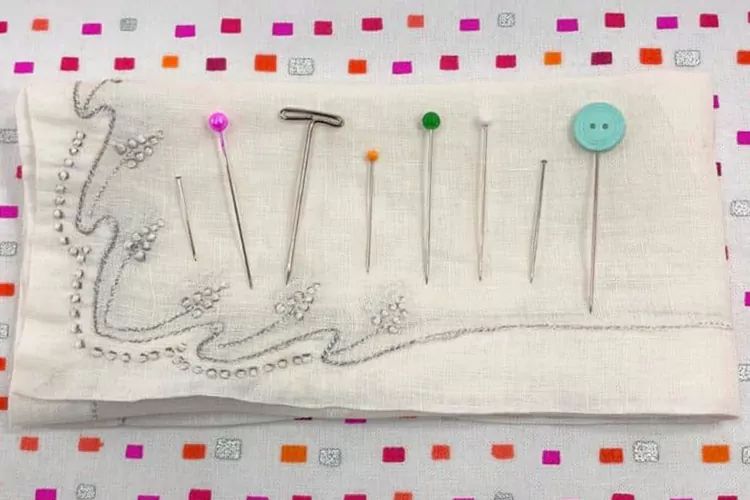
There are several types of pins available for quilting, each with its unique features and benefits.
Straight Pins
Straight pins are the most common type of pins used in quilting. They are thin, sharp, and come in various lengths.
Safety Pins
Safety pins are larger pins with a coiled spring mechanism that locks them in place. They are often used for basting quilts before the final quilting process.
Quilting Pins
Quilting pins are longer and thicker than standard straight pins, making them ideal for securing multiple layers of fabric.
How to Pin Fabric for Quilting

Pinning fabric for quilting is a fundamental step that ensures the layers stay together during the sewing process. Here’s a more detailed explanation of how to pin fabric for quilting:
Step 1: Layer Your Fabric
Begin by laying out your backing fabric with the wrong side facing up. Smooth out any wrinkles or creases to create an even surface. Next, place your batting on top of the backing fabric, ensuring that it is centered and smooth. Finally, lay your quilt top right side up on top of the batting, aligning the edges with the backing fabric.
Step 2: Pin Along the Edges
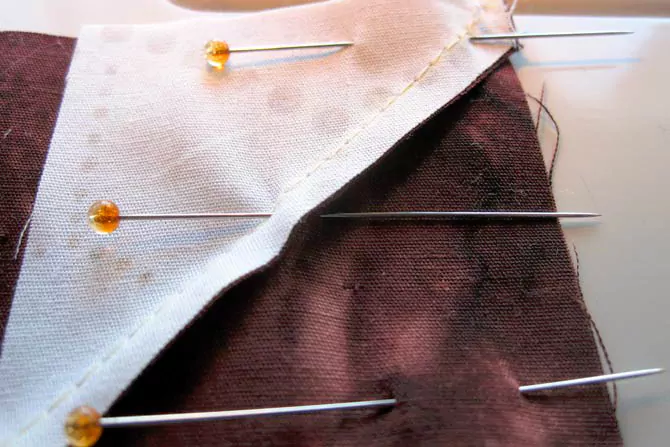
Starting from the center of your quilt, begin pinning along the edges to secure all layers together. Insert the pins perpendicular to the fabric, placing them approximately 3-4 inches apart. This ensures that the layers are held securely in place and prevents shifting during sewing.
Step 3: Pin Basting
Once the edges are pinned, continue pinning the layers together using a pin basting technique. This involves placing pins in a grid pattern across the entire quilt, ensuring that all areas are evenly secured. Be sure to smooth out the fabric as you go to prevent wrinkles or bubbles.
Step 4: Check for Smoothness
After pinning, carefully check the surface of your quilt for any wrinkles, bubbles, or uneven areas. Smooth out any imperfections to ensure that your quilt remains flat and uniform during the sewing process.
By following these steps and taking the time to properly pin your fabric, you’ll ensure that your quilting project progresses smoothly and results in a beautifully finished quilt. Proper pinning is essential for achieving professional-looking results and ensuring that your quilt withstands the test of time.
Methods to Pin Fabric

Here are some methods to secure fabric layers together when quilting:
Pinning: This method involves using straight pins to secure the layers of fabric together before sewing. Pins are inserted perpendicular to the fabric, holding the layers in place. Pinning is ideal for smaller quilting projects or when precision is required.
Basting: Basting involves temporarily stitching the layers of fabric together using large stitches or a long running stitch. Basting can be done by hand or with a sewing machine and provides a temporary hold while quilting. This method is often used for larger quilts or when working with delicate fabrics.
Spray Adhesive: Spray adhesive is a temporary bonding agent that can be used to hold fabric layers together without the need for pins or stitching. It is sprayed onto one side of the fabric and then pressed together with the other fabric layer. Spray adhesive is quick and easy to use but may leave residue on the fabric and may not be suitable for all quilting projects.
Fusible Interfacing: Fusible interfacing is a lightweight fabric with an adhesive backing that can be ironed onto fabric to secure layers together. It is commonly used in appliqué and other quilting techniques to hold fabric pieces in place before stitching. Fusible interfacing comes in various weights and can be permanent or temporary, depending on the type used.
Quilting Frames: Quilting frames are wooden or metal frames that hold the layers of fabric taut while quilting. They can be hand-held or set up on a table or floor. Quilting frames are ideal for larger quilting projects and provide a stable surface for stitching.
Each method has its advantages and may be preferred depending on the type of quilting project, the fabric being used, and personal preference. Experiment with different methods to find the one that works best for you and your quilting projects.
Tips for Successful Pinning
- Use High-Quality Pins: Invest in good-quality quilting pins that glide smoothly through fabric without snagging or bending. Look for sharp, thin pins that penetrate the layers easily.
- Avoid Pinning Over Bulky Seams: When pinning your fabric layers together, avoid placing pins directly over bulky seams or intersections. This helps prevent distortion and ensures that your quilt lays flat and smooth.
- Remove Pins as You Sew: As you sew your quilt layers together, remove the pins as you approach them with the sewing machine needle. This prevents accidents such as broken needles or damage to your machine.
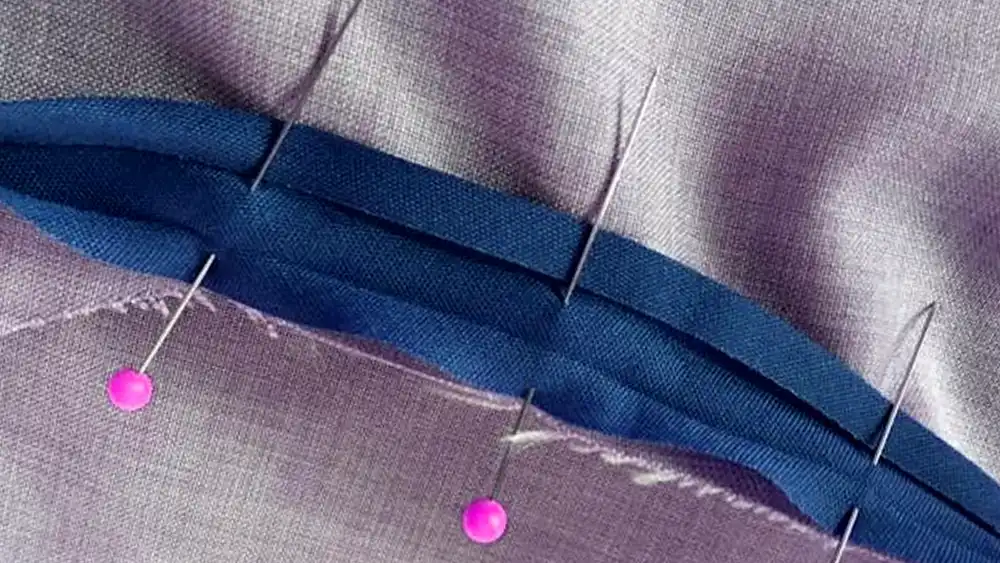
- Experiment with Pinning Techniques: There are various pinning techniques you can try to find what works best for your quilting project. For example, some quilters prefer to pin parallel to the seam, while others prefer pinning at an angle. Experiment with different methods to see what provides the best results for you.
- Pin in Sections: Instead of pinning the entire quilt at once, consider pinning in smaller sections. This allows you to focus on one area at a time and ensures that the layers stay aligned and smooth throughout the quilting process.
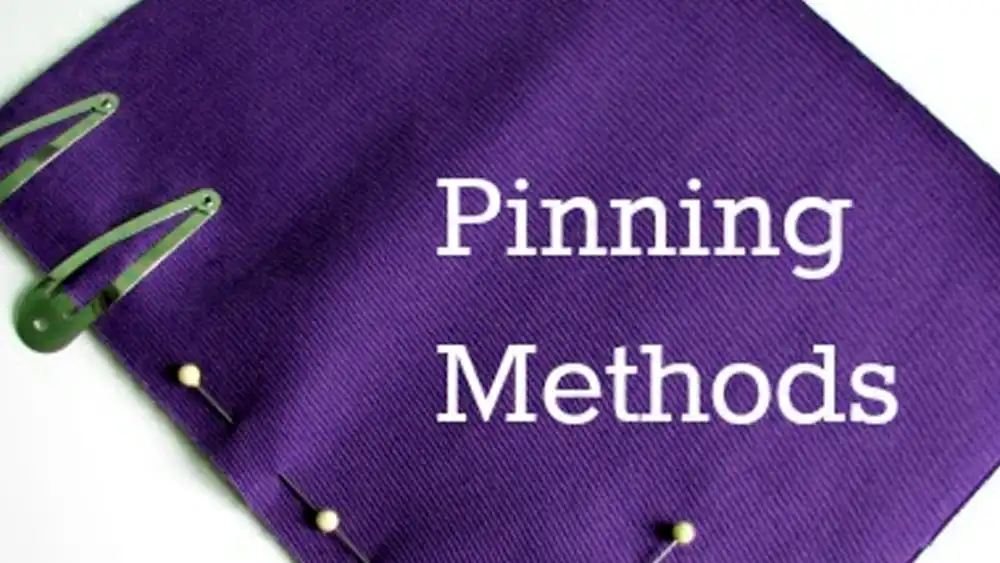
- Use Pinning Aids: If you struggle with pinning, consider using pinning aids such as clips or magnetic pin holders. These tools can help you keep your fabric layers together securely and make the pinning process easier and more efficient.
Conclusion
Pinning fabric is a crucial step in the quilting process that ensures accuracy, precision, and professional-looking results. By following the steps outlined in this guide and incorporating tips for successful pinning, you can achieve beautiful quilts that will be treasured for years to come.
Quilting is not just a craft; it’s an art form that allows individuals to express their creativity and create functional and beautiful pieces that will be cherished for generations to come.
