You don’t need to feel nervous about starting your first beginner quilting project. Creating your own placemats can be a fun and relaxing experience. If you prefer learning by watching, a video tutorial can walk you through each step.
Some people prefer to follow a photo tutorial or a detailed quilted placemat tutorial for additional guidance. You can do this, even if you’re a total beginner!
Key Takeaways
Making quilted placemats is a fun and relaxing project for beginners. You can learn through video or photo tutorials.
Gather essential materials like double-sided quilted fabric, a rotary cutter, and a sewing machine. Precut fabrics can save time and simplify the process.
Try beginner-friendly techniques like patchwork, quilt-as-you-go, or reversible placemats to create unique designs.
Follow a step-by-step guide for cutting, layering, sewing, and binding your placemats. Take your time to ensure neat edges and a polished finish.
Customize your placemats with different fabrics and patterns. Experimenting can make each meal special and showcase your creativity.
Quilted Placemat Tutorial
How to Make Quilted Place Mats?
Ready to dive into your first quilted placemat tutorial? You might feel a little unsure at first, but you’ll see how to make these in no time. The process is simple, and you can finish a set in just a few hours.
If you want to know how to make a placemat that looks great and lasts, you’re in the right place. This quilted placemat tutorial will walk you through each step, from picking your fabric to adding the final stitch.
You’ll learn how to make quilted placemats using easy methods. You don’t need fancy equipment or years of experience. All you need is a little patience and the right materials.
This quilted placemat tutorial will help you create something beautiful for your table. You’ll also discover how to make your placemats unique with fabric choices and simple techniques.
Materials and Tools
Before you start, gather your supplies. Here’s what you’ll need for this quilted placemat tutorial:
Fanda Fabrics Double-Sided Quilted Fabric (great for reversible placemats)
Fanda Fabrics Quilting Collection (choose from fun prints or classic solids)
Fanda Fabrics Solid Color Quilt Fabric (perfect for borders or backing)
Rotary cutter or sharp fabric scissors
Quilting ruler or measuring tape
Sewing machine (or needle and thread for hand sewing)
Pins or fabric clips
Iron and ironing board
Thread to match your fabric
Tip: If you’re a beginner, start with precut fabrics from the Quilting Collection. They save time and make measuring easy.
When you pick your fabric, think about the look you want. Double-sided quilted fabric gives you two designs in one, so you can flip your placemat for a new style. Solid colors work well if you want a simple, modern look. Prints from the Quilting Collection add a pop of color and personality.
This quilted placemat tutorial will show you how to make placemats that fit your taste and skill level. Just follow along, and you’ll have a set of quilted place mats to show off in no time!
Quilting Techniques
You have lots of options when you make quilted placemats. Let’s look at three beginner-friendly techniques that help you create beautiful results.
Patchwork Quilted Placemat

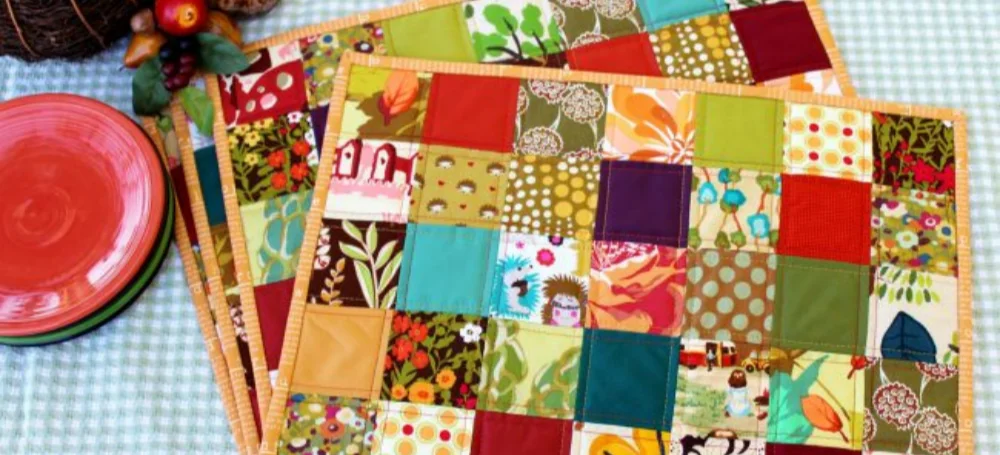
A patchwork quilted placemat is a classic choice. You sew together small pieces of fabric to make a colorful design. You can use squares, rectangles, or even triangles. Patchwork lets you mix prints and solids from Fanda Fabrics’ Quilting Collection.
Try using solid color quilt fabric for a bold border. You can lay out your patchwork pieces in rows or create a fun pattern. This method gives you a chance to play with color and texture. You’ll love how each patchwork quilted placemat looks unique.
Tip: Arrange your patchwork pieces before sewing. This helps you see the final look and make changes if you want.
Quilt-As-You-Go Method
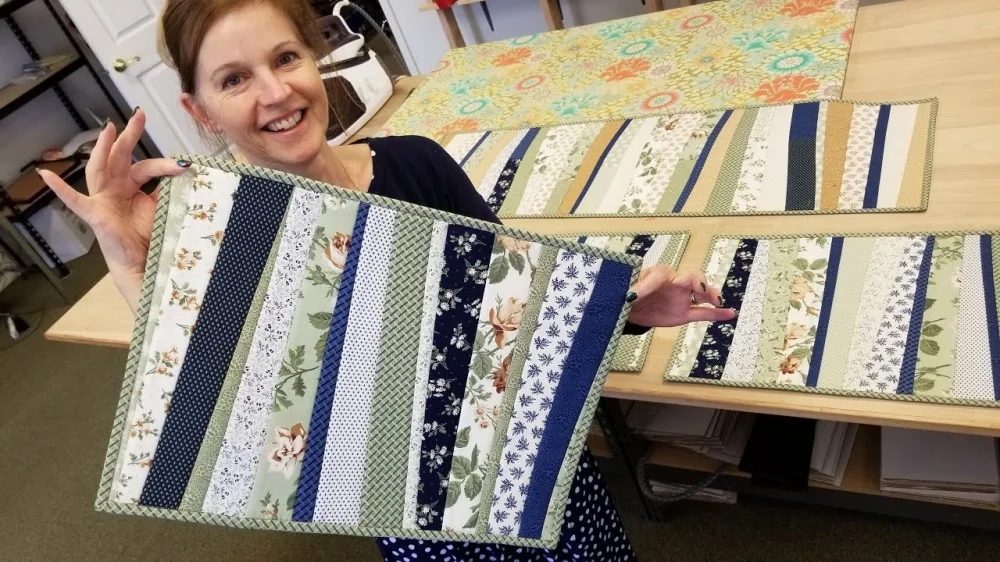
If you want a fast and simple way, try easy quilt-as-you-go place mats. With quilt as you go, you sew and quilt each piece at the same time. You don’t need to make a separate quilt top and then add batting and backing. This method saves time and works well for beginners.
You can use strips or blocks from Fanda Fabrics’ precut bundles. Easy quilt-as-you-go place mats let you finish one section before moving to the next. You get a neat finish and less bulk. Quilt as you go is perfect if you want to see quick results.
Reversible Quilted Placemat

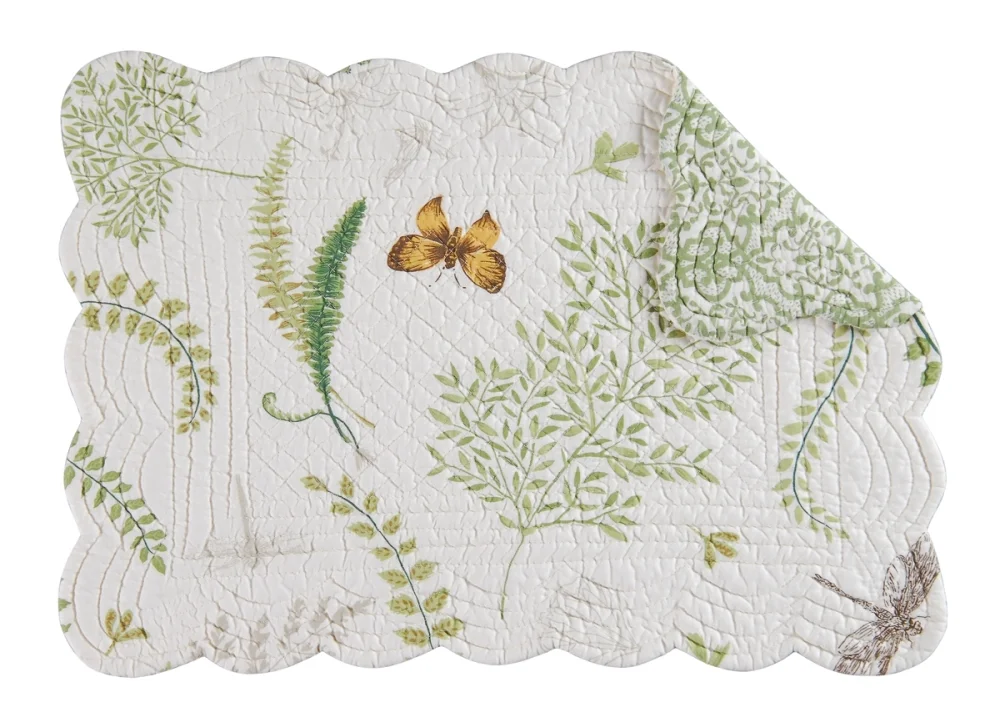
Want two looks in one? Make a reversible quilted placemat. Use Fanda Fabrics’ double-sided quilted fabric for this project. You get two patterns, so you can flip your placemat for a fresh style.
This technique is great for holidays or changing seasons. You don’t need extra backing fabric. Just cut, sew, and bind. Your reversible quilted placemat will look professional and last a long time.
Note: Double sided quilted fabric makes reversible projects easy and saves you time.
Step-by-Step Guide
Cutting and Preparation
Start by choosing your favorite fabrics from Fanda Fabrics. If you want a quick project, grab their double-sided quilted fabric. For a classic look, try mixing prints from the Quilting Collection with a solid color border.
Decide on the size of your placemat. A common size is 12″ x 18″, but you can adjust it to fit your table.
Use a rotary cutter and quilting ruler to measure and cut your fabric pieces. If you follow a placemat sewing pattern, double-check your measurements before cutting.
For a basic placemat, cut two pieces of cotton fabric and one piece of batting to the same size. If you use double-sided quilted fabric, you can skip the batting.
Press your fabric with an iron to remove any wrinkles. This helps you get crisp, clean edges.
Tip: Always cut your fabric on a flat surface. Sharp scissors or a rotary cutter make a big difference in getting straight lines.
Layering and Basting
Now you’ll put your layers together. This step keeps everything in place while you sew.
Lay your backing fabric right side down.
Place the batting on top (skip this if you use double-sided quilted fabric).
Add your top fabric right side up.
Smooth out any wrinkles. Pin or clip the layers together around the edges.
If you want to try an easy quilted placemat, use Fanda Fabrics’ double-sided quilted fabric. Just layer the two sides together and pin. No need for extra batting or backing.
Note: Basting spray can help hold layers together, but pins or clips work just fine for small projects like placemats.
Sewing and Quilting

Time to sew! This is where your placemat takes shape.
Start by quilting the layers together. You can sew straight lines, diagonal lines, or follow the instructions in your favorite pattern.
If you use the quilt-as-you-go method, sew each strip or block directly onto the batting and backing as you go.
For patchwork designs, sew your pieces together first, then layer and quilt.
Use a walking foot on your sewing machine for even stitches. If you sew by hand, use small, even stitches for a neat finish.
Troubleshooting: If your fabric bunches or shifts, check your pins and smooth the layers again. Slow down and guide the fabric gently through the machine.
Binding and Finishing
Binding gives your placemat a polished edge and helps it last longer.
Cut strips of fabric for the binding, about 2.5″ wide. Fanda Fabrics’ solid color quilt fabric works great for this.
Fold the binding in half lengthwise and press.
Line up the raw edge of the binding with the edge of your placemat. Sew it to the front, then fold it over to the back and stitch it down.
Miter the corners for a professional look. Take your time and use clips to hold the binding in place.
Tip: If you want a reversible placemat, make sure your binding looks neat on both sides. Hand-stitching the back can give you a clean finish.
Now you have a finished placemat! Wash and press it before using. Enjoy your handmade creation at every meal.
Customization and Tips
Creative Options
You can make your placemats stand out with a few creative touches. Fanda Fabrics gives you so many choices. Try mixing prints from the Quilting Collection with solid color quilt fabric for a bold look. You might want to use a festive pattern on one side and a classic color on the other. This way, you get two styles in one placemat.
If you like a modern vibe, stick with solid colors and add a pop of contrast for the binding. For a playful table, pick bright prints or even holiday themes. You can also add a personal touch by sewing on a fabric label, using decorative stitches, or adding a pocket for utensils.
Want to try something new? Make a set of different placemats for each person at your table. Use the same easy placemat pattern, but switch up the fabrics. This makes every meal feel special and lets everyone pick their favorite design.
Tip: Precut bundles from Fanda Fabrics save you time and help you match colors with ease.
Troubleshooting
Sometimes things don’t go as planned, but you can fix most issues with a few simple tricks.
If your fabric shifts while sewing, use more pins or clips to hold it steady.
Uneven edges? Trim them with a rotary cutter before adding the binding.
If your placemat looks wavy after quilting, press it with a warm iron and smooth it flat.
Struggling with corners on your binding? Fold them carefully and use clips to keep them sharp.
Remember, practice makes perfect. Each placemat you make helps you get better. Don’t worry about small mistakes—they add character and show your handmade touch.
You can always experiment with new fabrics and patterns from Fanda Fabrics. Every project is a chance to try something different and have fun with your creativity.
Conclusion
You did it! Take a moment to enjoy your new quilted placemats. Every project helps you grow your skills and boosts your confidence.
Want to try more? Check out Fanda Fabrics’ collections for your next quilting adventure or to find matching accessories. Quilting lets you express your creativity and have fun. Share your results with friends or try another beginner project. You’ve got this!
FAQ
How do I wash my quilted placemats?
You can toss your placemats in the washing machine on a gentle cycle. Use cold water and mild detergent. Lay them flat or hang them to dry. Press with an iron if you want a crisp look.
Can I make quilted placemats without a sewing machine?
Yes! You can sew placemats by hand. Use a simple running stitch or backstitch. It takes more time, but you get the same cozy results.
What size should I cut my placemats?
Most placemats measure about 12″ x 18″. You can make them bigger or smaller to fit your table. Just keep all your placemats the same size for a neat look.
Do I need special fabric for quilting?
You don’t need anything fancy. High-quality cotton from Fanda Fabrics works great. Precut bundles and double-sided quilted fabric make things even easier for beginners.
How do I keep my layers from shifting while sewing?
Pin or clip your layers together before you start sewing. Smooth out any wrinkles. If you want extra security, try a little basting spray.
