Hey there, fellow quilters! If you’re all about versatile, reversible fabrics, you’re going to love double-sided quilted fabric. It’s just what it sounds like: fabric quilted on both sides, giving you two beautiful, usable surfaces. This means you get double the design potential, perfect for everything from quilts to home décor and even clothing.
In this step-by-step guide, I’ll show you how to make your own double-sided quilted fabric. We’ll cover everything, from choosing the right materials to sewing it all together. If you’ve ever wondered how to get that polished, professional look on both sides of your fabric, this guide’s for you. Ready? Let’s dive in and create something amazing!
Essential Materials Needed
Are you ready to jump into making double-sided quilted fabric? Before you get started, let’s make sure you have all the right materials. This project is so much easier (and more fun!) when you’ve got the essentials in hand.
Fabric Choices
Types of Fabrics:
- Cotton: Crisp, easy to work with, and durable for both sides.
- Flannel: Cozy, perfect for colder months.
- Linen: Unique, textured look for a different aesthetic.
Choose the fabric based on your project’s feel and desired outcome.
Fabric Weight:
- Lighter fabrics (like cotton): Make quilts crisp and clean.
- Heavier fabrics (like flannel): Add warmth and softness.
Consider the feel you want—lightweight for a clean look or heavier for a substantial quilt.
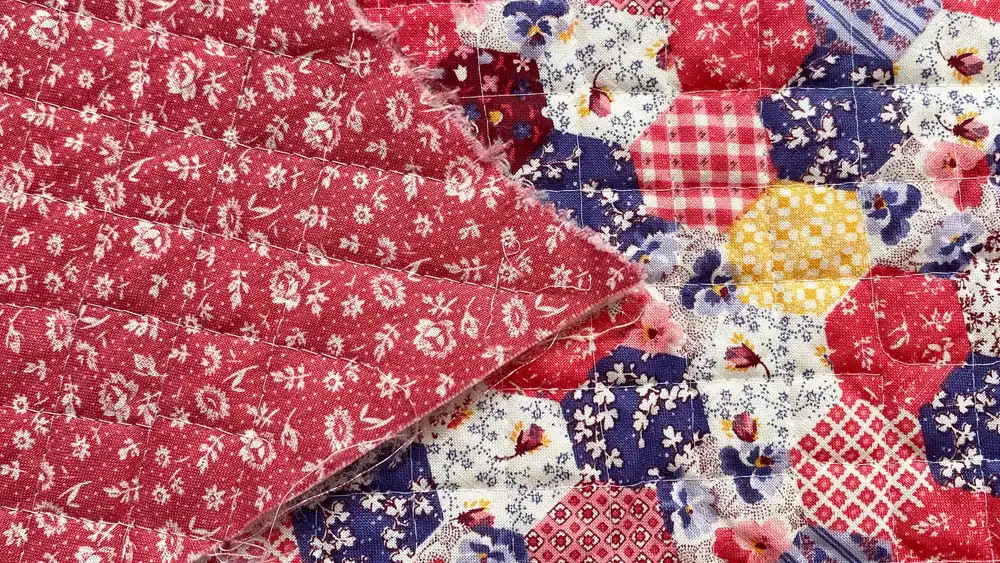
Patterns and Color Coordination:
Double-sided quilts allow you to get creative with both sides. Choose fabrics with complementary patterns and colors. You can go bold with contrasting prints or keep it subtle with coordinating shades. Make sure your designs work well together to create a harmonious, reversible effect!
Batting and Interfacing
Batting Types:
- Cotton batting: Soft and breathable.
- Polyester batting: Lighter with more loft.
- Wool batting: Adds warmth and a cozy texture.
Choose batting based on your desired feel—thicker for warmth, lighter for flexibility.
Batting Thickness:
- Too thick: Quilt may be bulky.
- Too thin: Lacks the structure you need.
- Ideal thickness: Medium thickness for double-sided quilts, offering substance without stiffness.
Using Interfacing: Interfacing is a great way to reinforce your fabric, especially for projects like tote bags or placemats. It helps the quilt hold its shape, providing durability and structure, especially if you’re using a fabric that might be more delicate or lightweight.
Quilting Thread and Tools
Thread Options:
- Cotton thread: Has a natural, soft finish.
- Polyester thread: Strong and durable.
Thread color:
- Cotton thread: Has a natural, soft finish.
- Polyester thread: Strong and durable.
- Thread color: Match your thread to your fabric for a seamless look or choose a contrasting color for a pop of style!
Sewing Tools:
- Sewing machine: Ensure you have a good sewing machine for smooth stitching.
- Rotary cutter: Essential for cutting fabric and batting cleanly.
- Quilting ruler: Helps ensure precise lines when cutting.
- Quilting pins: Keeps everything in place while you work.
- Fabric markers: Perfect for marking quilting lines to keep everything aligned.
How to Make Double Sided Quilted Fabric: Step-by-Step Guide
Step 1: Preparing the Fabric
Pre-washing and Ironing:
Pre-washing your fabric helps prevent shrinkage and keeps the colors intact after the first wash—especially with cotton fabrics.
Pressing your fabric removes any wrinkles, making cutting and sewing much easier. It’s all about smooth, even fabric to start your quilt on the right foot.
Cutting Fabric to Size:
Measure and cut your fabric pieces slightly larger than the final size of your project. This gives you extra fabric for shrinkage and adjustments.
A rotary cutter or fabric scissors will help you get the clean, straight cuts you need for accurate quilting.
Planning the Quilting Design:
Whether you choose simple or more intricate patterns, make sure the designs will look great on both sides of your quilted fabric.
Use a quilting bar for perfectly spaced lines, or draw guidelines on the fabric for a clean, precise design.
Step 2: Layering the Fabric and Batting
Layering the Fabric and Batting:
Lay your fabric layers in this order: bottom fabric (wrong side up), batting, and top fabric (right side up). Align them as evenly as possible.
Secure the layers with fabric pins or a basting spray to prevent shifting while quilting. This will keep everything in place as you stitch.
Aligning the Edges:
Double-check that your fabric edges are perfectly aligned. This will help avoid bunching or misalignment when quilting.
Keep the fabric flat and taut—not too tight, just enough to stay smooth and even throughout the process.
Step 3: Quilting the Layers Together
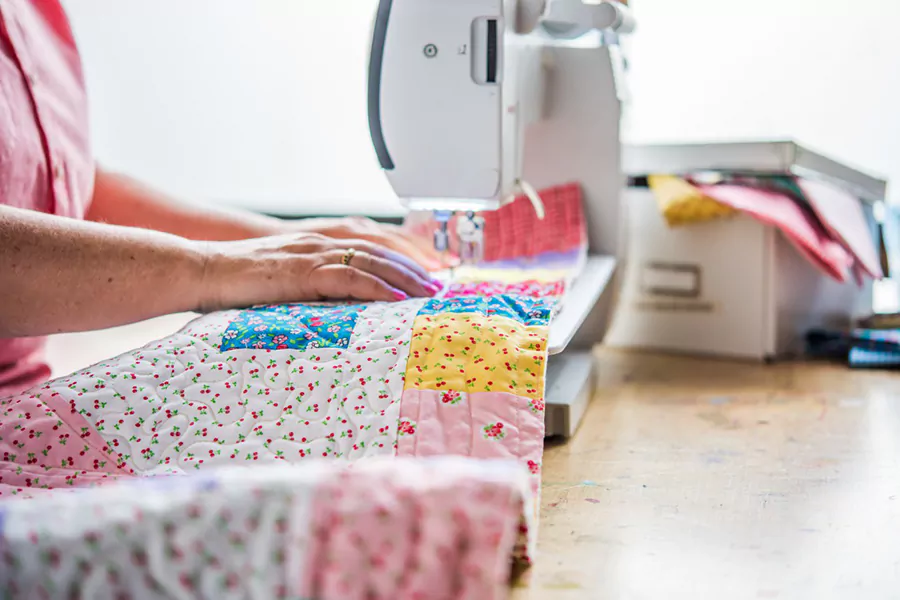
Machine Quilting vs. Hand Quilting:
Machine quilting is faster and gives a uniform look, which is great for beginners. If you want a more personal touch, hand quilting gives your project a unique, handcrafted feel.
Choose a pattern that suits your style—straight lines, crosshatch, or more intricate designs—all work well for double-sided fabric.
Quilting Techniques for Double-Sided Fabric:
Be sure the quilting pattern is consistent on both sides. You’ll want even stitches without visible seams or gaps on either side.
Use a walking foot to keep the fabric moving evenly through the machine. This is especially important with multiple layers!
Creating a Reversible Effect:
Choose quilting patterns that are visually appealing on both sides. Diagonal lines, geometric shapes, and simple grids all work wonders to make the fabric shine on either side.
Step 4: Binding and Finishing the Edges
Binding Techniques for Double-Sided Quilted Fabric:
For a polished finish, use double-fold binding. It will give your quilt a clean edge on both sides, adding a professional touch.
Hand vs. Machine Binding:
Hand stitching the binding gives a traditional, handmade look, while machine stitching is faster and more efficient. When mitering the corners, be sure the fabric is neatly aligned, creating sharp, tidy edges.
Trimming Excess Fabric:
Trim any excess fabric around the edges for a neat, professional finish. Don’t forget to leave a small margin to prevent fraying.
Step 5: Final Touches and Care
Squaring and Pressing the Finished Quilt:
Once your quilt is finished, square off the edges and give it a good press. A steam iron will smooth out wrinkles and set the fabric perfectly.
Washing and Caring for Double-Sided Quilted Fabric:
Wash your quilt gently to preserve the fabric and prevent shrinkage. Cold water on a gentle cycle is the way to go.
When drying, air-dry or use a low-heat tumble dry setting to keep everything intact.
Storing and Preserving the Fabric:
Store your finished quilt in a cool, dry place. Avoid excessive folding to keep the fabric looking fresh and prevent permanent creases.
Common Issues and Troubleshooting
Even the most experienced quilters run into a few bumps along the way. But don’t worry—most issues are easy to solve once you know what to look for! Let’s walk through some common problems you might face and how to troubleshoot them.
Preventing Shifting and Puckering
Prevent Fabric from Shifting:
To keep your fabric layers from shifting while quilting, use plenty of fabric pins or temporary basting spray. Pin every few inches to keep everything aligned, or use a walking foot to help feed the layers evenly through your machine.
Avoiding Puckers and Wrinkles:
Puckering usually happens when the fabric isn’t feeding evenly. Make sure the fabric is taut but not stretched as you quilt. Press your fabric before you start to remove wrinkles, and be careful not to pull the fabric while sewing. If you’re hand quilting, work in smaller sections for better control.
Fixing Uneven Stitches
Uneven stitches? The most common culprit is stitch tension. Check your machine’s tension settings—usually a setting of 4 works for most fabrics. Adjust it if you notice puckering or skipped stitches.
Uneven stitches can also be caused by the needle position. Make sure your needle is centered and that your machine is threaded correctly. If you’re still having issues, try running a few test stitches on some scrap fabric before diving into your project.
Dealing with Fabric Bunching
Prevent Fabric Bunching:
Bunching happens when the fabric isn’t feeding properly under the needle. To prevent it, make sure to smooth out the fabric before stitching and avoid pulling the fabric as you quilt. Using a walking foot will help the layers feed evenly.
Smooth Out Fabric Before Stitching:
Always smooth out any wrinkles or folds before quilting. Gently pull the fabric taut on both sides as you stitch, keeping it flat and aligned. If needed, use a quilting ruler to double-check the alignment as you go.
Conclusion
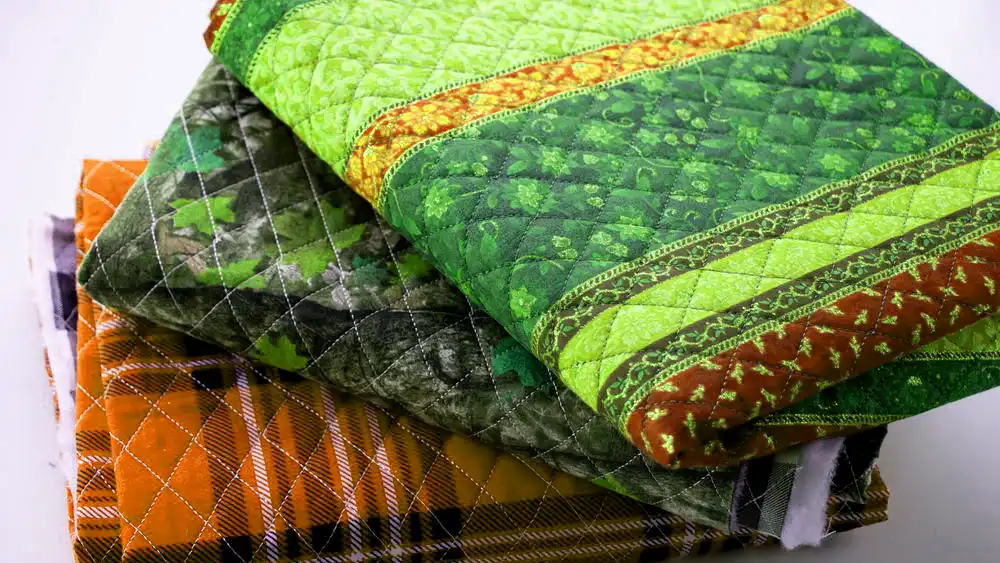
Double-sided quilted fabric might take a bit more time and effort, but it’s totally worth it! With its durability, versatility, and endless design possibilities, you can create beautiful, functional projects.
Whether you’re working on quilts, home décor, or accessories, you get two stunning sides to showcase your creative patterns and colors. Plus, the added strength from quilting on both sides ensures your projects last longer and stay looking fresh.
Now that you know the ropes, why not dive into your next project? Play around with different fabrics, colors, and patterns to find what works best for you. Don’t forget to explore trusted quilting fabric manufacturer like F&A Fabric for high-quality materials to get started. Ready to make something amazing? Let’s get quilting!