Sewing With Flannel Fabric can be a delightful experience! This soft, cozy material is perfect for creating warm quilts and comfy clothing. Whether you’re a beginner or a seasoned quilter, flannel offers unique challenges and rewards. In this article, we’ll share essential tips and tricks to make your sewing project a success.
From choosing the right flannel to mastering techniques, you’ll be well-prepared to craft beautiful items that are as inviting as they are stylish. Let’s dive in!
What Is Flannel Fabric?
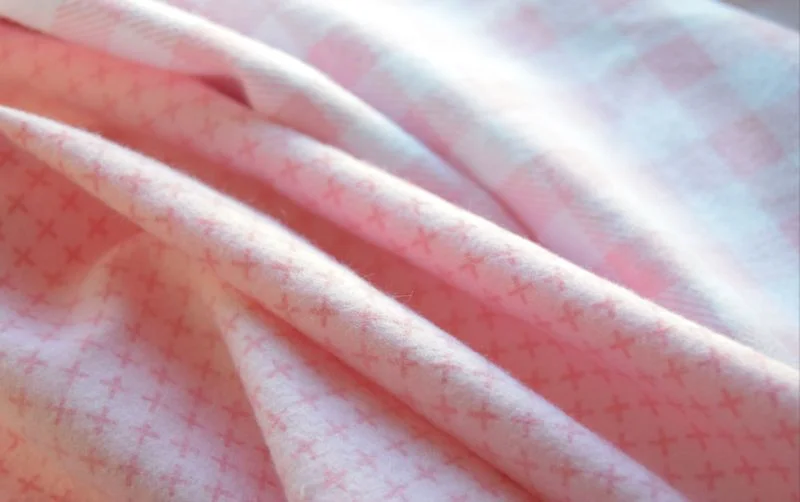
Flannel fabric is a soft, warm material made from cotton or a cotton blend. It has a napped surface, giving it a cozy feel, perfect for blankets and clothing. When it comes to Sewing With Flannel Fabric, its forgiving nature makes it easy to work with. Flannel comes in various prints and colors, allowing you to express your creativity in every project. Its breathability and warmth make it ideal for fall and winter creations.
Sewing With Flannel Fabric: Essential Tools And Supplies
Recommended Needles And Threads
First things first, let’s talk about needles and threads. Flannel is a thicker, sometimes nappy fabric that can be tough on your standard sewing needles. For the best results, I recommend using a 90/14 universal needle. It’s sturdy enough to handle the thickness of the fabric without bending or breaking.
As for the thread, opt for a high-quality, all-purpose polyester thread. Polyester threads have a bit more give than cotton threads, which is perfect for flannel as it can sometimes stretch and pull.
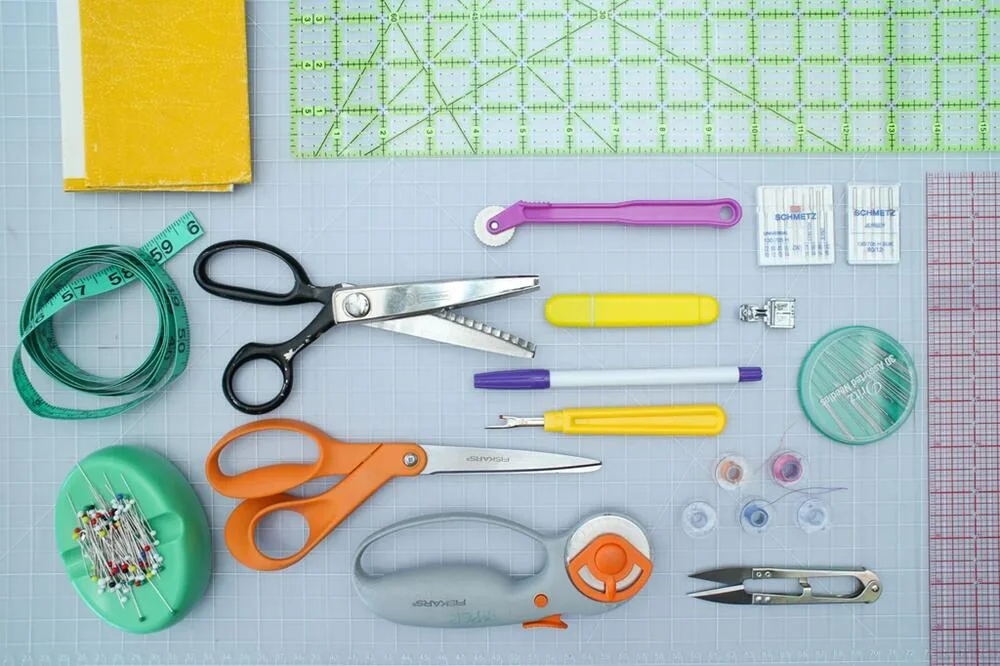
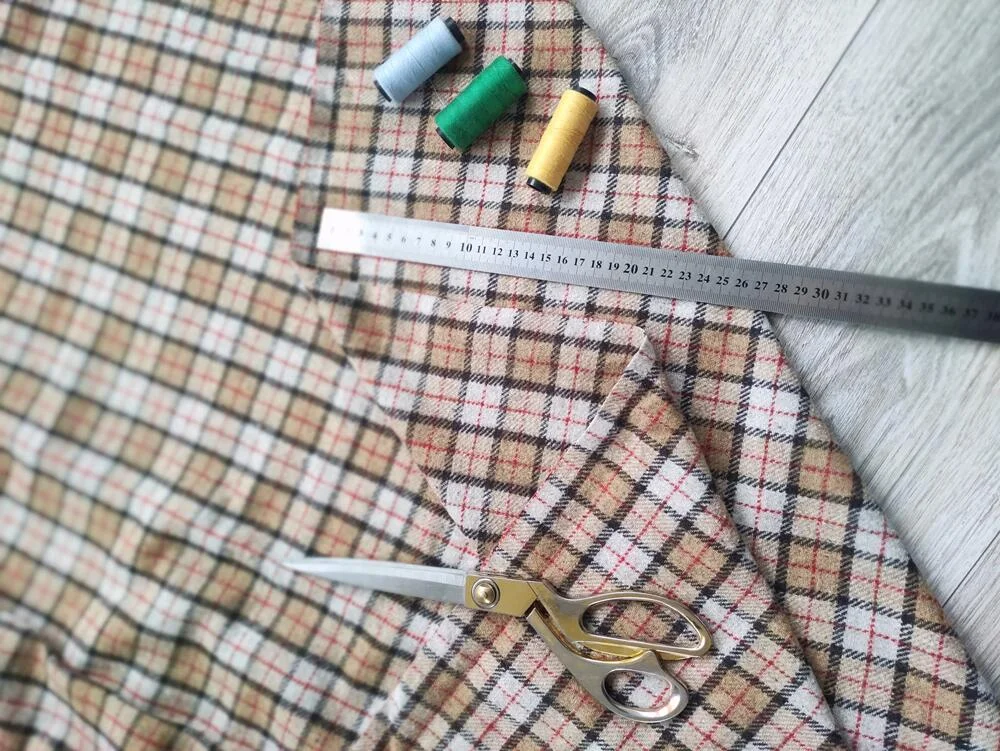
Cutting Tools: Rotary Cutters vs. Scissors
Cutting your flannel fabric accurately is crucial to avoid fraying and ensure all pieces fit together perfectly. While scissors are a staple in any sewing kit, when it comes to flannel, I highly recommend using a rotary cutter. Rotary cutters give you a cleaner, more precise cut, which is essential for maintaining the integrity of the fabric’s edges.
Pair your rotary cutter with a self-healing cutting mat and a clear acrylic ruler to achieve those perfect, straight lines. However, if you prefer scissors, make sure they are sharp and specifically designed for fabric to avoid jagged edges.
Pins And Clips: Choosing The Right Ones
Finally, let’s discuss pins and clips. Flannel can be a bit tricky to pin because it’s thicker and can sometimes shift around. I find that using quilting pins, which are longer and have a stronger hold, works best. These pins help keep the layers of fabric together without causing too much distortion. Another fantastic option is using sewing clips.
Clips are particularly useful for thicker fabrics like flannel because they can hold multiple layers together firmly without leaving pinholes. Plus, they’re easier to remove as you sew along.
Sewing With Flannel Fabric Tips
Techniques for Accurate Cutting
First things first, accurate cutting is crucial when working with flannel. This fabric can be a little slippery and prone to fraying, so I always recommend using a sharp rotary cutter and a good ruler. Make sure your cutting mat is clean and your blade is fresh – it makes a world of difference.
I also like to use a fabric weight or some heavy books to keep my pieces in place while cutting. Remember, slow and steady wins the race!
Managing Fabric Stretch And Nap Direction
Flannel has a tendency to stretch, especially if you’re working with a larger piece. To manage this, I always pin my pieces securely before sewing and try to avoid tugging on the fabric as much as possible. One crucial tip is to pay attention to the nap direction – that’s the fuzzy side of the flannel.
I like to lay out my fabric so that all the nap runs in the same direction; it gives your quilt a uniform look and feel. When cutting, make sure to align your fabric with the grain to avoid any stretching issues later on.
Tips For Minimizing Fabric Waste
Ah, fabric waste – the nemesis of every quilter! With flannel, I’ve found that pre-washing and drying the fabric can help reduce shrinkage later on, which is a big win. Also, try to plan your quilt layout to maximize fabric usage. Cutting out templates from old cardboard can be a great way to save fabric, and don’t forget to use those scraps for small projects like quilted coasters or even a fun patchwork pillow!
Choosing The Right Stitch Length And Type
When you’re sewing with flannel, getting the stitch length and type just right is crucial. Flannel is a bit thicker and has a looser weave compared to other fabrics, so I recommend using a slightly longer stitch length. I usually set my machine to 3.0-3.5 mm.
This prevents the stitches from getting too tight and causing puckering. As for the stitch type, a straight stitch is generally perfect for most projects. However, if your flannel has a bit more stretch to it, you might want to consider a small zigzag stitch to give it some extra give.
Seam Finishes For Flannel: Serging, Zigzag, French Seams
Serging: If you have a serger, this is probably the quickest and cleanest way to finish your seams. The serger trims the excess fabric and encloses the raw edges in one go. It’s perfect for flannel because it helps to reduce bulk and fraying.
Zigzag: If you don’t have a serger, a zigzag stitch along the raw edges can also do the trick. It’s a bit more time-consuming, but it still provides a nice, clean finish that helps prevent fraying.
French Seams: For a really neat and professional look, especially on items like garments, I love using French seams. They completely encase the raw edges, which is great for flannel. To make a French seam, sew your fabric’s wrong sides together with a narrow seam, trim the seam allowance, then press, turn your fabric so the right sides are together, and sew again with a slightly wider seam. This way, all the raw edges are hidden inside.
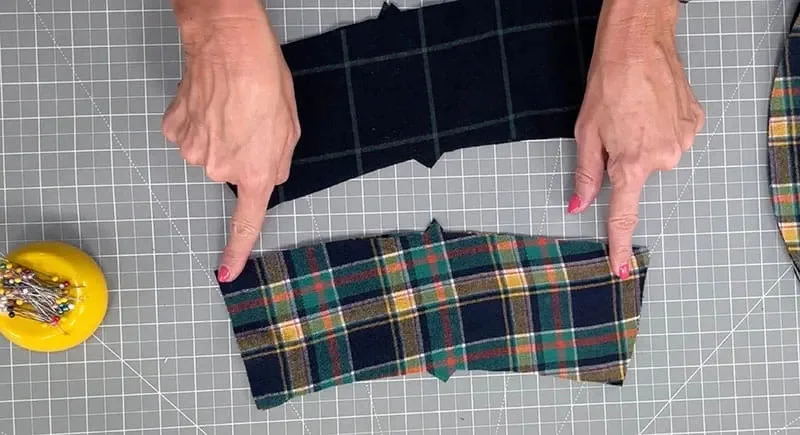
Handling Bulky Seams And Multiple Layers
Flannel can get quite bulky, especially when you’re working with multiple layers. To handle bulky seams, make sure you’re using a sturdy needle—I prefer a size 90/14 universal needle for flannel. Pressing your seams open or to one side with a hot iron and steam can help flatten them out.
When you’re joining multiple layers, like in a quilt, consider grading your seams. This means trimming the seam allowances to different widths to reduce bulk. For example, trim one layer to 1/4 inch and the other to 1/2 inch. This staggered approach can make a big difference in how your seams lie.
Tips For Preventing Common Issues
First, to avoid fabric shifting and stretching, use plenty of pins or a basting spray, and consider a walking foot for even feeding. Flannel tends to produce lots of lint and fuzz, so clean your machine often and keep a lint roller handy.
Finally, to prevent puckering and uneven seams, use a slightly longer stitch length and test on scraps to get your tension just right. With these tips, your flannel projects will come out cozy and flawless every time! Happy quilting!
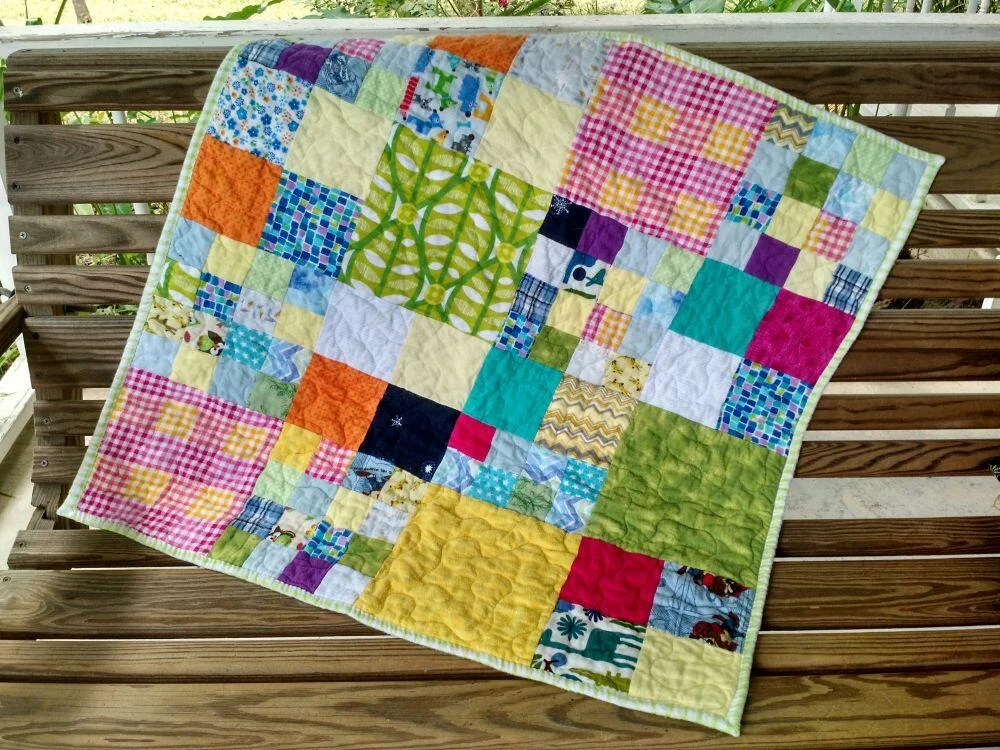
Creative Flannel Project Ideas
Looking for fun projects? Check out these Creative Flannel Project Ideas! Sewing With Flannel Fabric opens up a world of cozy possibilities. Consider making soft baby blankets, snuggly pajamas, or plush pillows. You can even create stylish tote bags or seasonal decor like festive table runners.
Flannel’s vibrant patterns and textures add charm to any creation. Don’t forget about simple patchwork quilts, which are perfect for using up fabric scraps.
Care And Maintenance Of Flannel Projects
Caring for your flannel projects is easy! Wash flannel in cold water on a gentle cycle. This helps prevent shrinkage and keeps that cozy softness. Use a mild detergent to avoid harsh chemicals that can damage the fabric over time.
For drying, choose a low heat setting or air dry. This keeps the fibers fluffy and intact. When storing, fold your flannel projects neatly and keep them in a cool, dry place. Cedar blocks can help keep them fresh and ward off pests. With these simple tips, your flannel creations will remain beautiful and soft for years. Happy Sewing With Flannel Fabric!
Conclusion
As we wrap up our journey through the world of sewing with flannel fabric, I hope these tips and tricks have inspired and empowered you in your quilting adventures. Flannel may have its quirks, but with the right techniques—like prewashing to prevent shrinkage, using sharp needles to avoid snagging, and employing a walking foot for smooth stitches—you can conquer any project with confidence.
Whether you’re making gifts for loved ones or treating yourself to a new snuggly creation, enjoy every stitch and savor the warmth that flannel brings.
Sewing With Flannel Fabric FAQ
What to sew with flannel fabric?
You can create a variety of projects, including blankets, quilts, pajamas, pillows, tote bags, stuffed animals, table runners, scarves, baby items, and home décor.
Can i sew a strip quilt with flannel fabric?
Yes, you can sew a strip quilt with flannel fabric! Flannel’s softness and warmth make it an excellent choice for cozy quilts. Just ensure you pre-wash the fabric to prevent shrinkage. Use a rotary cutter for clean edges, and enjoy the vibrant patterns that flannel offers in your strip quilt design!
How to sew with flannel fabric
Sewing with flannel fabric is a delightful experience! Begin by pre-washing the flannel in cold water to avoid shrinkage. Use a universal needle and 100% cotton thread for best results. Cut carefully with sharp scissors, and consider a walking foot to manage layers. Enjoy the softness of your finished projects!