Yes, you can easily make a quilted oven mitt at home with just a few simple steps and a bit of creativity. Many people love crafting their own mitts because it adds a personal touch to their kitchen and lets them choose colors and patterns they love.
You might even save money by using fabric scraps instead of buying an expensive store-bought mitt. Fanda Fabrics offers high-quality, eco-friendly materials that enable you to create something unique and lasting. Don’t worry if you’re new to sewing—this quilted oven mitt tutorial will help you feel confident and inspired!
Key Takeaways
Making a quilted oven mitt is easy and fun. You can personalize it with your favorite colors and patterns.
Choose high-quality, heat-resistant fabrics like double-sided quilted fabric from Fanda Fabrics for safety and style.
Follow simple steps to create your mitt, including making a template, cutting fabric, and sewing the pieces together.
Add a personal touch with embroidery or unique patterns to make your oven mitt special.
Caring for your mitt is simple; just machine wash it on a gentle cycle and air dry for lasting use.
Materials & Tools
Fabric Selection
Choosing the right fabric makes your oven mitt both safe and stylish. You want something thick, heat-resistant, and easy to sew. Here’s what you’ll need:
Double-Sided Quilted Fabric from Fanda Fabrics: This fabric comes pre-quilted with batting inside, so you get a finished look on both sides. It saves you time and gives your mitt a professional feel.
Quilting Collection: Pick from a wide range of colorful cotton prints or solids. These fabrics are soft, durable, and perfect for adding personality to your project.
Solid Color Quilt Fabric: Use these for a classic look or to highlight bold patterns.
Cotton Quilt Batting: This layer goes inside your mitt for extra insulation and comfort.
Tip: Fanda Fabrics offers high-quality cotton that stands up to heat and frequent washing. You can even customize your order to match your kitchen style.
Here’s a quick look at popular fabric choices and their heat resistance:
Fabric Type | Heat Resistance (500º F) | Insulation Properties |
|---|---|---|
Cotton | 41 seconds | Thick quilted insulation for protection |
Silicone | 19 seconds | Waterproof, good insulation |
Tools Needed
You don’t need fancy equipment to make a great oven mitt. Just gather these basics:
Essential Tools and Materials | Description |
|---|---|
Fabrics | Pre-washed cotton or quilted fabric for outer layers; cotton batting for insulation |
Thread | Quilting or all-purpose polyester thread |
Cutting Tools | Sharp scissors or a rotary cutter for clean edges |
Sewing Machine | Makes assembly quick and easy |
Tracing Wheel & Carbon Paper | Helps transfer your mitt pattern onto fabric |
With these materials and tools, you’re ready to start crafting a sturdy, beautiful oven mitt. Fanda Fabrics gives you the quality and variety you need, whether you want a simple solid or a bold print.
Quilted Oven Mitt Tutorial Steps
Ready to dive in? This quilted oven mitt tutorial will walk you through each step, from making your oven mitt template to finishing the binding. You’ll find it easy to follow, even if you’re new to sewing. Let’s get started!
Create Template
You’ll want to start with a reliable oven mitt template. Many crafters use a free pattern found online, or you can trace around an old mitt you love. Here’s how you can create your own:
Download and print an oven mitt template at 100% scale. Double-check your printer settings so the size stays true.
Cut out the template along the outer black line.
For a standard size, measure and cut your fabric pieces to 17 inches wide by 11.5 inches high. This size fits most hands comfortably.
Cut a small rectangle, about 2 inches by 5 inches, for the hanging loop. This makes it easy to hang your mitt when you’re done.
Tip: If you use Fanda Fabrics’ Double Sided Quilted Fabric, you can skip some quilting steps and get a professional look on both sides.
Cut Fabrics
Now it’s time to cut your fabric. Lay out your oven mitt template on your chosen fabric. You’ll need:
One outer fabric piece (17″ x 11.5″)
One lining fabric piece (17″ x 11.5″)
One piece of cotton quilt batting (17″ x 11.5″)
One piece of Insul-Bright or extra batting for heat protection (optional)
One small piece for the hanging loop (2″ x 5″)
Stack your layers neatly. Use a rotary cutter or sharp scissors for clean edges. Marking and layering your fabrics helps you cut multiple pieces at once, which keeps everything consistent. You don’t need to use pins—just smooth the layers and cut carefully.
Safety Note: Always keep your fingers away from the blade when cutting. Double-check your measurements before you cut.
Quilt & Assemble
Let’s add some structure and insulation to your mitt. If you’re using Fanda Fabrics’ Double-Sided Quilted Fabric, you can skip straight to assembly. If not, follow these steps:
Layer your pieces in this order: outer fabric, batting, Insul-Bright (shiny side down), batting, then lining.
Pin or clip the layers together.
Quilt straight lines across the fabric, about 1 inch apart. This keeps the layers from shifting and adds durability.
Use 100% cotton thread for strength and heat resistance.
Pro Tip: Pre-wash your fabrics before you start. This prevents shrinkage and color bleeding later.
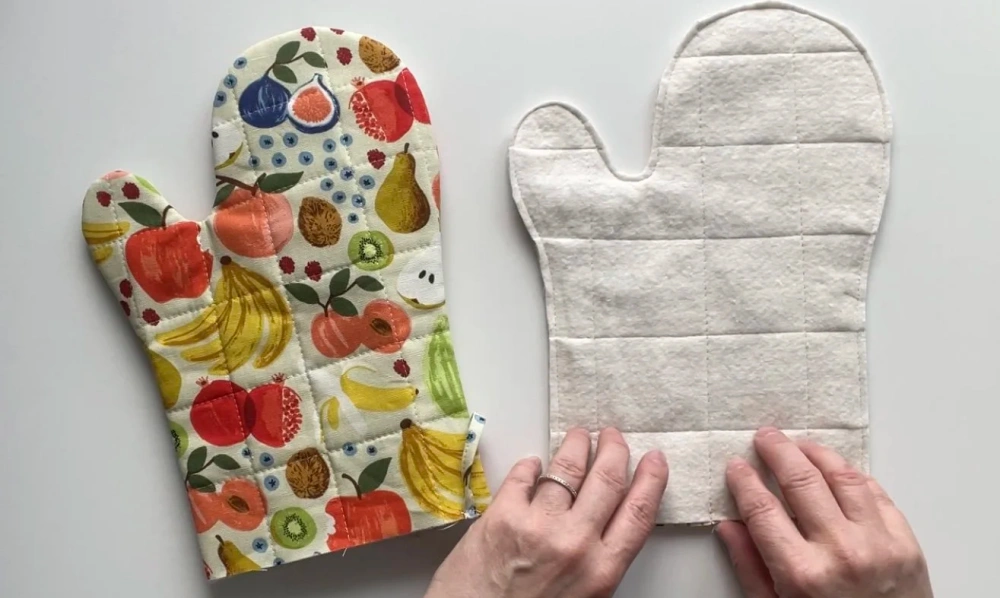
After quilting, place your oven mitt template on the quilted fabric and cut out the mitt shape. Repeat with the lining and batting.
Sew Lining
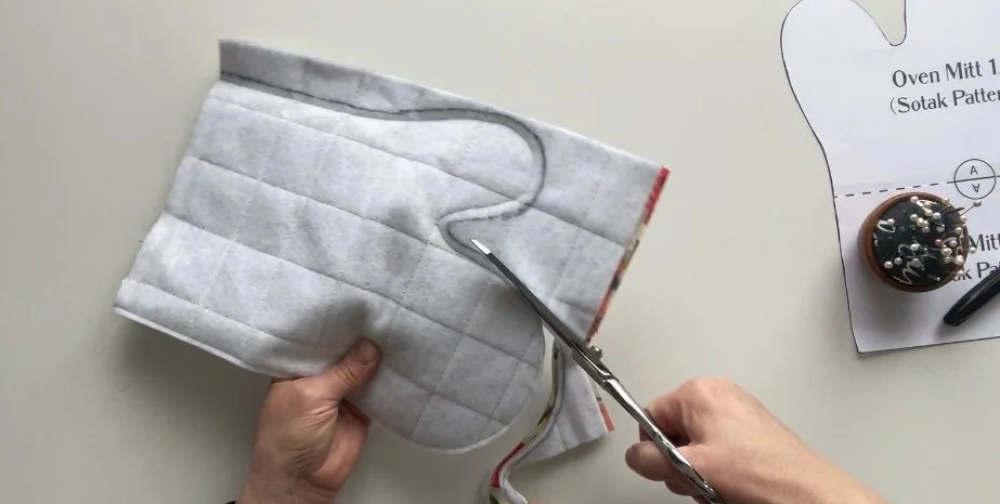
Now you’ll sew the mitt together. Place the quilted outer pieces right sides together. Do the same with the lining pieces.
Use a 1/4 inch seam allowance.
Start at the side of the wrist and sew around the mitt, leaving the bottom open.
Backstitch at the beginning and end for extra strength.
Reduce your stitch length to 2.0mm for a tighter hold.
Turn the outer mitt right side out. Use a chopstick or point turner to shape the thumb and fingers. Leave the lining wrong side out.
Tip: If you want a hanging loop, fold your 2″ x 5″ strip in half lengthwise, sew the long edge, turn it right side out, and baste it to the side seam at the wrist opening.
Finish & Bind
You’re almost done! Place the lining inside the outer mitt, matching the seams and edges. Align the raw edges at the bottom.
Trim the seam allowance to reduce bulk and prevent fraying.
Cut a 2.5-inch-wide strip of bias binding. Bias binding curves easily around the mitt’s opening.
Attach the binding with your sewing machine for a secure finish.
Fold the binding over the raw edge and stitch it down.
Give your mitt a final press. Your quilted oven mitt is ready to use!
Safety Reminder: Never use a wet oven mitt. Moisture can cause burns in seconds. Always supervise children in the kitchen, especially when handling hot items.
This oven mitt tutorial gives you all the instructions you need to make a safe, stylish mitt. With your oven mitt template and high-quality materials from Fanda Fabrics, you’ll create a kitchen accessory that lasts.
Try different fabrics from the Quilting Collection or Solid Color Quilt Fabric to match your style. Enjoy your new mitt, and don’t forget to share your creations!
Customization Tips
Pattern Ideas
You can turn your oven mitt into a true work of art by playing with patterns and layouts. Many crafters love to use a patchwork front, which lets you combine different prints and colors from Fanda Fabrics’ Quilting Collection.
Try mixing festive prints for the holidays, or go with bold solids for a modern look. If you want to follow a trending style, use a double 9-patch quilt block or create a patchwork design with at least three colors. This adds visual interest and shows off your creativity.
Here’s a quick list of popular ideas you might try:
Print and assemble your oven mitt template for a perfect fit.
Use a free pattern to create a quilted patchwork oven mitt with Christmas or seasonal prints.
Quilt the exterior pieces with straight or diagonal lines for a classic finish.
You can also check out the table below to see how different materials affect heat resistance and flexibility:
Material Type | Effect on Heat Resistance | Effect on Flexibility |
|---|---|---|
100% Cotton Fabric | Durable and heat-resistant | Flexible and easy to sew |
Cotton Batting | Good insulation | Maintains flexibility |
Insul-Bright Batting | Extra heat protection | May reduce flexibility |
Vlieseline 272 Thermolam | Excellent insulation | Sturdy yet flexible |
Personal Touches
Personalizing your quilted oven mitt makes it extra special. You can add embroidery with your initials, a favorite word, or even a fun kitchen motif. Try appliqué shapes like hearts, fruits, or utensils for a playful touch.
If you want to make a gift, monogramming adds a thoughtful detail. Pair solid color quilt fabric with a bold print for a striking look, or use contrasting thread for decorative stitching.
Tip: Don’t forget to add a hanging loop! It’s practical and gives your mitt a finished look.
You can even use fabric paint to write a message or draw a doodle. The options are endless, so let your imagination guide you. With this quilted oven mitt tutorial, you have the freedom to make something that truly fits your style.
Care & Gift Ideas
Washing & Maintenance
Taking care of your quilted oven mitt is simple when you use the right materials. If you followed this quilted oven mitt tutorial and used Fanda Fabrics’ double-sided quilted fabric, you’ll find cleaning much easier.
Pre-quilted fabrics hold their shape and do not need special treatment. Just toss your oven mitt in the washing machine on a gentle cycle with cold water. Air dry or use a low heat setting in the dryer.
The type of batting inside your mitt matters, too. Cotton quilt batting feels soft and natural, but it can sometimes ball up after many washes. Polyester or wool batting holds up better and resists heat, so your mitt stays fluffy and safe.
Always check the care label if you use different fabrics or batting. If you made your mitt with extra layers, make sure it dries completely before using it again.
Tip: Never use a damp oven mitt. Wet fabric transfers heat quickly and can cause burns.
Gift Inspiration
A handmade oven mitt makes a thoughtful and practical gift. You can use your favorite oven mitt template to create a set for a friend who loves to bake. Pick fabrics from the Fanda Fabrics Quilting Collection or solid color quilt fabric to match their kitchen style. Add a personal touch with embroidery or a fun patch.
Here are some ideas to inspire you:
Make a matching set of oven mitts and pot holders for a housewarming present.
Use seasonal prints for holiday gifts.
Add a name or monogram for a custom touch.
You can even wrap your gift with a recipe card or a jar of homemade cookie mix. When you follow this oven mitt tutorial, you give more than just a kitchen tool—you share a piece of your creativity and care.
Conclusion
You can make your own quilted oven mitts with Fanda Fabrics and feel proud of your results. Many readers, like Carol and Sue, love how easy and fun this project is. Try different fabrics, play with patterns, and share your creations with friends.
Explore more DIY kitchen projects, such as potholders, placemats, and mug rugs.
Test your layers for heat protection and nest them carefully for a smooth finish.
Making oven mitts is simple, satisfying, and a great way to add personality to your kitchen!
FAQ
How long does it take to make a pair of oven mitts?
You can finish this diy project in about one hour. If you are new to sewing, you might need a little more time. Picking pre-quilted fabric from Fanda Fabrics helps you work faster.
Can I sew the mitt by hand instead of using a machine?
Yes, you can sew the mitt by hand. Use small, tight stitches for strength. A sewing machine makes the process quicker, but hand sewing works well for beginners or those without a machine.
What is the best fabric for oven mitts?
Cotton quilted fabric works best. It protects your hands from heat and feels comfortable. Fanda Fabrics offers double-sided quilted fabric and solid color quilt fabric, which are both great choices for oven mitts.
How do I clean my oven mitt?
Wash your oven mitt in cold water on a gentle cycle. Air dry it or use low heat in the dryer. Make sure the mitt is completely dry before using it again.
Can kids help with this diy project?
Kids can help with simple steps like tracing the template or choosing fabrics. Always supervise them when they use scissors or a sewing machine. Making oven mitts together is a fun way to learn new skills.