Canvas fabric is known for its durability and versatility and is often used in bags, jackets, tents, and more. Although it is strong, it is not naturally waterproof and is susceptible to damage from rain, snow, and moisture over time.
Waxing canvas fabric is a simple and effective way to create a protective barrier that not only helps to repel water, but also adds character and unique texture to the fabric, increasing its water resistance and extending the life of your favorite canvas items.
In this guide, we will teach you “How to wax canvas fabric” to protect it from the elements and give it a weathered, stylish look.
What is Canvas Fabric?
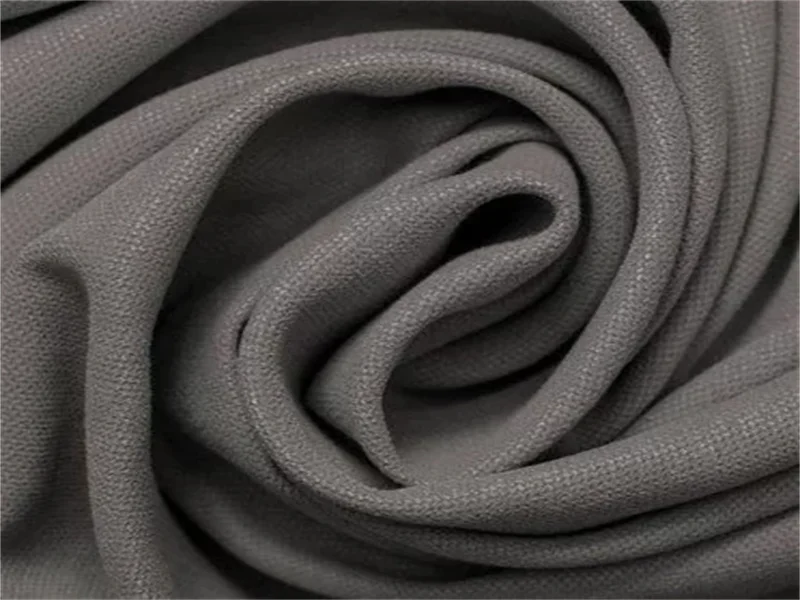
Canvas fabric is a tightly woven material made of cotton or linen that is known for its strength and durability. Originally used to make sails and tents, canvas has now made its way into modern fashion, accessories, and outdoor gear. The fabric is thick and stretchy, perfect for heavy-duty use, but it has no natural waterproof properties.
While untreated canvas can withstand a little moisture, exposure to rain or humid conditions can cause it to absorb moisture, potentially causing damage or mold growth. That’s why waxing canvas fabric is such a practical and popular choice. Waxing seals the fabric and prevents water from penetrating while still allowing the material to breathe. If you want to learn more about the various types of canvas fabric and what canvas fabric is, you can click into our article to learn more.
What is Waxed Canvas Fabric
Waxed canvas fabric is a type of textile that has been impregnated with wax, typically paraffin or beeswax, to enhance its durability and water resistance. This process creates a fabric that is significantly more robust and protective than untreated canvas, making it ideal for outdoor gear, bags, and workwear. The wax coating fills the gaps between the woven fibers, creating a barrier against moisture, dirt, and wear, while still allowing the fabric to breathe to some extent.
The resulting fabric has a distinctive matte finish and a slightly stiff texture, which softens and develops a unique patina over time. As the waxed canvas ages, it creases and marks, adding character and a vintage aesthetic. This makes it popular not only for its functional properties but also for its visual appeal. Waxed canvas is valued for its longevity and ability to withstand harsh conditions, making it a reliable material for items designed to endure.
How to Wax Canvas Fabric
Waxing canvas fabric enhances its durability and water resistance, making it ideal for outdoor gear, bags, and protective covers. This process involves applying a wax coating that penetrates the fabric, creating a protective barrier against moisture and wear.
Materials Needed:

Before you begin, gather the following materials:
- Beeswax or a mixture of beeswax and paraffin wax (available at most craft stores or online).
- A steamer or double boiler for melting the wax.
- A paint brush or clean cloth for applying the wax.
- A hair dryer or heat gun to help the wax penetrate the fabric.
- A clean cotton cloth or sponge is used for the final polish.
Step 1. Prepare the Canvas
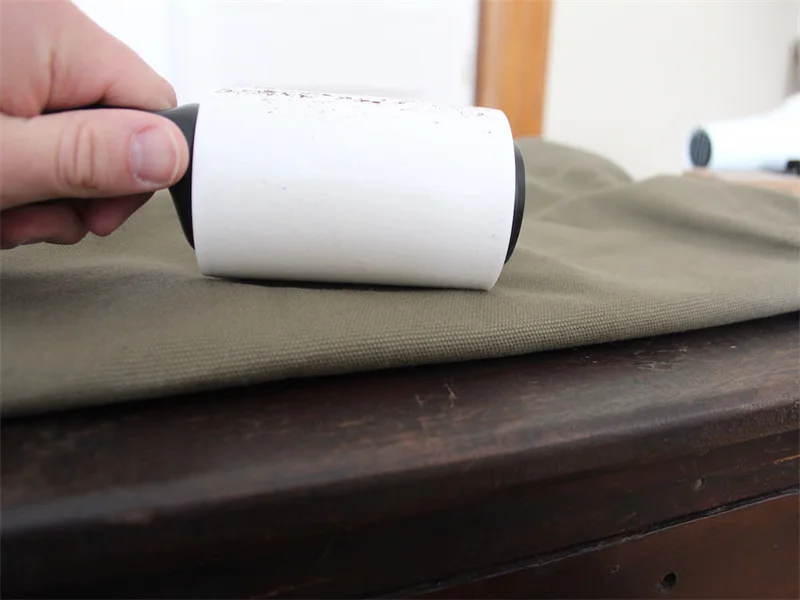
You should begin by cleaning the canvas fabric to remove any dirt or debris that could interfere with the wax application. Use a brush or cloth to wipe away loose particles, and if necessary, wash the fabric with mild soap and water. Allow the canvas to dry completely before proceeding.
Ensure the canvas is free from creases and wrinkles, as these can affect the even distribution of the wax. If you are working with a large piece of canvas, spread it out on a flat surface and smooth it out. For smaller items, you can use an ironing board or similar surface.
If you are waxing a pre-made item like a bag, ensure all seams and edges are accessible. Waxing these areas thoroughly is crucial for maximizing water resistance. You may need to reshape or adjust the item to ensure even coverage.
Step 2. Heat the Wax
You will need to melt the wax to a liquid state, allowing it to penetrate the canvas fibers effectively. Use a double boiler or a heat-safe container placed in a pot of simmering water to melt the wax. Avoid direct heat, as it can scorch the wax and create uneven results.
Monitor the wax closely as it melts, stirring occasionally to ensure even heating. The wax should be completely liquid and free from lumps before you begin application. Adjust the heat as needed to maintain a consistent liquid state.
Ensure your workspace is well-ventilated, as melted wax can release fumes. If using a double boiler, maintain a gentle simmer to prevent the water from boiling away.
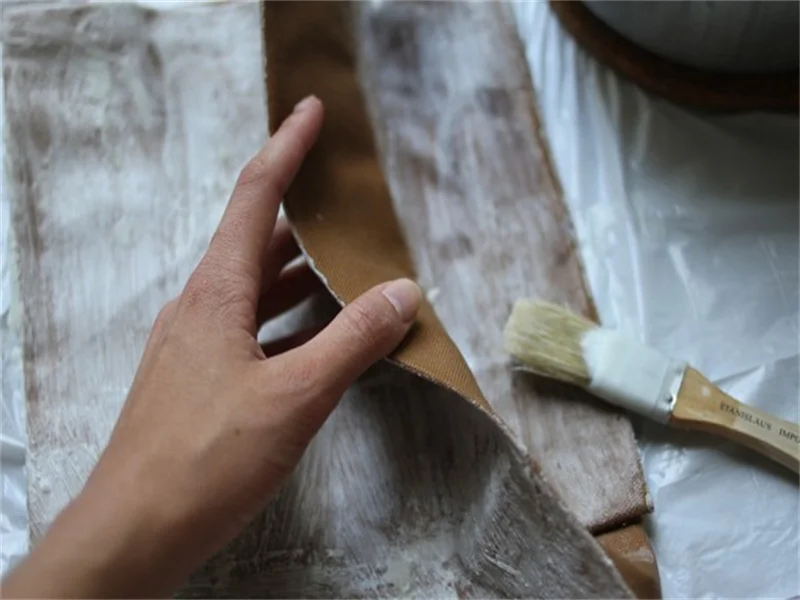
Step 3. Melt and Apply the Wax
You will need to melt the wax to a liquid state, allowing it to penetrate the canvas fibers effectively. Use a double boiler or a heat-safe container placed in a pot of simmering water to melt the wax. Avoid direct heat, as it can scorch the wax and create uneven results.
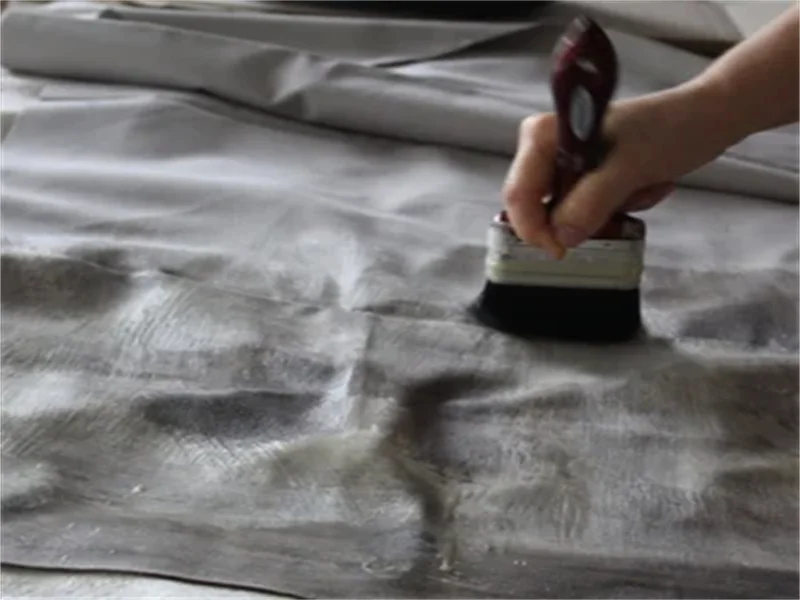
Apply the melted wax to the canvas using a brush, sponge, or cloth. Work in small sections, ensuring even coverage and penetration. Apply the wax liberally, but avoid creating thick, uneven layers. You can use a heat gun or hairdryer to help the wax penetrate deeper into the fabric.
Pay close attention to seams, folds, and corners, as these areas are prone to wear and moisture exposure. You can use a smaller brush or cloth to apply wax to these areas. Ensure the wax is evenly distributed and penetrates the fabric thoroughly.
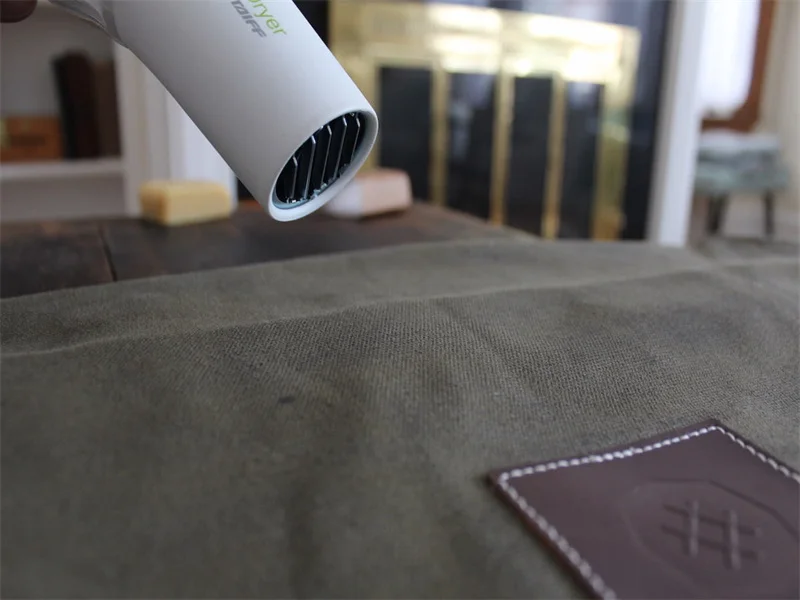
Step 4. Set the Wax
You should set the wax by applying heat to the canvas, allowing it to fully absorb into the fibers. Use a heat gun, hairdryer, or iron on a low setting to warm the waxed areas. Apply heat evenly, moving the heat source slowly across the fabric.
As you apply heat, the wax will melt further and penetrate deeper into the canvas. Observe the fabric for any areas where the wax is not fully absorbed, and apply additional heat as needed. The fabric should feel slightly tacky but not excessively sticky.
Once the wax is fully absorbed, allow the canvas to cool and dry completely. This process may take several hours, depending on the thickness of the wax application and the ambient temperature. Avoid folding or manipulating the canvas until the wax is completely set.
Step 5. Curing Wax
After applying and heating the wax, it is important to let the wax solidify.
Step 5.1: Allow the Fabric to Cool
Once you are satisfied with the coverage, allow the wax to cool and harden. This may take several hours, depending on the temperature of your workspace. Avoid folding or manipulating the canvas until the wax is completely set.
Step 5.2: Polish the Surface
Once the wax has completely cooled, use a clean cotton cloth or sponge to gently polish the surface. This will smooth out any excess wax and give the fabric a nice finish. You can use circular motions to buff the surface, removing any tackiness and enhancing the fabric’s appearance.
Waxed Canvas Fabric Benefits
Waxed canvas fabric offers a range of benefits that make it a popular choice for various applications, particularly those requiring durability and weather resistance. The wax treatment creates a protective layer that enhances the fabric’s ability to repel water and resist wear, extending the lifespan of items made from it. Additionally, the fabric develops a unique patina over time, adding character and a vintage aesthetic that many find appealing.
Beyond its functional advantages, waxed canvas is also valued for its versatility and natural appeal. The wax coating provides a degree of flexibility and ease of maintenance, making it suitable for outdoor gear, bags, and workwear. Its ability to withstand harsh conditions while maintaining a classic look makes it a reliable and stylish choice.
Here are the key benefits of waxed canvas fabric:
Relatively easy to maintain, usually requiring only occasional re-waxing to maintain its protective qualities.
- Water Resistance: The wax coating creates a barrier that repels water, keeping the fabric and its contents dry in wet conditions.
- Enhanced Durability: The wax treatment strengthens the fabric, making it more resistant to wear and tear, extending the lifespan of the material.
- Unique Patina: Over time, the fabric develops a distinctive, aged appearance, adding character and a vintage aesthetic.
- Increased Longevity: The protective wax layer shields the canvas from environmental damage, contributing to its long-lasting performance.
- Versatile Applications: Suitable for a wide range of products, including outdoor gear, bags, and workwear, due to its robust and protective properties.
- Natural Appeal: Maintains a natural fabric look, while providing enhanced protection.
- Ease of Maintenance: Relatively easy to maintain, usually requiring only occasional re-waxing to maintain its protective qualities.
Conclusion
Mastering the art of waxing canvas fabric elevates its functionality and aesthetic, transforming it into a durable, water-resistant material perfect for diverse applications. The process, while meticulous, yields a fabric that ages beautifully, developing a unique patina over time. Whether for crafting rugged outdoor gear, stylish bags, or resilient protective covers, waxed canvas provides a reliable and visually appealing solution.
Understanding the nuances of each step, from preparing the canvas to curing the wax, ensures optimal results. The resulting fabric not only withstands harsh conditions but also gains character, making each piece unique. By following these guidelines, you can confidently create waxed canvas items that are both practical and visually striking.
For premium-quality, untreated canvas fabric ideal for waxing and various other projects, contact Fanda Fabrics. We offer a wide range of canvas materials and weights, ensuring you find the perfect base for your creations. Reach out today to explore our selection and discover how our high-quality canvas can enhance your work.