Quilting is not just a craft; it’s an art form that requires precision and attention to detail. One of the essential steps in quilting is straightening fabric to ensure your finished piece looks professional and polished.
In this comprehensive guide, we’ll delve into the intricacies of straightening fabric for quilting, providing you with expert tips, techniques, and answers to frequently asked questions.
Importance of Straightening Fabric

The importance of straightening fabric in quilting cannot be overstated. When you’re working on a quilting project, whether it’s a small wall hanging or a king-sized bed quilt, the foundation of your work lies in the fabric you use.
Here’s why straightening fabric is crucial:
- Accuracy and Precision: Straightening fabric ensures that your pieces are cut accurately and precisely. When fabric is crooked or uneven, it’s challenging to cut it to the correct size and shape, leading to inaccuracies in your quilt blocks and overall design.
- Seam Alignment: Properly aligned fabric allows for straight seams, which are essential for a polished quilt top. When your fabric is straightened, your seams will match up perfectly, creating clean lines and a professional finish.
- Prevention of Distortion: Fabric that hasn’t been straightened is prone to distortion. This distortion can occur during cutting, sewing, or pressing, resulting in misshapen blocks and uneven edges. Straightening fabric helps prevent distortion and ensures that your quilt pieces maintain their intended shape.
- Ease of Assembly: Straightened fabric makes the assembly process much smoother. When your fabric is aligned and cut accurately, piecing together your quilt becomes more straightforward, saving you time and frustration.
- Improved Aesthetics: A quilt made with straightened fabric looks more visually appealing. Neatly aligned seams and precisely cut pieces contribute to a polished and professional-looking finished product that you can be proud to display or give as a gift.
In essence, straightening fabric lays the groundwork for a successful quilting project. It sets the stage for accuracy, precision, and a beautiful end result, allowing you to showcase your skills and creativity to their fullest potential.
How to Straighten Fabric for Quilting?
Certainly! Straightening fabric for quilting is a fundamental step that sets the stage for a successful project.
Here’s a detailed explanation of how to straighten fabric effectively:
Preparing Your Workspace: Before you begin straightening fabric, ensure that your workspace is clean, well-lit, and free of clutter. Having a spacious area to work in will make the process more manageable.
Gathering Supplies: Gather all the necessary supplies, including your fabric, cutting mat, rotary cutter, and quilting ruler. Having everything within reach will streamline the process and prevent unnecessary interruptions.
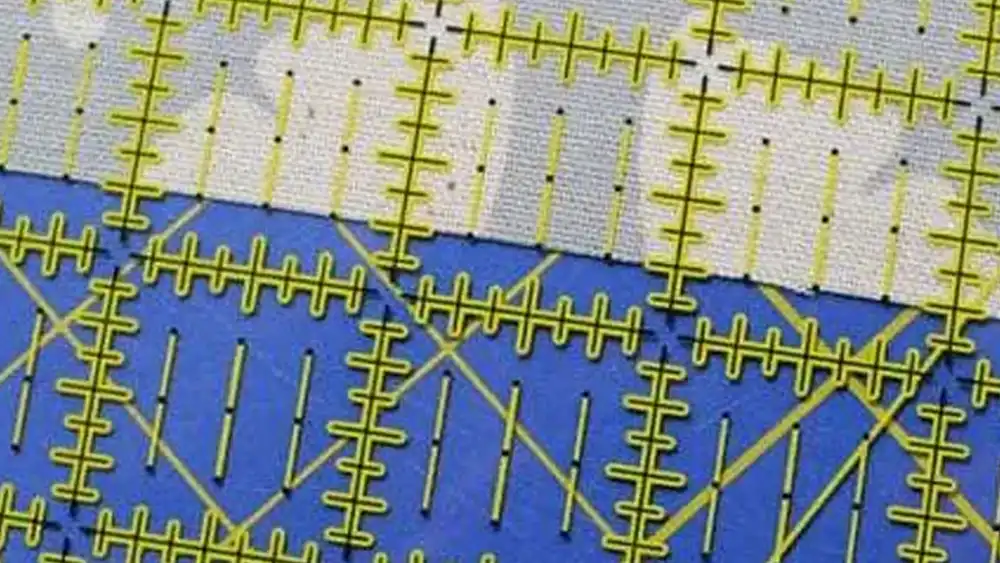
Identifying the Grainline: Start by identifying the grainline of your fabric. The grainline runs parallel to the selvage edge and determines the direction in which the fabric stretches the least. Aligning the grainline properly is essential for ensuring that your fabric pieces maintain their shape and stability.
Squaring Off the Fabric: Once you’ve identified the grainline, square off the fabric by aligning the selvage edges. Use your quilting ruler and rotary cutter to trim off any uneven edges, ensuring that you have a clean, straight edge to work with.
Checking for Bias Stretches: After squaring off the fabric, check for any bias stretches. Bias stretches occur diagonally across the fabric and can cause distortion when cut. Minimizing bias stretches is essential for maintaining the integrity of your quilt pieces.
Using a Rotary Cutter: When cutting your fabric, use a sharp rotary cutter for precision and efficiency. Hold the quilting ruler firmly in place and guide the rotary cutter along the edge of the ruler to ensure a straight, clean cut.
Applying Even Pressure: Apply even pressure as you cut to ensure that the fabric remains stable and doesn’t shift or stretch. Avoid rushing the cutting process, as this can lead to jagged edges and uneven cuts.
Double-Checking Measurements: After cutting your fabric pieces, double-check the measurements to ensure accuracy. Making precise cuts is crucial for achieving a professional-looking quilt top.
Pressing for Perfection: Once your fabric pieces are cut, it’s time to press them to remove any wrinkles and creases. Set your seams by pressing them with a hot iron, using steam for stubborn wrinkles. Decide whether to press your seams open or to the side based on your quilting pattern and personal preference.
By following these steps, you can straighten fabric for quilting with confidence, ensuring that your quilt projects turn out beautifully every time. Straightening fabric lays the foundation for precision, accuracy, and a polished finish, allowing you to showcase your quilting skills to their fullest potential.
What is the First Method of Fabric Straightening?
The first method of fabric straightening involves using a quilting ruler, rotary cutter, and cutting mat to achieve a perfectly straight edge. Here’s how to do it:
- Prepare Your Workspace: Clear a clean, flat surface to work on and ensure that your cutting mat is clean and free from any debris. Having a spacious workspace will make the fabric straightening process much easier.
- Lay Out the Fabric: Lay your fabric out flat on the cutting mat, ensuring that it is smooth and free from wrinkles or creases. Align one selvage edge of the fabric with one of the horizontal lines on the cutting mat.
- Square Off the Fabric: Use a quilting ruler to align along the selvage edge of the fabric. Make sure the ruler is straight and parallel to the lines on the cutting mat. Hold the ruler firmly in place to prevent it from shifting.
- Trim the Edge: With the ruler securely in place, use a sharp rotary cutter to trim off any uneven or jagged edges along the selvage edge of the fabric. Apply firm, even pressure as you cut to ensure a clean, straight edge.
- Check for Accuracy: After trimming the edge, double-check the cut edge of the fabric to ensure that it is straight and free from any imperfections. If necessary, make adjustments and recut the fabric to achieve a perfectly straight edge.
- Pressing the Fabric: Once the edge is trimmed and straightened, press it with a hot iron to remove any wrinkles or creases. Pressing the fabric flat will ensure that your seams sew together smoothly and accurately during the quilting process.
By following these steps, you can straighten fabric using the first method effectively, ensuring that your quilting projects turn out beautifully every time. Straight, accurately trimmed fabric edges provide a solid foundation for your sewing and quilting endeavors, allowing you to create stunning quilts and other fabric projects with precision and confidence.
How to Straighten Fabric Grain?
Straightening the fabric grain is essential for ensuring that your fabric pieces maintain their shape and stability during the quilting process.
Here’s how to straighten fabric grain effectively:
- Prepare Your Workspace: Start by clearing a clean, flat surface to work on. Ensure that your workspace is well-lit and free from any clutter that could interfere with the straightening process.
- Identify the Grainline: Lay your fabric out flat on the workspace and identify the grainline. The grainline runs parallel to the selvage edge of the fabric and determines the direction in which the fabric stretches the least.
- Align the Fabric: Once you’ve identified the grainline, align it with one of the horizontal lines on your cutting mat or table. Ensuring that the fabric is aligned properly will help you straighten the grain accurately.
- Square Off the Fabric: Use a quilting ruler to square off the fabric by aligning the selvage edges. Make sure the ruler is straight and parallel to the grainline of the fabric. Hold the ruler firmly in place to prevent it from shifting.
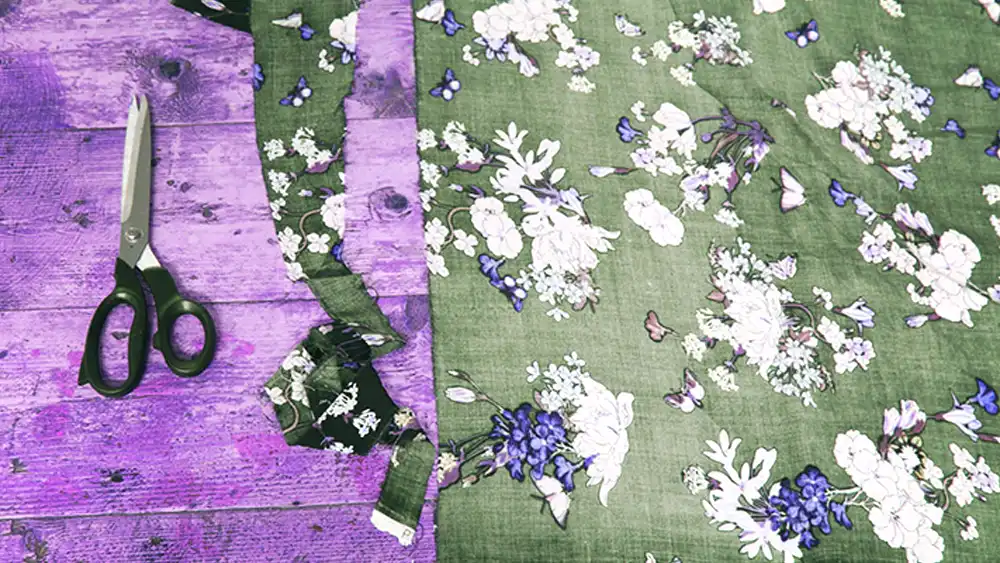
- Trim the Edge: With the ruler securely in place, use a sharp rotary cutter or fabric scissors to trim off any uneven or jagged edges along the selvage edge of the fabric. Apply firm, even pressure as you cut to ensure a clean, straight edge.
- Check for Accuracy: After trimming the edge, double-check the cut edge of the fabric to ensure that it is straight and free from any imperfections. If necessary, make adjustments and recut the fabric to achieve a perfectly straight edge.
- Pressing the Fabric: Once the fabric grain is straightened, press it with a hot iron to set the grain and remove any wrinkles or creases. Pressing the fabric flat will ensure that your fabric pieces maintain their shape and stability during the quilting process.
By following these steps, you can straighten the fabric grain effectively, ensuring that your quilting projects turn out beautifully every time. Straight, accurately aligned fabric grains provide a solid foundation for your sewing and quilting endeavors, allowing you to create stunning quilts and other fabric projects with precision and confidence.
How to Cut Fabric Straight for Quilting?
Cutting fabric straight for quilting is an essential skill that ensures your quilt blocks fit together accurately, resulting in a professional-looking finished product.
Here’s a step-by-step guide on how to cut fabric straight for quilting:
- Prepare Your Workspace: Start by clearing a clean, flat surface to work on. Ensure that your cutting mat is clean and free from any debris that could affect the accuracy of your cuts.
- Gather Your Supplies: Gather all the necessary supplies, including your fabric, quilting ruler, rotary cutter, and self-healing cutting mat. Having everything you need within reach will streamline the process.
- Align the Fabric: Lay your fabric out flat on the cutting mat, ensuring that it is smooth and free from wrinkles or creases. Align one selvage edge of the fabric with one of the horizontal lines on the cutting mat.
- Square Off the Fabric: Use your quilting ruler to align along the selvage edge of the fabric. Ensure that the ruler is straight and parallel to the lines on the cutting mat. Hold the ruler firmly in place to prevent it from shifting.
- Cutting with a Rotary Cutter: With the ruler securely in place, use a sharp rotary cutter to cut along the edge of the ruler. Apply firm, even pressure as you cut to ensure a clean, straight edge. Keep your fingers away from the rotary cutter blade to avoid accidents.
- Check for Accuracy: After making your cut, double-check the edge of the fabric to ensure that it is straight and free from any jagged edges or uneven cuts. If necessary, make adjustments and recut the fabric to achieve a straight edge.
- Repeat as Needed: Depending on the size of your fabric pieces, you may need to repeat the cutting process multiple times to achieve all the pieces you need for your quilting project. Each time you cut, ensure that the fabric is aligned properly and that your cuts are accurate.
- Pressing the Fabric: Once all your fabric pieces are cut, it’s essential to press them with a hot iron to remove any wrinkles or creases. Pressing the fabric flat will ensure that your quilt blocks sew together smoothly and accurately.
By following these steps, you can cut fabric straight for quilting with precision and confidence, ensuring that your quilt projects turn out beautifully every time. Straight, accurately cut fabric pieces are the foundation of a successful quilting project, allowing you to create stunning quilts that you can be proud of.
How to Straighten Fabric Edge for Sewing & Quilting?
Straightening the fabric edge for sewing and quilting is a crucial step that ensures your finished projects turn out beautifully.
Here’s a step-by-step guide on how to straighten the fabric edge effectively:
Prepare Your Workspace: Start by clearing a clean, flat surface to work on. Ensure that your workspace is well-lit and free from any clutter that could interfere with the straightening process.
Lay Out the Fabric: Lay your fabric out flat on the workspace, ensuring that it is smooth and free from wrinkles or creases. Align one selvage edge of the fabric with one of the horizontal lines on your cutting mat or table.
Square Off the Fabric: Use a quilting ruler to align along the selvage edge of the fabric. Ensure that the ruler is straight and parallel to the lines on the cutting surface. Hold the ruler firmly in place to prevent it from shifting.
Trim the Edge: With the ruler securely in place, use a sharp rotary cutter or fabric scissors to trim off any uneven or jagged edges along the selvage edge of the fabric. Apply firm, even pressure as you cut to ensure a clean, straight edge.
Check for Accuracy: After trimming the edge, double-check the cut edge of the fabric to ensure that it is straight and free from any imperfections. If necessary, make adjustments and recut the fabric to achieve a perfectly straight edge.
Pressing the Fabric: Once the edge is trimmed and straightened, it’s essential to press it with a hot iron to remove any wrinkles or creases. Pressing the fabric flat will ensure that your seams sew together smoothly and accurately during the quilting process.
By following these steps, you can straighten the fabric edge for sewing and quilting with precision and confidence, ensuring that your finished projects turn out beautifully every time. A straight, accurately trimmed fabric edge provides a solid foundation for your sewing and quilting endeavors, allowing you to create stunning quilts and other fabric projects with ease.
FAQs
Can I straighten fabric without a rotary cutter?
Yes, you can straighten fabric using scissors and a quilting ruler, but a rotary cutter provides greater precision and efficiency.
How do I prevent fabric from stretching while straightening?
To prevent fabric from stretching, handle it gently and avoid pulling or tugging. Additionally, pressing the fabric before cutting can help stabilize it.
Is it necessary to wash fabric before straightening?
Washing fabric before straightening is recommended, as it removes any sizing or chemicals that may cause the fabric to shrink or distort after washing the finished quilt.
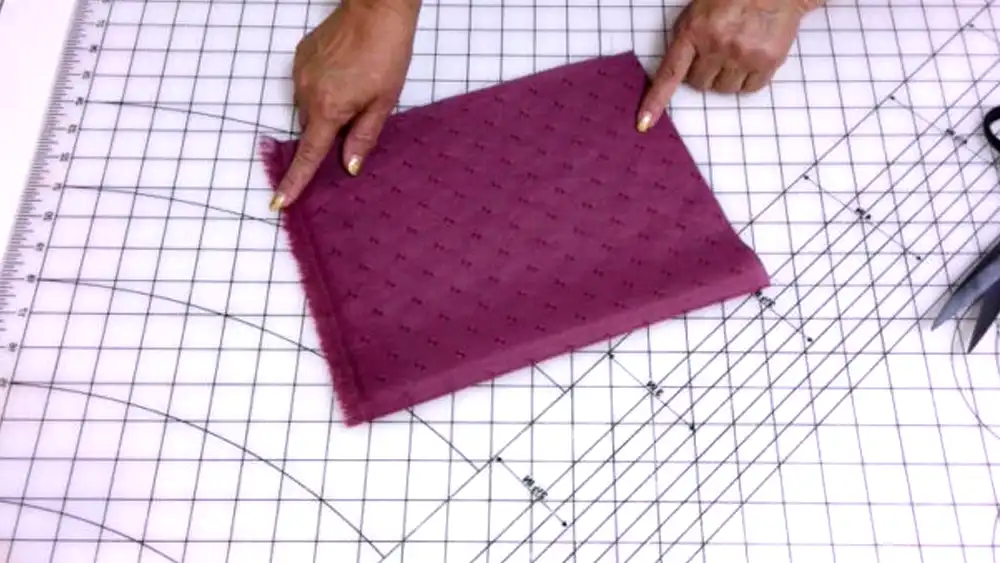
Can I straighten large pieces of fabric?
Yes, you can straighten large pieces of fabric by folding them in half and aligning the selvage edges before cutting.
How often should I replace my rotary cutter blade?
It’s recommended to replace your rotary cutter blade regularly, especially if you notice it becoming dull or nicked. A sharp blade ensures clean, precise cuts.
What should I do if my fabric is still wrinkled after pressing?
If your fabric is still wrinkled after pressing, try increasing the heat on your iron or using a pressing cloth with steam to remove stubborn wrinkles.
Conclusion
Straightening fabric is a crucial step in quilting that ensures your finished projects turn out beautifully. By following the techniques outlined in this guide and addressing common questions and concerns, you can achieve professional-looking results every time. Remember to take your time, double-check your measurements, and enjoy the creative process of quilting!