Quilting is a beloved craft that requires precision, creativity, and the right materials. One essential aspect of quilting is stabilizing the fabric, ensuring that it remains firm and easy to work with.
This article will guide you through the process of stabilizing fabric for quilting, offering tips and techniques that will help you achieve the best results. We will also cover specific topics like how to stabilize old fabric for quilting and how to stabilize fabric for a t-shirt quilt.
Why Stabilize Fabric for Quilting?
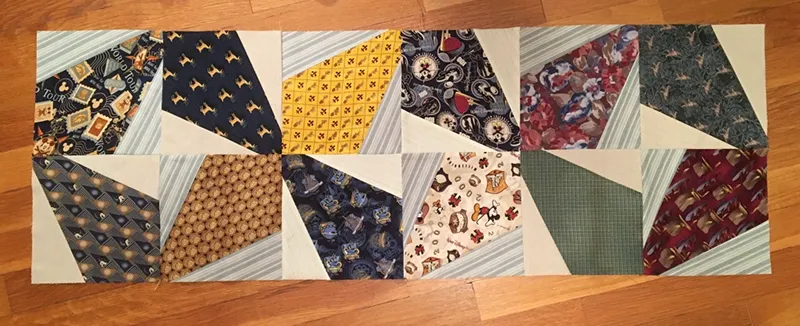
Before diving into the methods, it’s important to understand why stabilizing fabric is crucial for quilting. Stabilization helps prevent stretching, puckering, and distortion during the quilting process. It ensures that your quilt blocks are uniform and your seams align perfectly. Using a fabric stabilizer for quilting makes the fabric more manageable and improves the overall quality of your quilt.
- Prevents Distortion: Quilting involves handling the fabric multiple times, stretching it, and subjecting it to various tensions. Without stabilization, the fabric can easily distort, leading to misaligned blocks and seams. A fabric stabilizer for quilting keeps the fabric in shape, ensuring that your design remains consistent and accurate throughout the process.
- Reduces Stretching: Some fabrics, particularly those with a bit of stretch like knits or certain cotton blends, can be challenging to work with. Stabilizers provide the necessary rigidity to these fabrics, preventing them from stretching out of shape as you sew. This is particularly important for projects like t-shirt quilts, where the material is inherently stretchy.
- Minimizes Puckering: Puckering occurs when the fabric bunches up around the stitches, creating an uneven surface. This is often caused by the fabric shifting during sewing. Stabilizing the fabric helps to keep it smooth and taut, minimizing the risk of puckering and ensuring a flat, even quilt top.
- Enhances Precision: Precision is key in quilting, especially when working with intricate patterns or detailed designs. Stabilized fabric is easier to cut accurately, as it doesn’t shift or fray as much. This leads to cleaner edges and more precise piecing, which is crucial for achieving a professional-looking quilt.
- Supports Delicate Fabrics: Some fabrics, like vintage materials or those with intricate weaves, can be delicate and prone to damage. Stabilizing these fabrics provides extra support, making them easier to handle and less likely to tear or fray during the quilting process.
- Improves Longevity: A well-stabilized quilt is more durable and can withstand more wear and tear over time. The stabilizer helps to reinforce the fabric, making the quilt more resilient to washing, handling, and everyday use. This is particularly important for quilts that will be used frequently or passed down as heirlooms.
Types of Fabric Stabilizers for Quilting
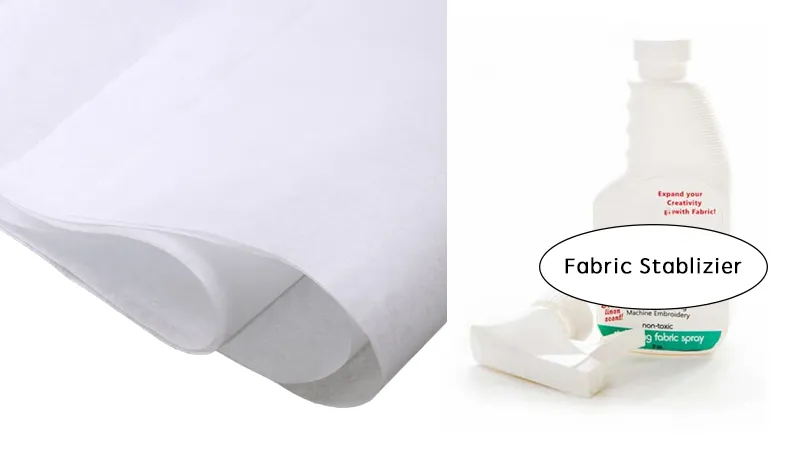
There are various types of fabric stabilizers for quilting, each with its own unique properties and uses. Here are some of the most common options:
Fusible Stabilizers: These are iron-on stabilizers that adhere to the fabric when heat is applied. They are great for providing a stable base without adding bulk.
Sew-In Stabilizers: These stabilizers are stitched into the fabric and can be removed after quilting. They are ideal for fabrics that might be damaged by heat.
Water-Soluble Stabilizers: These dissolve in water after the quilting is complete, leaving no trace behind. They are perfect for delicate fabrics.
Tear-Away Stabilizers: These stabilizers are designed to be torn away from the fabric after quilting. They provide temporary support and are easy to remove.
How to Stabilize Fabric for Quilting? Step-by-Step Guide
Step 1: Choose the Right Stabilizer:
Depending on your fabric type and the nature of your project, select an appropriate stabilizer. For instance, a fusible stabilizer works well with cotton, while a water-soluble stabilizer is ideal for delicate fabrics.
Step 2: Prepare the Fabric:
Wash and iron your fabric to remove any wrinkles or sizing. This step ensures that the stabilizer adheres properly.
Step 3: Cut the Stabilizer:
Cut the stabilizer slightly larger than your fabric piece. This extra margin helps in managing any shrinkage or movement during the application.
Step 4: Apply the Stabilizer:
For fusible stabilizers, place the rough side of the stabilizer on the wrong side of the fabric and press with a hot iron. Follow the manufacturer’s instructions for the exact temperature and pressing time.
For sew-in stabilizers, pin the stabilizer to the fabric and stitch around the edges to secure it.
For water-soluble stabilizers, follow the same process as fusible stabilizers, but remember to wash it out after quilting.
For tear-away stabilizers, pin or baste them to the fabric, and remove them carefully after quilting.
Step 5: Quilt as Usual:
With the stabilizer in place, proceed with your quilting. The stabilized fabric will be easier to handle, and you’ll achieve more precise results.
Tips and Tricks for Effective Fabric Stabilization
Test First: Always test the stabilizer on a small fabric scrap to ensure it works well with your material.
Use Quality Stabilizers: Invest in high-quality stabilizers for the best results. Cheap stabilizers might not adhere well or could damage your fabric.
Follow Manufacturer Instructions: Each stabilizer type comes with specific instructions. Following these ensures optimal performance.
Reinforce Seams: When working with stabilized fabric, reinforce your seams with extra stitching to maintain the quilt’s integrity.
Choosing the Right Stabilizer for Different Fabrics

Different fabrics require different types of stabilizers to achieve the best results. Here’s a brief guide on how to choose the right stabilizer for various fabric types:
Cotton Fabrics: Cotton is a common quilting fabric that benefits from a lightweight fusible stabilizer. This type of stabilizer adheres easily and provides enough support without adding bulk.
Knit Fabrics: Knit fabrics, like those used in t-shirt quilts, require a fusible knit interfacing. This type of stabilizer stretches with the fabric, preventing it from losing its shape during quilting.
Silk and Satin: These delicate fabrics need a stabilizer that won’t damage them. A water-soluble stabilizer is ideal, as it provides the necessary support during sewing but can be easily washed away afterward, leaving the fabric intact.
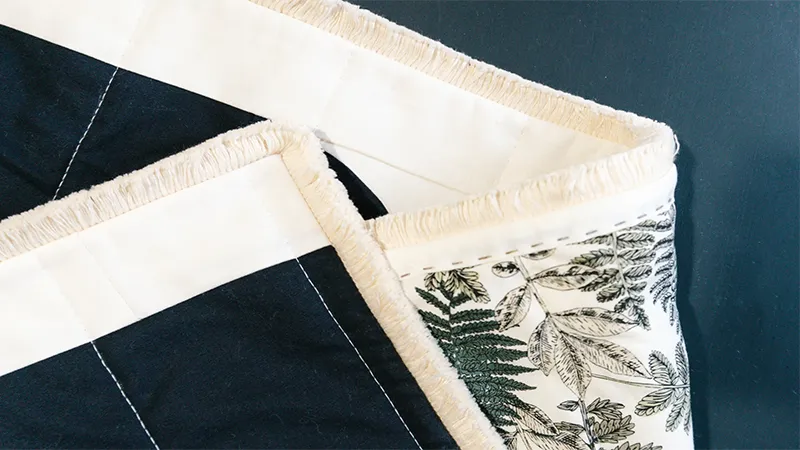
Heavy Fabrics: For heavier fabrics like denim or canvas, a sturdier sew-in stabilizer works best. It can handle the weight and provides strong support without distorting the fabric.
Creative Uses of Fabric Stabilizers
Creating Appliqués: Stabilizers are great for creating appliqués. They make the fabric firm and easy to cut into intricate shapes, which can then be sewn onto your quilt top.
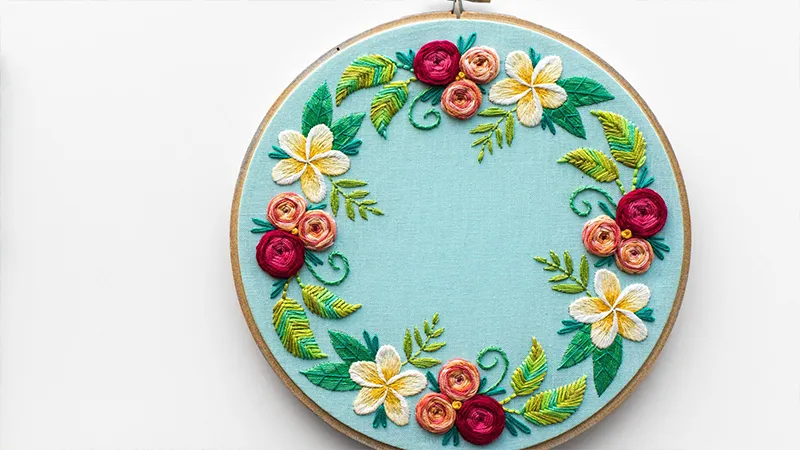
Embroidery Projects: For quilts with embroidered designs, a stabilizer helps to keep the fabric taut, ensuring that the embroidery stitches are even and the design remains intact.
Mixed Media Quilts: If you’re incorporating non-traditional materials into your quilt, such as lace, netting, or metallic fabrics, a stabilizer can help to manage these materials and integrate them seamlessly into your quilt design.
FAQs
How to Stabilize Old Fabric for Quilting?
Old fabric can pose unique challenges due to its potential for fraying and weakening over time. Here’s how to stabilize old fabric for quilting:
Assess the Fabric: Examine the fabric for any weak spots or damage. Avoid using parts that are too fragile.
Pre-Treat the Fabric: Wash the fabric gently and use a fabric softener to revive its texture. Iron it to remove any wrinkles.
Use a Stabilizer: A fusible interfacing works well for old fabrics. It reinforces the fabric without adding too much bulk. Follow the same application steps as mentioned above.
Handle with Care: When quilting, handle the fabric gently to avoid stressing the fibers. Use a sharp needle and ensure your sewing machine is well-maintained to prevent any snags or pulls.
How to Stabilize Fabric for a T-Shirt Quilt?
T-shirt quilts are popular for preserving memories, but t-shirt fabric can be stretchy and difficult to work with. Here’s how to stabilize fabric for a t-shirt quilt:
Select the Right T-Shirts: Choose T-shirts that are in good condition and free of holes or significant wear.
Cut the T-shirts: Cut the T-shirt into squares or rectangles, leaving a margin around the design you want to feature.
Apply a Stabilizer: Use a fusible knit interfacing as a fabric stabilizer for t-shirt quilts. It’s stretchy and moves with the fabric, providing the necessary support without compromising the softness.
Iron the Stabilizer: Place the interfacing on the wrong side of the t-shirt fabric and iron it on. Follow the manufacturer’s instructions for heat and duration.
Assemble the Quilt: Once all your t-shirt pieces are stabilized, proceed with arranging and sewing them into your quilt design.
Conclusion
Stabilizing fabric is a crucial step in quilting that can significantly impact the quality and durability of your finished quilt. By choosing the right fabric stabilizer for quilting and following proper application techniques, you can achieve professional results. Whether you’re working with new fabric, old fabric, or creating a t-shirt quilt, stabilization ensures that your fabric remains stable, making the quilting process smoother and more enjoyable.
Remember, the key to successful quilting lies in preparation. Take the time to stabilize your fabric properly, and you’ll find that your quilts not only look better but also last longer. Happy quilting!