Sewing tulle fabric presents unique challenges due to its delicate, net-like structure. However, mastering the proper techniques opens up a world of creative possibilities, from elegant bridal wear to whimsical costumes. Understanding the nuances of handling and stitching tulle is essential for achieving professional-looking results.
This guide will walk you through the essential steps of sewing tulle, including fabric preparation, stitch selection, and seam finishing. We’ll explore tips and tricks to minimize puckering and ensure a smooth, even finish, allowing you to confidently work with this beautiful and versatile material.
When You Need to Sew Tulle Fabric
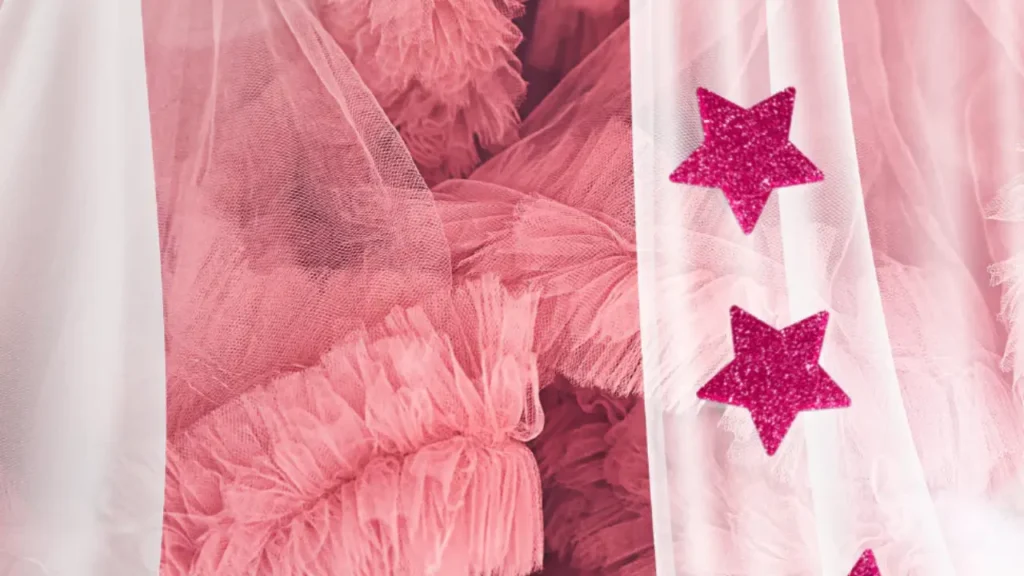
Tulle fabric is often chosen for projects that require a light, airy, and ethereal quality, making it a popular choice for special occasions and decorative applications. Its sheer, net-like structure allows for layering and volume without adding bulk, making it ideal for creating dramatic silhouettes and delicate embellishments. Common applications include bridal wear, such as veils and skirts, evening gowns, costumes, and dance attire, where its graceful drape and transparency enhance the overall design. Additionally, sewing tulle is necessary when repairing or repurposing broken tulle fabric, such as mending tears in veils or creating patches for damaged sections of garments.
Beyond garments, tulle is also used in home décor and crafting projects. It adds a whimsical touch to decorations for parties, weddings, and other festive events. Tulle can be used to create bows, table runners, and decorative overlays. Its versatility extends to crafting, where it can be used to make tutus, hair accessories, and other delicate embellishments.
The fabric’s ability to be gathered, layered, and manipulated makes it a favorite among designers and crafters seeking to add a touch of romance and elegance to their creations. Sewing tulle is also essential for reinforcing weak areas or adding decorative patches to extend the life of damaged tulle items.
How to Sew Tulle Fabric
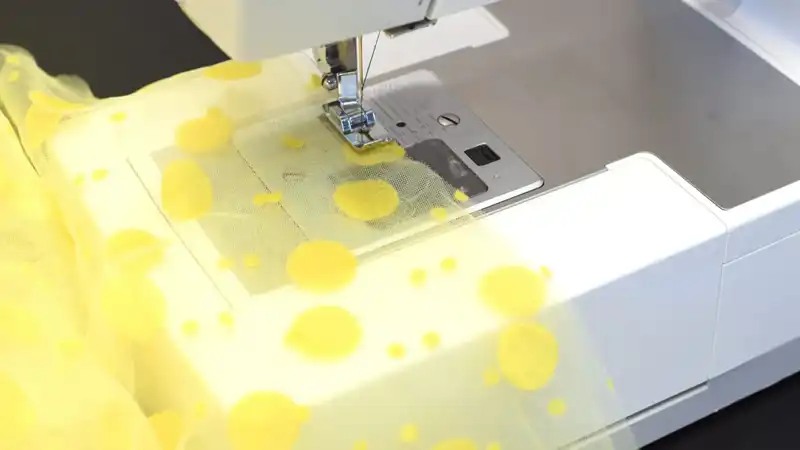
Stitching tulle fabric requires a delicate touch and precise techniques to manage its sheer, net-like structure. Proper handling and stitch selection are crucial for achieving professional-looking results. Here’s a comprehensive guide to sewing tulle fabric:
Tools Needed:
- Fine Sewing Needles (size 60/8 or 70/10)
- Fine Thread (nylon, polyester, or silk)
- Sharp Scissors or Rotary Cutter
- Pins (fine, silk pins recommended)
- Sewing Machine with a Straight Stitch and Zigzag Stitch
- Walking Foot (optional, but helpful)
- Iron with a Cool Setting (if needed)
- Tissue Paper (optional, for stabilizing)
Step 1: Prepare the Tulle Fabric
Begin by carefully inspecting the tulle for any snags or tears. Gently press the fabric with a cool iron if necessary, using a protective cloth to prevent damage. Cut the tulle with sharp scissors or a rotary cutter to ensure clean edges. If the tulle is very fine or slippery, consider stabilizing it with tissue paper or a stabilizer spray before cutting and sewing.
Proper preparation ensures a smooth sewing process. Inspecting for damage prevents further tearing during handling. Gentle pressing removes wrinkles without damaging the delicate fibers. Stabilizing the tulle makes it easier to handle and sew, preventing slipping and puckering.
Cutting tulle with sharp tools is vital for clean edges. Dull scissors can snag and tear the fabric. If using tissue paper, pin it to the tulle before cutting and sewing, and then tear it away afterward. Stabilizer spray provides temporary stability and washes away after sewing.
Step 2: Choose the Right Stitch and Thread
Select a fine thread, such as nylon, polyester, or silk, that matches the tulle’s color and weight. Use a fine needle, size 60/8 or 70/10, to prevent damaging the delicate fabric. For seams, a narrow zigzag stitch or a straight stitch with a short stitch length is recommended. A walking foot can help feed the tulle evenly and prevent puckering.
Choosing the right thread and needle is crucial for a smooth finish. Fine needles prevent large holes in the tulle. A zigzag stitch provides flexibility and prevents seams from tearing. A walking foot ensures even feeding, especially when sewing multiple layers of tulle.
Test your stitch settings on a scrap piece of tulle before sewing your project. Adjust the stitch length and width as needed to achieve a secure and even seam. Consistent stitch length and tension are essential for a professional look.
Step 3: Sew the Tulle Carefully
Pin the tulle pieces together using fine, silk pins to prevent snagging. Sew slowly and carefully, guiding the fabric under the needle. Avoid stretching the tulle as you sew, as this can cause puckering or distortion. If you are sewing multiple layers, a walking foot can help feed the fabric evenly.
Careful pinning and slow sewing prevent damage to the delicate tulle. Fine pins minimize snagging. Gentle guidance of the fabric ensures even seams. Avoid stretching the tulle to prevent distortion and maintain its shape.
When sewing seams, consider using a French seam or a rolled hem to encase the raw edges and prevent fraying. These techniques provide a clean and professional finish. For delicate hems, a narrow rolled hem on your sewing machine is a good option. If you are adding embellishments, sew them on securely to prevent them from loosening or falling off.
How to Sew Tulle Onto Fabric

Sewing tulle onto fabric requires careful handling and precise techniques to ensure a smooth and professional finish. Proper preparation and stitch selection are crucial for managing the delicate nature of tulle. Here’s a comprehensive guide:
Tools Needed:
- Fine Sewing Needles (size 60/8 or 70/10)
- Fine Thread (nylon, polyester, or silk)
- Sharp Scissors or Rotary Cutter
- Pins (fine, silk pins recommended)
- Sewing Machine with a Straight Stitch and Zigzag Stitch
- Walking Foot (optional, but helpful)
- Iron with a Cool Setting (if needed)
- Tissue Paper or Water Soluble Stabilizer (optional)
Step 1: Prepare the Tulle and Base Fabric
Begin by carefully inspecting both the tulle and the base fabric for any snags or tears. Gently press both fabrics with a cool iron if necessary, using a protective cloth to prevent damage. Cut the tulle and base fabric with sharp scissors or a rotary cutter to ensure clean edges. If the tulle is very fine or slippery, consider stabilizing it with tissue paper or a water-soluble stabilizer before cutting and sewing.
Proper preparation is essential for a smooth sewing process. Inspecting for damage prevents further tearing during handling. Gentle pressing removes wrinkles without damaging the delicate fibers. Stabilizing the tulle makes it easier to handle and sew, preventing slipping and puckering. Clean cuts on both fabrics are vital for a clean seam.
If using tissue paper, pin it to the tulle before cutting and sewing, and then tear it away afterward. Stabilizer spray provides temporary stability and washes away after sewing. Test your chosen stabilizer on a scrap of fabric first.
Step 2: Choose the Right Stitch and Thread
Select a fine thread, such as nylon, polyester, or silk, that matches the tulle’s color and weight, as well as the base fabric. Use a fine needle, size 60/8 or 70/10, to prevent damaging the delicate tulle and base fabric. For attaching tulle to fabric, a narrow zigzag stitch or a straight stitch with a short stitch length is recommended. A walking foot can help feed the tulle and base fabric evenly and prevent puckering.
Choosing the right thread and needle is crucial for a smooth finish. Fine needles prevent large holes in the tulle and base fabric. A zigzag stitch provides flexibility and prevents seams from tearing. A walking foot ensures even feeding, especially when sewing multiple layers of fabric. The thread should be strong but fine.
Test your stitch settings on scrap pieces of both tulle and base fabric before sewing your project. Adjust the stitch length and width as needed to achieve a secure and even seam. Consistent stitch length and tension are essential for a professional look.
Step 3: Sew the Tulle Onto the Fabric Carefully
Pin the tulle onto the base fabric using fine, silk pins to prevent snagging. Sew slowly and carefully, guiding the fabric under the needle. Avoid stretching the tulle or the base fabric as you sew, as this can cause puckering or distortion. If you are sewing multiple layers, a walking foot can help feed the fabric evenly.
Careful pinning and slow sewing prevent damage to the delicate tulle and base fabric. Fine pins minimize snagging. Gentle guidance of the fabric ensures even seams. Avoid stretching the fabric to prevent distortion and maintain its shape.
Consider using a basting stitch first to secure the tulle to the base fabric before sewing a permanent seam. This provides extra stability. When sewing seams, consider using a French seam or a rolled hem to encase the raw edges of the base fabric and prevent fraying. These techniques provide a clean and professional finish.
Tulle Fabric Sew Methods
Tulle fabric, with its delicate, net-like structure, requires specific sewing methods to achieve professional and durable results. Understanding these techniques is crucial for working with tulle in various projects, from bridal wear to costumes and decorations.
Straight Stitch with Short Stitch Length
Using a straight stitch with a short stitch length is ideal for creating seams and attaching tulle to other fabrics. This method provides a secure and stable seam, preventing the tulle from tearing or shifting. A short stitch length, around 1.5 to 2.0 mm, ensures the thread closely binds the tulle fibers, minimizing the risk of slippage.
This technique is particularly useful when sewing multiple layers of tulle or attaching tulle to heavier fabrics. The close stitching pattern provides added reinforcement, preventing the seam from stretching or distorting. When using a straight stitch, it’s essential to maintain consistent tension to avoid puckering.
Zigzag Stitch for Flexibility
A narrow zigzag stitch offers flexibility and prevents seams from tearing, especially in areas that require movement or stretching. This stitch is ideal for attaching tulle to stretchy fabrics or creating gathered seams. The zigzag stitch allows the seam to move with the fabric, preventing it from breaking under stress.
When using a zigzag stitch, adjust the stitch width and length to suit the tulle’s delicacy. A narrow width and short length provide a secure and flexible seam without creating bulky or visible stitching. This method is also suitable for finishing raw edges of tulle, preventing fraying and adding a clean, professional look.
French Seams for Enclosed Edges
French seams are excellent for encasing the raw edges of tulle, providing a clean and professional finish. This technique involves sewing the seam twice, first with the wrong sides together and then with the right sides together, encasing the raw edges within the seam. This method is ideal for sheer fabrics like tulle, as it prevents fraying and creates a smooth, enclosed seam.
French seams are particularly useful for garments where the inside of the seam will be visible, such as sheer skirts or overlays. This method adds a touch of elegance and durability, ensuring the garment looks beautiful both inside and out. When using French seams, it’s essential to maintain consistent seam allowances and precise stitching to achieve a neat and professional finish.
Rolled Hem for Delicate Edges
A rolled hem is perfect for finishing the delicate edges of tulle, creating a clean and refined look. This technique involves folding the edge of the tulle twice and stitching close to the fold, encasing the raw edge. A narrow rolled hem on a sewing machine provides a neat and professional finish, preventing fraying and adding a subtle decorative touch.
Rolled hems are ideal for finishing the edges of veils, skirts, or other tulle garments where a delicate and clean edge is desired. This method prevents the tulle from fraying and adds a finished look to the garment. When using a rolled hem, ensure the folds are even and the stitching is consistent to achieve a smooth and professional finish.
Basting Stitch for Temporary Securing
Basting is especially helpful when attaching tulle to curved or complex shapes, ensuring the fabric remains in place during sewing. This technique provides extra stability and prevents puckering or distortion. After sewing the permanent seam, carefully remove the basting stitches to achieve a clean and professional finish.
A basting stitch is a temporary stitch used to secure tulle to other fabrics before sewing a permanent seam. This method is particularly useful when working with slippery or delicate fabrics like tulle, as it prevents shifting and ensures accurate placement. Basting stitches are typically long and loose, making them easy to remove after the permanent seam is sewn.
Conclusion
In conclusion, sewing tulle fabric demands patience and precision, but the results are often stunning. Mastering the delicate techniques, from proper preparation to stitch selection, ensures a professional finish. Understanding the fabric’s unique properties allows for creative manipulation and beautiful outcomes in various projects.
Proper handling and the right tools are crucial for successful tulle sewing. Gentle pressing, fine needles, and appropriate stitch settings prevent damage and puckering. Whether creating bridal wear, costumes, or decorative items, these techniques enhance the fabric’s ethereal quality.
By following these guidelines, you can confidently work with tulle, creating elegant and intricate designs. For high-quality wholesale tulle fabric that meets your project’s needs, contact Fanda Fabrics today. We offer a wide range of tulle options, ensuring you find the perfect match. Get in touch to discuss your requirements and benefit from our expert services.