Sewing batting to fabric is a fundamental skill in the quilting and sewing world. Whether you’re making a quilt, a soft toy, or a cozy blanket, understanding How to Sew Batting to Fabric will enhance the durability and texture of your project.
In this guide, I will walk you through the steps to sew batting to fabric effectively, offering tips and techniques to help you achieve professional results.
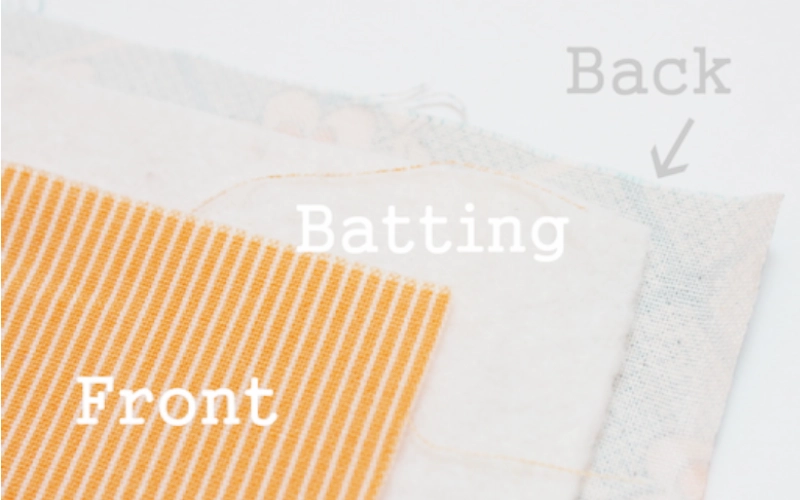
What is Batting?
Before we dive into the sewing process, let’s discuss batting. Batting is a layer used in quilting and sewing projects that adds loft, warmth, and structure. It comes in various materials, including cotton, polyester, and wool, and is available in different thicknesses. Choosing the right batting for your project is crucial as it influences the overall feel and look of your finished item.
As a beginner, you might find it helpful to experiment with different types of batting to see how they behave during the sewing process. Each material has unique qualities, and your choice may vary depending on the project’s requirements.
Sewing Batting to Fabric
How to sew batting in a quilt and how to sew batting to fabric have the same purpose.
Gathering Your Materials
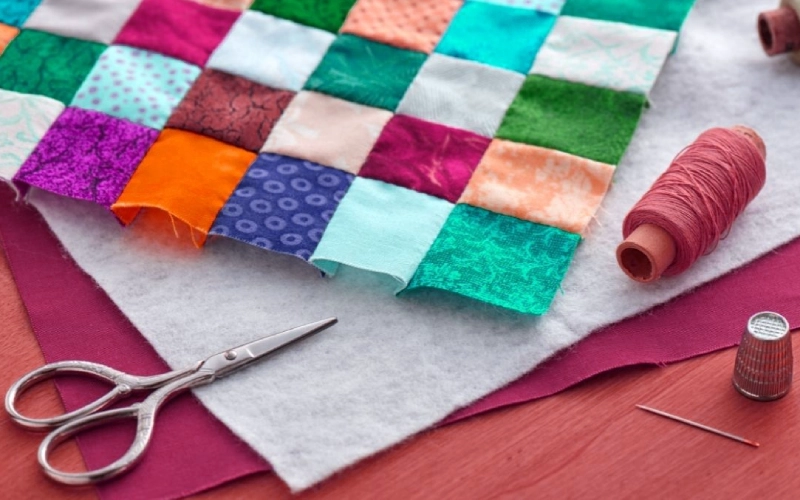
To sew batting to fabric, you will need the following materials:
- Batting: Choose the thickness and material appropriate for your project.
- Fabric: The top fabric and backing fabric for your project.
- Sewing Machine: A reliable sewing machine is essential for a smooth process.
- Thread: Select a thread that matches the fabric or is slightly contrasting for a decorative effect.
- Rotary Cutter and Mat: For cutting the fabric and batting accurately.
- Ruler: To measure and cut your fabric and batting precisely.
- Straight Pins or Clips: To hold layers together while sewing.
- Iron: For pressing the fabric and batting, ensuring flat seams.
- Scissors: For trimming excess fabric or threads.
- Quilting Foot (optional): If you’re quilting your project, a walking foot can help manage the layers.
Step 1: Preparing Your Fabric and Batting
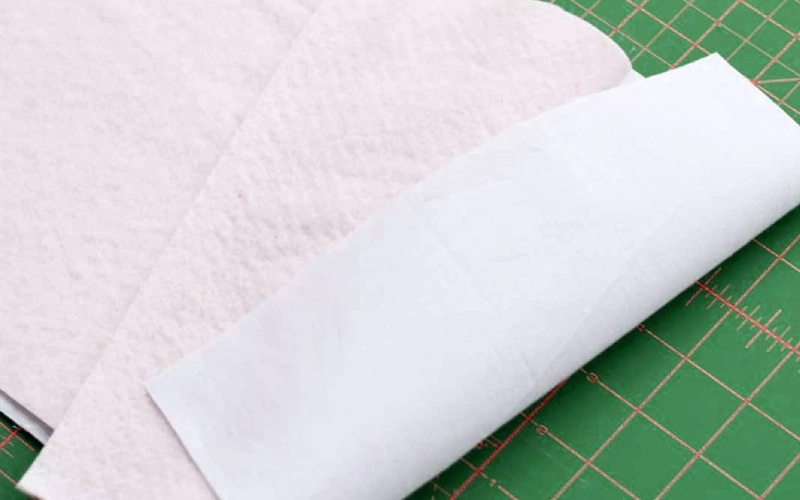
First, it’s essential to prepare your fabric and batting. I recommend prewashing your fabric to remove any sizing or chemicals, ensuring it shrinks and behaves consistently during the sewing process. Once cleaned, iron the fabric to remove any wrinkles.
Next, you’ll need to cut your batting to size. Lay it over the backing fabric and top fabric to determine the correct dimensions. I like to leave a few extra inches around the edges to allow for trimming later on.
Cutting the Batting
- Lay Out Your Batting: Spread the batting out on a clean, flat surface.
- Measure and Cut: Use a rotary cutter and ruler to cut the batting to the desired dimensions, leaving a margin of about 2 inches on each side of your fabric.
Step 2: Layering the Components
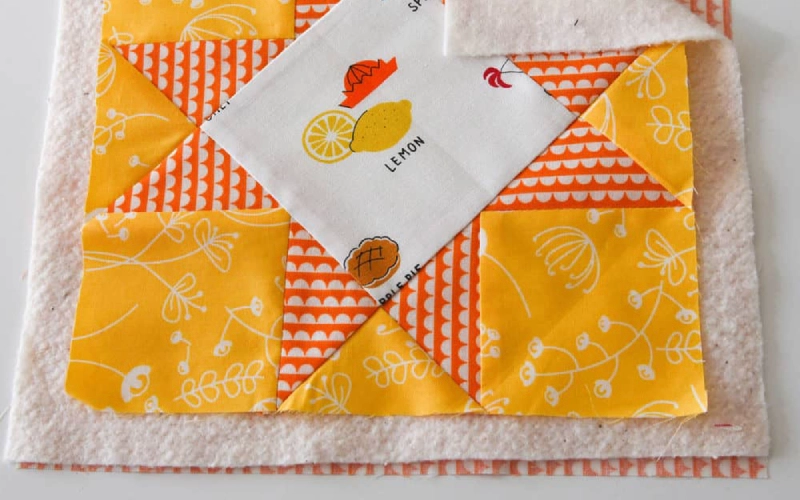
Now that you have your fabric and batting cut, it’s time to layer them together. Here’s how to do it:
- Bottom Layer: Place your backing fabric right side down on your work surface.
- Middle Layer: Place the batting on top of the backing fabric.
- Top Layer: Finally, place your top fabric right side up on top of the batting.
Make sure everything is aligned properly and that the edges of each layer are even. At this point, I often check for any wrinkles or creases in the fabric and adjust accordingly.
At this step, we should consider how to sew quilt top batting and backing.
Step 3: Pinning or Basting the Layers Together
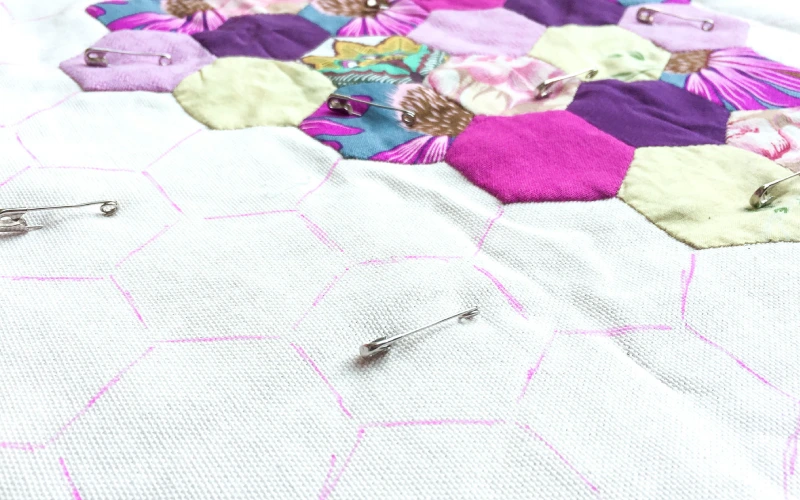
To prevent the layers from shifting while you sew, you’ll need to pin or baste them together. I prefer using straight pins or clips for this purpose, especially for larger projects.
- Pinning: Start at the center of the layers and work your way outwards, spacing your pins about 4-6 inches apart. Make sure the pins go through all three layers.
- Basting (Optional): If you’re working on a larger quilt or think the layers might shift, consider basting the layers using a long stitch on your sewing machine. This temporary stitching will hold everything in place and is easy to remove later.
Step 4: Sewing the Layers Together
With the layers securely pinned or basted, it’s time to sew them together:
- Set Your Machine: Use a standard straight stitch for most projects, or a zigzag stitch if you want some flexibility in your seams.
- Stitching: Start sewing from one edge, using a 1/4 inch seam allowance, and make sure to sew through all three layers.
- Keep it Steady: As you sew, gently guide the fabric without pulling it. The feed dogs of your sewing machine will help with the movement.
As you sew, take your time. If you encounter any puckering, stop, adjust the layers, and continue sewing. I find that keeping a steady speed helps to minimize issues.
This step is the key to can you sew batting together for a quilt.
Step 5: Trimming Excess Batting and Fabric
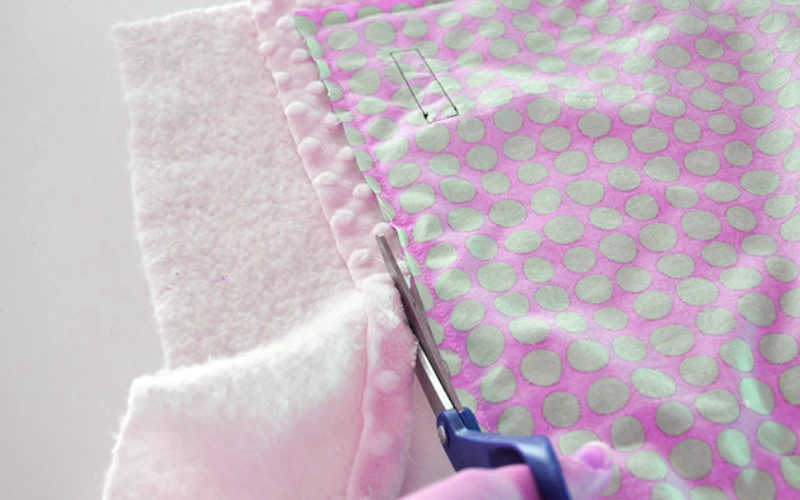
After you have sewn around all edges, it’s time to trim the excess batting and fabric. Here’s how:
- Trimming: Lay your project flat and use scissors to trim the batting to match the edges of your fabric, removing any overhanging batting. I like to trim just a bit beyond the seam line to ensure that everything stays neat.
- Squaring Up (Optional): Use a ruler and rotary cutter to square up your project if necessary. This step is especially helpful for quilt blocks.
Step 6: Finishing the Edges
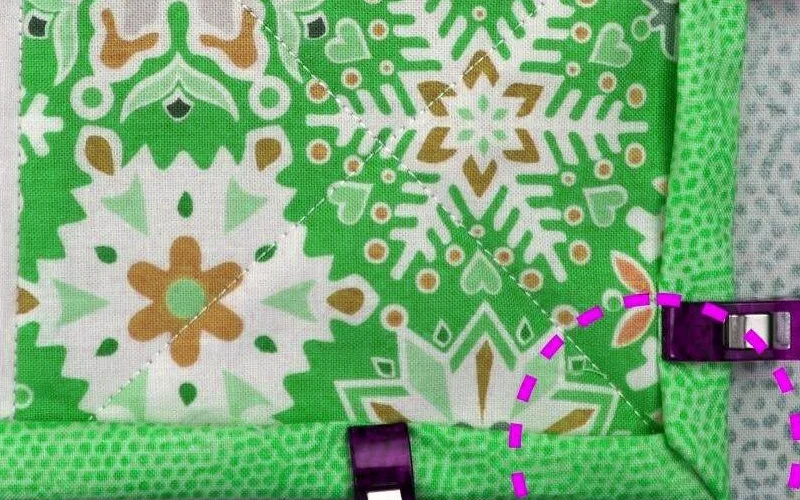
Once the excess is trimmed, you can finish the edges of your project. This is an essential step if you’re not planning to bind the quilt immediately:
- Zigzag Stitch or Serger: If the edges will fray, consider sewing a zigzag stitch or using a serger to prevent unraveling.
- Binding: If this is a quilt or a large project, you might be considering adding binding. This will give your project a polished finish.
Step 7: Quilting Your Project (Optional)
If you’re making a quilt, the next step is to quilt your layers together. Quilting adds stability and decorative elements to your project:
- Choosing a Quilting Pattern: Decide on a quilting pattern that suits your style, whether it’s free-motion quilting, straight-line quilting, or a more intricate design.
- Stitching the Layers: Quilt through all three layers by sewing along the chosen pattern. Depending on your batting, you might need to adjust the tension on your sewing machine for the best results.
Step 8: Final Touches
After quilting, it’s time to give your project some final touches:
- Pressing: Use an iron to press the seams flat, ensuring everything looks neat and tidy.
- Final Trimming: Take one last look at the edges and trim any loose threads or uneven edges.
Tips for Success
- Choose the Right Needle: Always use the appropriate size needle for your fabric and batting. A universal needle usually works well, but consider a quilter’s needle for thicker batting.
- Use the Right Thread: Match your thread to your fabric to prevent any noticeable stitches.
- Practice on Scraps: If you’re new to sewing batting, practice on small scraps before tackling your main project.
- Adjust Tension: Don’t hesitate to test and adjust your sewing machine’s tension settings, especially when working with thick layers.
- Stay Organized: Keep your workspace organized and have all your tools within reach. This will make the sewing process smoother and more enjoyable.
FAQs
How to Sew Two Pieces of Quilt Batting Together
To sew two pieces of quilt batting together, align the edges and pin them securely. Use a sewing machine with a straight stitch to sew along the edges, about 1/4 inch from the edge. Press the seam open to reduce bulk, and trim any excess batting if necessary.
Sew Easy Double Sided Fusible Cotton Batting
To use double-sided fusible cotton batting, cut it to your desired size. Place it between two fabric layers, ensuring the adhesive sides are facing the fabric. Press with an iron to fuse the layers together, following the manufacturer’s instructions. Once fused, you can quilt or sew as desired.
Why Should I Sew Batting to Fabric?
Sewing batting to fabric can add warmth, texture, and dimension to your projects. It’s commonly used in quilts, blankets, stuffed animals, and other items.
What is the Best Way to Sew Batting to Fabric?
One of the most common methods is quilting. This involves stitching through all layers of the fabric and batting to create a quilted pattern. Another method is basting, which involves temporarily stitching the layers together with large stitches.
What Kind of Needle and Thread Should I Use?
Use a strong, sharp needle like a quilting needle. For thread, choose a sturdy thread that can withstand the stress of stitching through multiple layers. Cotton or polyester thread is a good option.
Conclusion
Sewing batting to fabric may seem daunting at first, but with practice, it becomes a straightforward and rewarding process. By following these steps—prepping, layering, pinning, sewing, finishing, and optionally quilting—you’ll be well on your way to creating beautiful, durable projects that you can be proud of.
As you continue to explore different fabrics, batting types, and techniques, you’ll find your unique style in sewing. Don’t be afraid to experiment and learn from each project. Each quilt or item you create adds to your skill set and sewing confidence. Happy sewing!

