Canvas fabric serves as a versatile medium for various artistic endeavors, from creating stunning wall art to crafting personalized tote bags. Printing on canvas fabric opens up a world of creative possibilities, allowing you to showcase your designs with vibrant colors and durable results.
In this comprehensive guide, we’ll explore the process of printing on canvas fabric, covering everything from preparation to finishing touches.
How to Print on Canvas Fabric
Selecting the Right Canvas Fabric: Before diving into the printing process, choose the appropriate canvas fabric for your project. Consider factors such as weight, texture, and intended use. Opt for a canvas fabric specifically designed for printing to ensure optimal results.
Preparation and Pre-Treatment:
- Pre-treat the canvas fabric if necessary to enhance print adhesion and color vibrancy. Some canvas fabrics may require pre-washing or applying a fabric primer to achieve better printing results.
- Ensure the fabric is clean and free from dust, lint, and wrinkles before printing. Iron the fabric if needed to create a smooth printing surface.
Choosing the Printing Method:
Selecting the right printing method is crucial when it comes to printing on canvas fabric. Each method offers unique benefits and considerations, depending on factors such as the desired outcome, project scale, and budget. Here’s an exploration of different printing methods for canvas fabric:
Direct Printing:
- Direct printing involves applying ink directly onto the surface of the canvas fabric using specialized printers. This method is suitable for printing detailed designs and photographs directly onto the fabric.
- Pros: Direct printing offers high resolution and color accuracy, allowing for intricate designs and vibrant colors. It’s ideal for small-scale projects and customized prints.
- Cons: Direct printing may have limitations in terms of fabric compatibility and may not be suitable for large-scale production. It may also require special pre-treatment or post-treatment processes to ensure ink adhesion and durability.
Sublimation Printing:
- Sublimation printing involves transferring dye onto the fabric using heat. The dye sublimates into the fabric fibers, resulting in vibrant, long-lasting prints. Sublimation works best on polyester-based canvas fabrics.
- Pros: Sublimation printing offers excellent color vibrancy, durability, and wash-fastness. It’s well-suited for printing intricate designs and patterns on polyester canvas fabric.
- Cons: Sublimation printing is limited to polyester fabrics and may not be suitable for natural fibers like cotton or linen. It also requires specialized equipment and inks, making it more suitable for professional printing services.
Screen Printing:
- Screen printing involves transferring ink through a fine mesh screen onto the fabric. Each color in the design requires a separate screen, making it ideal for printing simple designs with fewer colors.
- Pros: Screen printing produces vibrant colors and opaque prints, making it suitable for bold and graphic designs. It’s cost-effective for larger production runs and offers excellent color consistency.
- Cons: Screen printing may not be suitable for complex designs with multiple colors or gradients. It requires setup time and costs for creating screens, making it less practical for small-scale projects.
Digital Printing:
- Digital printing utilizes inkjet technology to print designs directly onto the fabric surface. It offers versatility in printing various colors, gradients, and intricate details.
- Pros: Digital printing provides high-resolution prints with sharp details and vibrant colors. It’s suitable for both small-scale and large-scale projects, offering flexibility in design customization.
- Cons: Digital printing may have limitations in terms of color accuracy and fabric compatibility. Some digital printing inks may require post-treatment processes for improved wash-fastness and durability.
Heat Transfer Printing:
- Heat transfer printing involves transferring designs onto the fabric using heat and pressure. The design is printed onto transfer paper or vinyl and then applied to the fabric using a heat press.
- Pros: Heat transfer printing allows for full-color designs and photo-quality prints. It’s suitable for small-scale projects and customizations.
- Cons: Heat transfer prints may have limited durability compared to other methods, especially after repeated washings. The print quality can also be affected by factors such as temperature and pressure during application.
When choosing a printing method for canvas fabric, consider factors such as the desired print quality, fabric compatibility, project scale, and budget. Consulting with a printing professional can help you determine the most suitable method for your specific needs and ensure the best results for your printed canvas fabric project.
Preparing Artwork and Printing Setup:
Create or adjust your artwork to the desired size and resolution for printing. Ensure that colors are accurately represented and compatible with the chosen printing method.
Set up your printing equipment according to the manufacturer’s instructions, including loading the canvas fabric onto the printer and adjusting print settings for optimal results.
Printing and Post-Processing:
Start the printing process, ensuring that the ink is applied evenly and that the fabric remains flat and stable throughout the printing cycle.
After printing, allow the ink to cure or dry completely according to the recommended time frame. This may involve air-drying or heat-setting the print using a heat press or iron, depending on the printing method used.
Finishing Touches:
Once the print is fully dried and cured, inspect it for any imperfections or inconsistencies. Trim any excess threads or fabric edges for a clean finish.
If desired, apply a protective coating or sealer to the printed surface to enhance durability and UV resistance, especially for outdoor or high-traffic applications.
How to Print Quilt Labels on Fabric
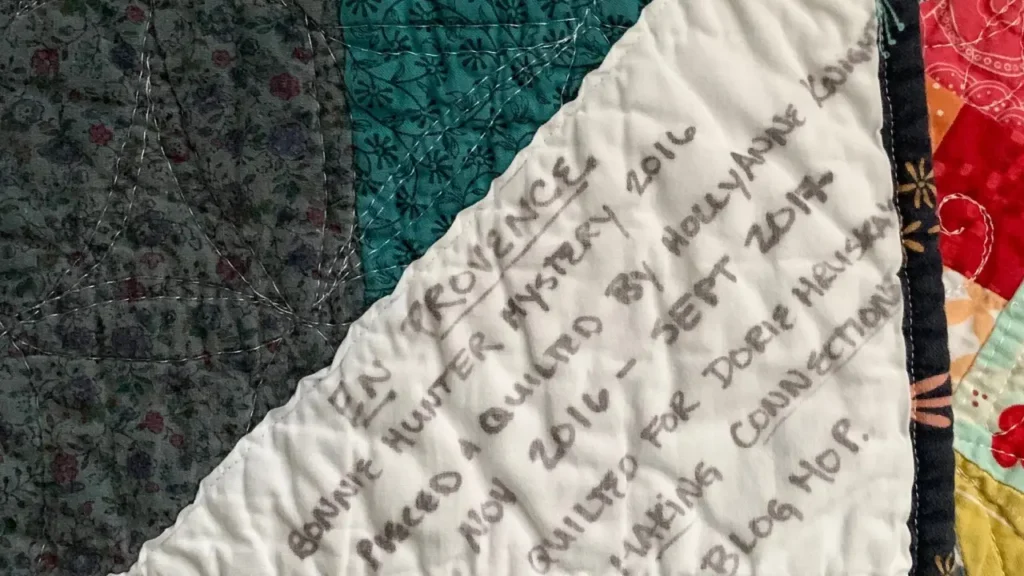
Here are two main methods for printing quilt labels on fabric at home:
Method 1: Using Freezer Paper
This method is popular and relatively inexpensive. Here’s what you’ll need:
- Inkjet printer (laser printers won’t work)
- Fabric for labels (light-colored, tightly woven cotton works best)
- Freezer paper
- Scissors
- Iron
- Permanent fabric marker (optional)
- Computer with word processing software
Steps:
- Prepare the Fabric: Pre-wash and iron your fabric to remove any sizing or wrinkles. You can also use pre-made fabric printing sheets if you prefer.
- Attach Fabric to Freezer Paper: Cut a piece of freezer paper slightly larger than your desired label size. Place the fabric (wrong side down) on the shiny side of the freezer paper. Iron firmly to secure the fabric. Trim the fabric and freezer paper together to a standard printer paper size (8.5″ x 11″).
- Design Your Label: Create your label design on your computer using text and images. Remember to mirror the image if needed (check your printer settings).
- Print the Label: Feed the fabric/freezer paper combo into your printer, ensuring the fabric side faces the ink. Use the “normal” print setting. Print a test page on regular paper first to ensure everything looks good.
- Set the Ink: Once printed, let the label dry completely. Then, iron the label again with a press cloth (optional) to set the ink.
- Finish the Label: Carefully peel away the freezer paper. You can now cut out your individual labels and add finishing touches with a fabric marker if desired.
Method 2: Using Fabric Inkjet Sheets
This method is simpler but may be slightly more expensive.
Steps:
- Purchase pre-treated fabric inkjet sheets designed for your printer.
- Design your label on your computer.
- Print the label directly onto the fabric sheet according to the manufacturer‘s instructions.
- Cut out your individual labels.
Tips for Both Methods:
Wash and dry your finished quilt to ensure the label holds up.
Use high-quality ink for better colorfastness.
Test a scrap piece of fabric before printing on your final labels.
How to Print Pictures on Fabric for Quilts
There are two main ways to print pictures on fabric for quilts:
Option 1: Using Fabric Printing Services
This is the simplest method and offers the highest quality results, but it comes at a cost. Here’s what you’ll do:
- Choose a fabric printing service. Many online and local print shops offer fabric printing specifically for quilting.
- Prepare your image for printing. Ensure it’s high-resolution and in the correct format (usually JPG or PNG) as specified by the service.
- Upload your image and choose your fabric type. Common options include cotton, cotton blends, and polyester blends.
- Submit your order and wait for your printed fabric to arrive.
Option 2: Printing at Home with Inkjet Fabric Sheets
This method is more affordable but requires some additional materials and may not produce professional-quality results. Here’s what you’ll need:
- Inkjet printer compatible with fabric sheets
- Fabric inkjet sheets (treated for printing)
- Scissors
- Iron
Steps:
- Purchase fabric inkjet sheets compatible with your printer type.
- Edit your image for printing if needed (brightness, contrast, size).
- Following the manufacturer‘s instructions for your fabric sheets, print your image directly onto the fabric sheet.
- Let the ink dry completely (drying time may vary).
- Cut out your image, following the printed outline if provided.
Additional Tips:
For best results, choose light-colored, tightly woven fabrics for better image quality.
Not all printers work well with fabric sheets. Make sure yours is compatible before you buy.
Conduct a test print on a scrap piece of fabric sheet before using your final image.
Wash and dry the printed fabric according to the manufacturer‘s instructions to ensure the ink sets properly.
Care and Maintenance for Printed Canvas Fabric
Caring for printed canvas fabric requires special attention to preserve the integrity of the print while maintaining the fabric’s overall quality. Here’s a detailed guide on how to properly care for and maintain printed canvas fabric:
Regular Dusting:
Dust the surface of the printed canvas fabric regularly using a soft, dry cloth or a duster. This helps prevent dust and debris from settling into the fabric and affecting the print’s clarity and vibrancy.
Spot Cleaning:
Address any spills or stains on the printed canvas fabric as soon as possible to prevent them from setting in. Use a clean, damp cloth or sponge to gently blot the affected area. Avoid rubbing the stain, as it may cause the ink to smear.
If necessary, use a mild detergent diluted in water to spot clean stubborn stains. Test the cleaning solution on a small, inconspicuous area of the fabric first to ensure it doesn’t affect the print.
Avoid Harsh Chemicals:
When cleaning printed canvas fabric, avoid using harsh chemicals, bleach, or abrasive cleaners, as they can damage the print and cause discoloration. Stick to gentle, pH-neutral cleaning solutions to maintain the print’s integrity.
Hand Washing:
If the printed canvas fabric requires thorough cleaning, consider hand washing it using a mild detergent and lukewarm water. Gently agitate the fabric in the soapy water, then rinse thoroughly with clean water.
Avoid wringing or twisting the fabric, as this can distort the print and cause creases. Instead, gently squeeze out excess water and lay the fabric flat to air dry.
Avoid Direct Sunlight:
Prolonged exposure to direct sunlight can cause the colors of the print to fade over time. Position printed canvas fabric away from windows or use curtains or blinds to block out sunlight.
If displaying printed canvas fabric artwork, consider using UV-protective glass or framing materials to minimize sun damage and prolong the print’s lifespan.
Storage:
Store printed canvas fabric items in a clean, dry area away from moisture and humidity. Avoid folding or creasing the fabric excessively, as this can lead to permanent wrinkles and damage the print.
If rolling the fabric for storage, use a sturdy tube or core to prevent creases and maintain the print’s integrity.
Professional Cleaning:
For stubborn stains or extensive cleaning needs, consider seeking professional cleaning services. Choose a cleaner experienced in handling printed textiles to ensure the best results without compromising the print’s quality.
By following these care and maintenance practices, you can prolong the life of your printed canvas fabric and enjoy its vibrant colors and intricate designs for years to come.
Conclusion
Printing on canvas fabric offers endless opportunities for creative expression and customization. By following the steps outlined in this guide and choosing the right printing method for your project, you can achieve professional-quality prints that showcase your artistic vision on durable and versatile canvas fabric. So, unleash your creativity and start transforming blank canvas into stunning works of art!