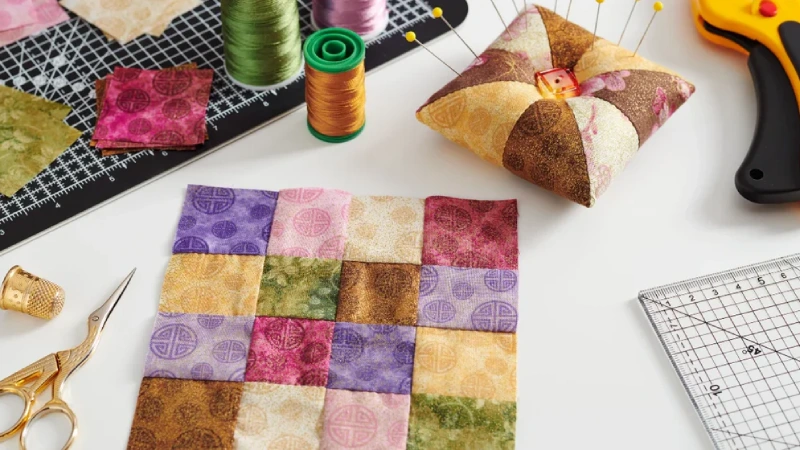
Quilting starts long before the first stitch. As Quilt Fabric Manufacturers and sleepwear specialists, we know that a quilt’s quality depends heavily on the prep work. Whether you’re a beginner or a seasoned crafter, How to Prepare Fabric for Quilting is one of the most overlooked—but critical—steps in your project. When you prepare properly, your final quilt turns out smoother, more vibrant, and durable.
From our experience working with both wholesale clients and individual quilters, skipping this step often leads to frustration later. Fabric shrinkage, frayed edges, or color bleeding? All preventable. We’ve heard from many of our Quilt Fabric Distributors and retailers that customers who take time to prep their fabrics come back with glowing reviews.
In this guide, we’ll walk through how to get your fabric ready—from understanding fabric types to prewashing, pressing, and squaring. Think of it as setting the stage for a flawless masterpiece.
What is Quilting Cotton Fabric
If you’re quilting, chances are you’re using quilting cotton—a tightly woven, 100% cotton fabric made especially for patchwork and sewing projects. According to Wikipedia, quilting cotton differs from regular cotton in thread count and durability. It’s specifically produced to handle repeated washing and wear without losing its shape or color.
We manufacture quilting cotton using carefully selected yarns and finish them with a smooth surface for easier cutting and piecing. Many of our wholesale clients prefer this cotton for its balance between softness and structure.
Now, How Thick Is Quilting Fabric? Typically, quilting cotton sits in the mid-weight range with a Quilting Fabric GSM (grams per square meter) of around 140–160. This weight makes it easy to sew, press, and quilt without bulk. We often receive questions from new buyers about thickness, especially when comparing it to flannel or poplin. Quilting cotton is thicker than voile but lighter than denim—perfectly in the middle.
And yes, Why Is Quilting Fabric So Expensive? It’s a mix of quality raw materials, ethical production standards, and precision manufacturing. Quality control in dye consistency, print accuracy, and fabric width all add to the cost, but they also mean your final project looks and feels premium.
How to Prepare Fabric for Quilting: Step by Step
Step 1: Prewash or Not?
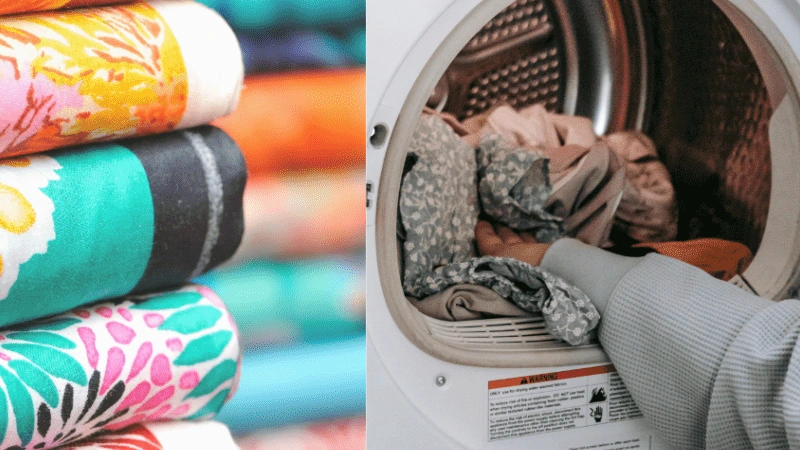
The debate is real: to prewash or not to prewash? We get this question often from our customers and even Quilt Fabric Distributors. Prewashing removes any sizing (a fabric stiffener) and ensures that any shrinkage happens before quilting—not after.
In our production lines, we use eco-friendly sizing agents that wash out easily and don’t leave residue. Still, many professional quilters prefer to prewash just to be safe, especially when mixing different fabric brands.
Use cold water, mild detergent, and avoid fabric softeners. After washing, tumble dry low or air dry flat. Once dry, iron the fabric to restore smoothness. This step also makes cutting more precise.
Some quilters skip this step for a more crinkled, vintage look post-quilting. It comes down to your aesthetic and how the quilt will be used. Baby quilts or heirlooms? We recommend prewashing every time.
Step 2: Pressing Fabric Matters More Than You Think
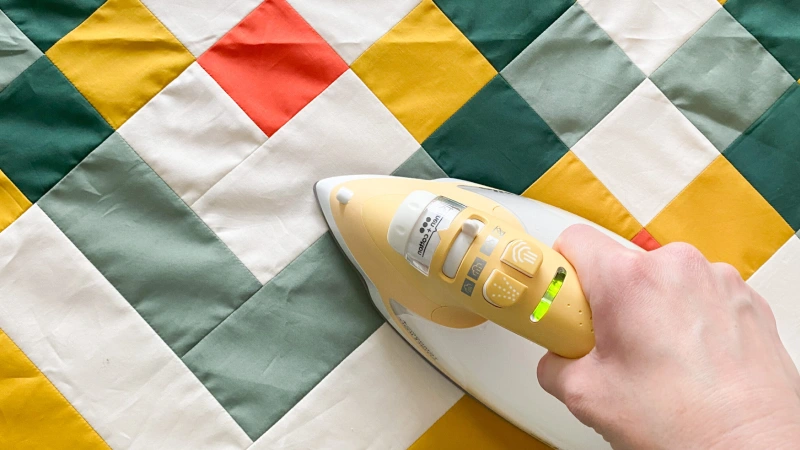
Pressing isn’t glamorous, but it makes a huge difference. Ironed fabric lays flat, cuts evenly, and pieces together with more precision. We always advise our clients to invest in a good steam iron or heat press—especially if they plan to work with Bright Quilt Fabric, which shows wrinkles more visibly.
Pro tip: Press, don’t iron. Pressing involves lifting the iron up and down rather than dragging it. This method keeps your fabric’s grain straight and avoids distortion.
Our factory even pre-presses bolts of quilting fabric before shipping to ensure easier handling for distributors and end-users. It may sound like overkill, but pressing reduces error and fabric waste.
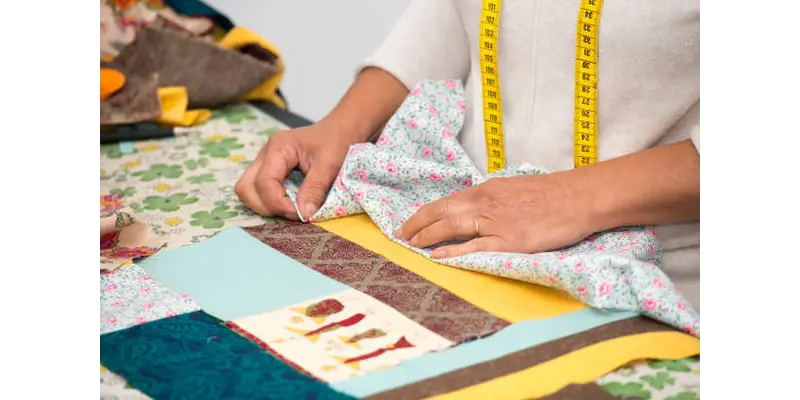
Step 3: Squaring Up the Fabric

Once your fabric is prewashed and pressed, it’s time to square it up. Quilting demands accuracy, and crooked fabric leads to wonky blocks and uneven seams.
Lay the fabric flat and align the selvages. Fold the fabric in half, matching the selvages perfectly. Use a rotary cutter and ruler to trim one edge straight. That’s your true edge. From here, you can start cutting strips, squares, or any shape needed.
In our workshops, we often demo this for first-time buyers. It’s one of those techniques that looks simple but makes a big impact. Our bulk customers who prepare fabric this way report faster sewing and fewer layout issues.
Step 4: Starch or No Starch?
Starching gives fabric a crisp feel, making it easier to cut and sew. This is particularly helpful when working on detailed patterns or bias cuts. We recommend a light misting of spray starch and then pressing with steam.
Our premium quilting cotton holds starch well without becoming overly stiff. That’s one reason many repeat buyers stick with our lines. If you’re unsure, test on a small piece first.
Keep in mind that too much starch can attract insects or mold in long-term storage, so use moderately. If the quilt is meant for a child or someone with sensitive skin, skip this step.
Step 5: Organizing and Storing Fabric
Good organization saves time and money. After prepping your fabric, store it in a cool, dry space away from direct sunlight. Fold pieces neatly or roll them onto mini bolts.
Label fabric by size, color, or project. We’ve seen professional crafters use hanging folders, bins, or custom shelves. Some even keep swatches in a binder for quick reference. Several of our wholesale buyers offer branded storage solutions alongside their fabric lines, which customers love.
Fabric that’s ready-to-use increases the chances that your project actually gets finished—something every quilter can appreciate.
Step 6: Color Testing and Bleed Checks
You’ve probably heard horror stories about red fabrics bleeding into white blocks. A quick bleed test can save your entire quilt. Wet a piece of white fabric and rub it against your colored fabric. If dye transfers, prewash with a color catcher or use a commercial fixative.
We test every batch of our Bright Quilt Fabric for colorfastness and provide certificates with large orders. It’s part of our quality assurance process.
Some colors—especially reds, purples, and dark blues—are naturally more prone to bleeding. Always check, especially if you’re using high-contrast combinations in your design.
Quilting Fabric GSM and Thickness
A crucial detail that many new quilters overlook is Quilting Fabric GSM—that’s grams per square meter. It’s a measure of fabric weight and density. While not all brands list GSM, knowing what it means helps you make better choices.
Generally, quilting cotton has a GSM range of 120–150. Lower than that, and the fabric may feel flimsy; higher, and it could be too bulky to work with easily. The ideal GSM ensures that the material is sturdy enough to handle repeated stitching and washing but still soft and flexible enough to quilt smoothly.
As quilt fabric distributors, we pay close attention to GSM when sourcing from mills. Our clients want durability that lasts through generations of washes without becoming stiff or pilling. Consistency in Quilting Fabric GSM also helps quilters mix and match fabrics in a single quilt without uneven texture.
Store Properly Before Use
After all that prepping, don’t ruin your work with careless storage. Storing quilting fabric correctly helps it stay clean, pressed, and ready to use. As manufacturers and long-time quilters, we’ve seen the heartbreak of a perfect batch of bright quilt fabric turning dusty or sun-bleached due to poor storage.
Keep your prepped fabric in a dry, cool place away from direct sunlight. Fold it neatly and store in clear bins or breathable fabric organizers. If you’ve already cut it into strips or blocks, keep those grouped and labeled so you’re not starting from scratch later.
Humidity can be a hidden enemy. Moisture buildup encourages mildew and weakens fibers. That’s why our warehouses are climate-controlled. If you’re storing fabric long-term at home, toss in a few silica gel packs to fight dampness.
And finally, check GSM labels or write them down. When you know the Quilting Fabric GSM of your stashed fabric, it’s easier to plan future projects that require consistent thickness or texture. The little details you track now will save you time and frustration down the road.
FAQ
Why should I pre-wash my fabric before quilting?
Pre-washing helps remove excess dyes and chemicals from the fabric, which prevents bleeding and shrinking after the quilt is assembled. Especially for materials sourced from various quilt fabric distributors, consistency is key. Pre-washing ensures that all your fabrics behave the same way during the quilting process. It also softens the material and gives you a better idea of the quilting fabric GSM, which affects how the fabric will handle under a sewing machine or with hand-stitching.
What does Quilting Fabric GSM mean and why is it important?
Quilting Fabric GSM stands for grams per square meter and tells you the fabric’s density and weight. It’s an important factor because GSM influences how thick the material feels and performs. Lightweight fabrics (below 120 GSM) may shift or pucker easily, while heavier options (above 150 GSM) can be hard to sew through. As quilt fabric manufacturers, we recommend sticking to the standard GSM range of 120–150 for balanced softness and durability.
How to Cut Fabric for a Quilt
To cut fabric for a quilt, always use a rotary cutter, cutting mat, and clear acrylic ruler. Press the fabric first, then measure carefully. Cut along the straight grain to maintain shape. Consistent, accurate cuts ensure clean seams and a polished final quilt layout.
What Material to Use for Quilting
The best material to use for quilting is 100% cotton. It’s breathable, easy to sew, and holds its shape well. High-quality quilting cotton with a GSM between 120–150 offers durability and comfort. Some quilters also use bamboo blends or cotton-linen mixes for unique texture and eco-friendliness.
Conclusion
Preparing fabric for quilting isn’t just a “nice to have”—it’s a game changer. From washing to pressing, squaring, and understanding critical specs like Quilting Fabric GSM, each step lays the groundwork for a smoother sewing experience and a more professional result. As experienced quilt fabric manufacturers, we’ve seen firsthand how proper preparation prevents costly mistakes, saves time, and ensures customer satisfaction.
Our wholesale buyers, retailers, and hobbyists alike often tell us: “Once we started prepping fabric the right way, everything changed—cutting was faster, seams lined up better, and our quilts looked more polished.” That’s the power of knowledge paired with the right fabric.
So the next time you’re tempted to skip these steps, remember—your quilt’s beauty and durability start long before the first stitch. Whether you’re crafting a family heirloom or launching your next best-seller as a quilt fabric distributor, prep like a pro. The results will speak for themselves.