Quilting is a beloved craft that allows individuals to express their creativity while creating functional and beautiful pieces. How to Mark Fabric for Quilting? achieving precise and accurate results often hinges on the initial step of marking fabric for quilting.
In this comprehensive guide, we’ll delve into the intricacies of marking fabric for quilting, covering everything from essential tools to advanced techniques. Whether you’re a novice quilter or an experienced enthusiast looking to refine your skills, this article is your go-to resource for mastering fabric marking.
Which Materials Quilting Fabric Are Suitable for Marking
When it comes to marking quilting fabrics, certain materials are more suitable than others. Here’s a breakdown:
- Cotton: This is the most popular fabric for quilting. It holds marks well, especially with fabric markers or chalk, making it easy to erase or wash out after sewing.
- Polyester: Polyester blends can also work well for marking, but the effectiveness depends on the fabric’s finish. Some may not absorb marks as well as cotton. Always test on a small area first.
- Linen: Linen is generally suitable for marking. It holds chalk marks well, but be cautious with fabric markers as some may leave permanent stains.
- Muslin: Often used for practice quilts or prototypes, muslin is great for marking because it’s usually 100% cotton, allowing for easy removal of marks.
- Batiks: These fabrics can be marked using the same tools as cotton, but again, test first to ensure that the marks can be removed.
When marking, always choose tools designed for fabric to minimize the risk of permanent staining, and test on a scrap piece of the same fabric if possible.
4o
How to Mark Fabric for Quilting
Choosing the Right Tools
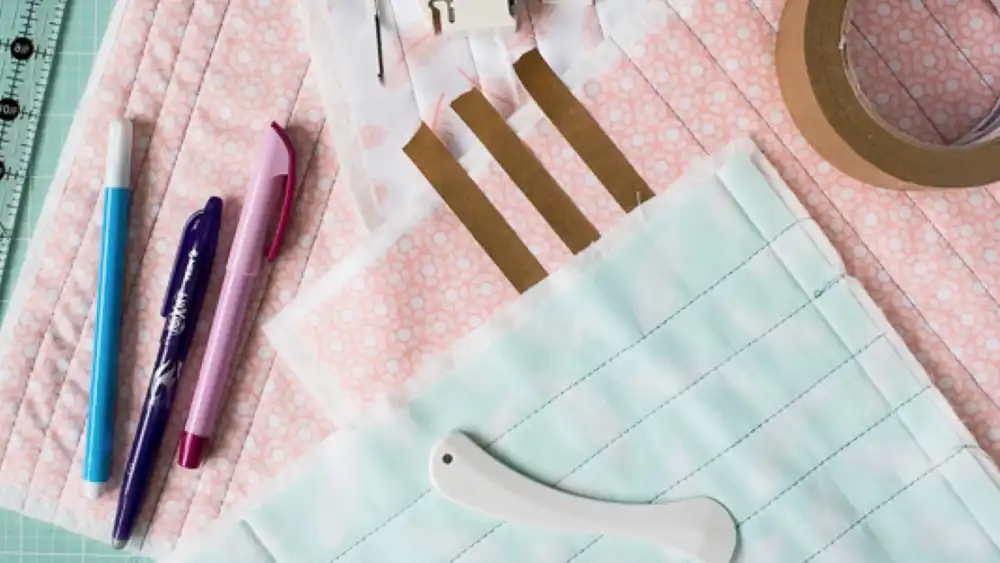
Before diving into the marking process, it’s crucial to equip yourself with the right tools. Quality marking tools ensure clear and accurate lines, facilitating seamless quilting. Here are some essential tools to consider:
- Fabric Marking Pens: Opt for pens specifically designed for fabric marking, such as water-soluble or heat-erasable pens, to ensure temporary yet precise markings.
- Chalk Markers: Ideal for darker fabrics, chalk markers provide visible markings that can be easily brushed away after quilting.
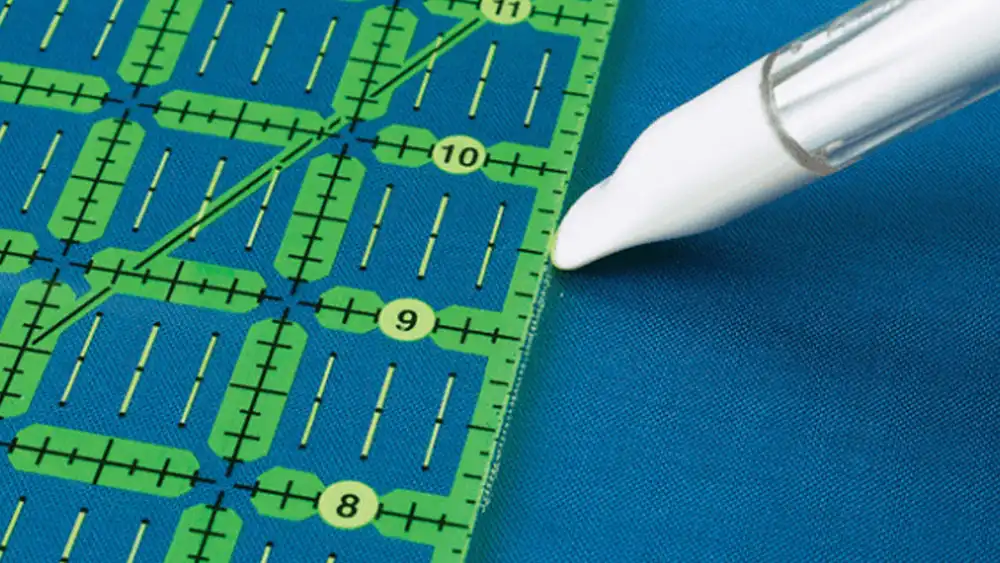
- Rulers and Templates: Invest in high-quality rulers and templates to achieve precise measurements and shapes, essential for intricate quilting designs.
Preparing the Fabric
Properly preparing the fabric sets the stage for successful marking. Follow these steps to ensure your fabric is ready for marking:
- Pre-Washing: Wash and press your fabric before marking to remove any sizing or shrinkage, ensuring accurate measurements and markings.
- Ironing: Iron the fabric to create a smooth, flat surface, preventing distortions or wrinkles that could affect the accuracy of your markings.
Marking Techniques
Mastering various marking techniques allows quilters to achieve different effects and designs. Explore these techniques to enhance your quilting projects:
1. Basic Marking:
Utilize rulers and fabric marking pens to draw straight lines for basic quilt patterns, ensuring even spacing and alignment.
2. Freehand Marking:
Embrace your creativity by freehand marking directly onto the fabric, allowing for organic and fluid designs that add character to your quilts.
3. Template Marking:
Use templates to trace intricate shapes onto the fabric, providing precise outlines for appliqué or intricate quilt blocks.
Advanced Tips for Precision
Achieving precision in fabric marking elevates the quality of your quilting projects. Incorporate these advanced tips for impeccable results:
1. Basting Stitches:
Securely baste along marked lines using contrasting thread colors, providing a visual guide for accurate piecing and quilting.
2. Test Marking:
Before marking your actual quilt fabric, test your marking tools and techniques on scrap fabric to ensure compatibility and desired results.
3. Lighting:
Ensure adequate lighting in your workspace to accurately see and follow marked lines, minimizing errors and enhancing precision.
Troubleshooting Common Issues
Even experienced quilters encounter challenges during the fabric marking process. Here’s how to address common issues:
- Fading Markings: If markings begin to fade before quilting, lightly reapply using the same marking tool or technique to ensure visibility throughout the project.
- Marking Errors: In case of marking errors, gently remove markings using an appropriate eraser or fabric-safe remover before proceeding with quilting.
Best Way to Mark Fabric for Quilting
When it comes to marking fabric for quilting, you have several options depending on the fabric type and your personal preferences:
Tailor’s Chalk or Chalk Pencils: These come in various colors and easily brush off or wash out. They’re great for light to medium-colored fabrics but might not be as visible on dark fabrics.
Water-Soluble Fabric Markers: These markers leave temporary marks that disappear with water or when washed. They’re handy for precise markings and are suitable for most fabric types.
Air-Erasable Fabric Markers: These markers create marks that fade over time or with exposure to air. They’re excellent for temporary guidelines but might not be suitable for long-term projects.
Hera Marker: This is a plastic tool that creases the fabric, creating a temporary line without leaving any residue. It’s ideal for fabrics where other marking methods might not work well.
Masking Tape or Painter’s Tape: These can be used to mark straight lines or borders. They’re easy to remove and leave no residue, making them suitable for quilting.
Fabric Pencils: Similar to regular pencils but specially designed for fabric, these can create precise lines that are easy to see and can be easily erased.
Template Plastic: You can trace your quilting designs onto template plastic and then transfer them onto your fabric using a marking tool of your choice.
Before marking your fabric, it’s a good idea to test your chosen method on a scrap piece to ensure it will come out cleanly and won’t damage your fabric. Always follow the manufacturer’s instructions for best results.
Best Fabric Marker for Quilting
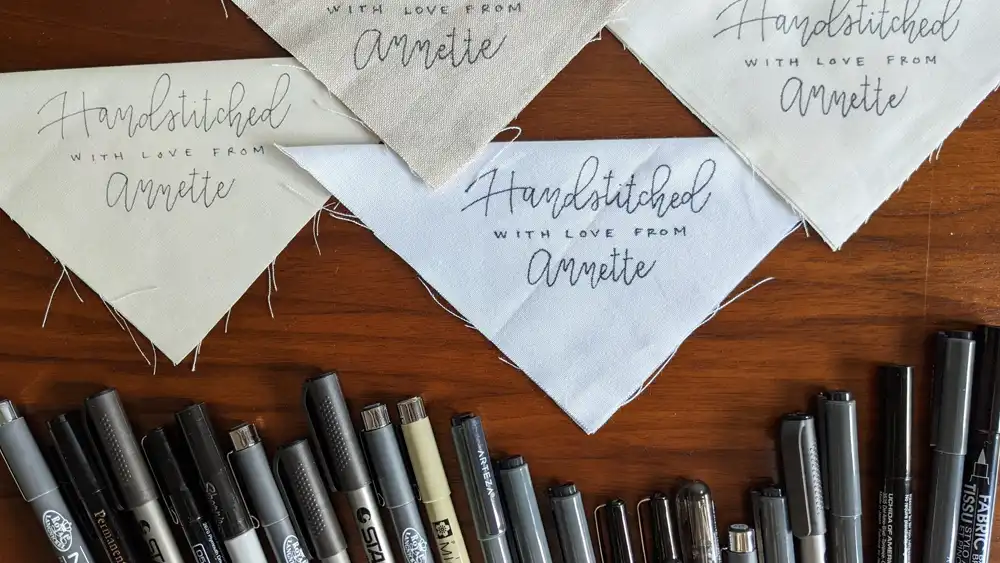
Choosing the best fabric marker for quilting depends on factors like fabric type, personal preference, and the desired outcome. Here are some popular options:
- Frixion Pens: These pens create smooth, fine lines and are erasable with heat (such as an iron). They work well on most fabrics and are great for precise markings. However, be cautious as the lines may reappear in extremely cold temperatures.
- Water-Soluble Fabric Markers: These markers produce clear, temporary lines that disappear when washed or with the use of water. They’re versatile and suitable for various fabrics.
- Air-Erasable Fabric Markers: These markers fade over time or with exposure to air, making them ideal for temporary markings. They’re convenient for projects where the marks will be sewn over relatively quickly.
- Chalk Markers: Tailor’s chalk or chalk pencils provide visible markings that can be easily brushed or washed away. They work well on light to medium-colored fabrics but might not be as effective on dark fabrics.
- Hera Markers: These tools crease the fabric to create temporary guidelines without leaving any residue. They’re suitable for fabrics where traditional marking methods might not work well.
- Fabric Pencils: Specifically designed for fabric, these pencils create precise lines that are easy to see and can be erased if needed.
Ultimately, the best fabric marker for quilting depends on your preferences, the fabric you’re working with, and the specific requirements of your project. It’s always a good idea to test the marker on a scrap piece of fabric before marking your main project to ensure it performs as expected.
FAQs
How long do fabric markings typically last?
Fabric markings made with water-soluble pens usually last until exposed to water, while heat-erasable markings disappear with the application of heat from an iron.
Can I use regular pens or markers for fabric marking?
It’s not recommended to use regular pens or markers, as they may bleed or become permanent on fabric, compromising the quality of your quilting project.
Is it necessary to pre-wash fabric before marking?
Pre-washing fabric helps remove any chemicals or residues that could affect the quality of your markings and the overall outcome of your quilting project.
How do I ensure my markings are accurate?
Using high-quality marking tools, testing on scrap fabric, and ensuring proper lighting in your workspace are key factors in achieving accurate fabric markings.
Can I mark fabric with tailor’s chalk?
Tailor’s chalk is suitable for temporary markings on fabric, especially for lighter-colored fabrics where traditional marking pens may not be as visible.
What should I do if my markings smudge or bleed?
If markings smudge or bleed, gently dab the affected area with a clean, damp cloth to remove excess ink or chalk, then reapply the markings as needed.
Conclusion
Mastering the art of fabric marking is essential for quilters seeking precision and quality in their projects. By selecting the right tools, mastering various marking techniques, and implementing advanced tips for precision, quilters can elevate their craft and create stunning quilts with confidence. Remember to troubleshoot common issues and refer to our FAQs for additional guidance. Happy quilting!