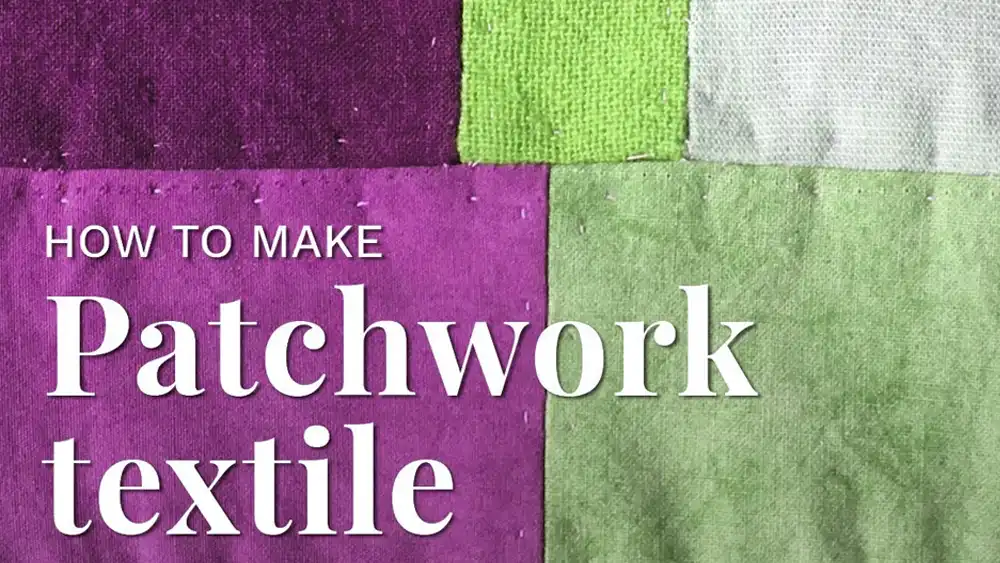
If you’ve ever wondered how to make patchwork fabric, you’ve come to the right place! Patchwork is a classic technique where smaller fabric pieces come together to create a beautiful, multi-colored design. It’s ideal for quilts, home décor, or even stylish fashion pieces. Whether you’re an experienced quilter or a beginner, making your own patchwork fabric adds a personal touch that’ll make your projects truly special.
In this step-by-step guide, I’ll show you how to gather your fabric scraps and transform them into a stunning patchwork fabric. We’ll cover everything you need to know—how to cut, arrange, sew, and finish your pieces. Ready to get creative with your fabric scraps? Let’s dive in!
What is Patchwork Fabric?
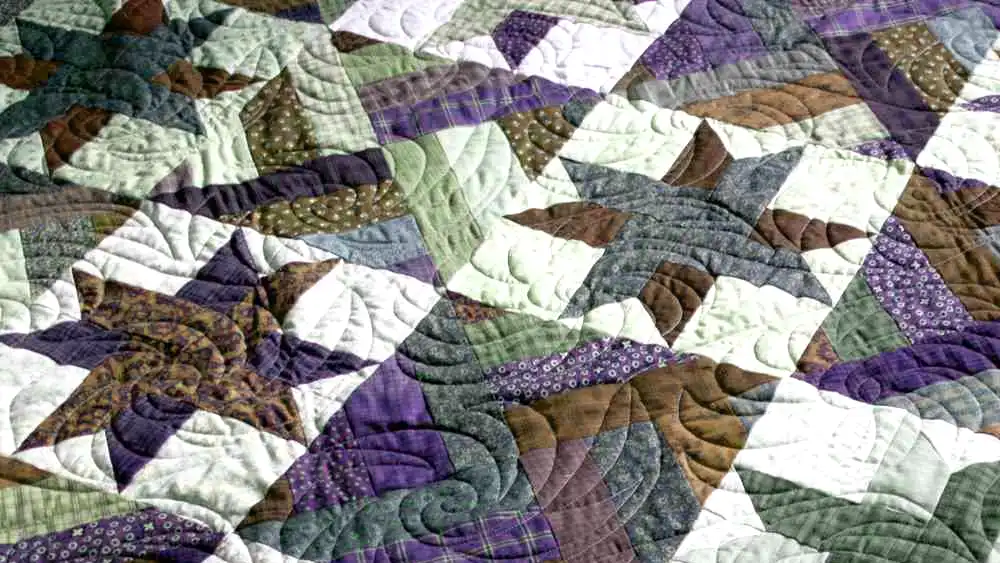
Patchwork fabric has been around for centuries, and its history is as colorful as the designs it creates. It started out as a way for people to repurpose old clothes or leftover fabric, especially during times of need. Over time, patchwork became an art form, particularly in quilting, where different fabric pieces are sewn together to form beautiful patterns.
From humble beginnings, patchwork fabric has evolved into a key element in modern crafts, used not just in quilts but also in fashion, home décor, and upholstery.
Today, patchwork fabric comes in many styles. Traditional patchwork often features blocks of the same size, carefully arranged to create a symmetrical pattern. Modern patchwork, on the other hand, embraces a more relaxed, free-form approach—think of it as a creative mishmash of different shapes and colors.
Then there’s improvisational patchwork, where you let your imagination run wild and piece together whatever fabric catches your eye. Whether you’re making a cozy quilt or a funky throw pillow, patchwork fabric adds a unique, handmade touch to just about anything!
Getting Started with Patchwork Fabric
Step 1: Choose Your Patchwork Approach

Okay, first things first—how do you want your patchwork to look? Are you a stickler for order and symmetry, or do you like things a little more relaxed and playful? If you want to find the perfect balance, try mixing both—keep some sections neat, and let others run wild. The best part? There’s no right or wrong way! Just go with the flow and see what works for you.
Step 2. Plan Out Your Design
Think about which fabrics and colors will go together—mixing textures and prints is always fun. Cotton is the classic go-to for patchwork, but feel free to get creative! Sort your scraps by color, pattern, and size to make it easier when you start cutting. Whether you want a rainbow explosion or a more cohesive look with one color family, organizing your scraps will help everything come together smoothly.
Step 3: Cutting Fabric Pieces
If you’re looking for precision, grab a quilting ruler, rotary cutter, and mat to make sure everything’s accurate. But hey, if you’re feeling a little more laid-back, scissors will work just fine! You can cut squares, rectangles, or whatever shapes you like.
Just make sure to prewash your fabric first—this helps prevent any shrinking surprises later on. And don’t forget to iron your fabric after washing—it’ll make cutting so much easier.
Step 4: Plan Your Design
Now for the fun part—planning your design! Lay out your pieces on a design board (or just a flat surface) and start experimenting with different layouts.
You can go for something random, geometric, or a mosaic-style pattern—whatever suits your style! Take your time and move things around until you find the perfect arrangement. And don’t be afraid to get creative—patchwork is all about mixing things up and making it your own!
Finalizing Your Patchwork Fabric
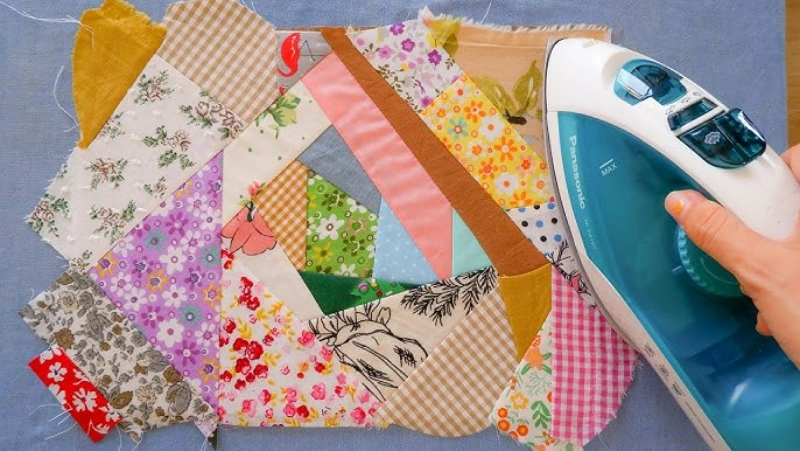
Step 1: Pressing and Finishing Seams
After stitching together your patchwork pieces, the next step is pressing those seams! Pressing is essential for a clean and neat finish. You’ve got a couple of options here: press your seams open to reduce bulk, or press them to one side for a more traditional look. Both methods work great—just choose what fits your project best, and take your time to make sure each seam is pressed carefully.
Step 2: Assembling Your Patchwork
Connecting smaller pieces into larger sections or blocks. This is where you’ll need a little patience, but it’ll be worth it once everything clicks together. Be sure to line up your seams perfectly as you sew the larger sections together. A good tip is to pin them in place before sewing so that nothing shifts—this will help ensure your patchwork looks even and seamless.
Step 3: Adding Backing Fabric (Optional)
If you want to give your patchwork an extra polished look, adding a backing fabric is a great option. Choose a fabric that complements the front of your patchwork and is strong enough to hold everything together. Once you’ve selected your backing fabric, pin it in place, sew it on, and trim any excess. The backing not only finishes off your patchwork but also strengthens it, making it more durable.
Step 4: Completing Your Project
Tidy up those edges! Trim any extra fabric to give your patchwork a crisp, professional look. If you’re making a quilt, consider adding a quilt top or a border to frame your design and elevate the overall look. Don’t forget to add binding around the edges for a finished touch. This final step is where all the care you’ve put in will shine through!

Creative Tips for Patchwork Fabric
Mixing Solids, Prints, and Vintage Fabrics in Your Design
Mixing different types of fabrics in patchwork is a fantastic way to bring variety and character to your project. You can easily combine solids, prints, and even vintage fabrics to create a unique design. Solid fabrics give your patchwork a calm, neutral base, while prints and vintage fabrics add personality and visual interest.
Don’t hesitate to mix different textures and colors—combining a floral print with a bold solid, for example, can create a beautifully balanced design. Vintage fabrics bring their own story and nostalgia, making your project feel even more special.
Experimenting with Asymmetry and Embroidery for Texture
Feeling adventurous? Try experimenting with asymmetry or adding embroidery to your patchwork. Asymmetry gives your design a modern twist—no need for perfect rows or symmetrical patterns! Let your pieces fall into place naturally and embrace the beauty of imperfection.
Adding embroidery, whether it’s simple stitches or more intricate designs, can also add texture and depth to your patchwork, making it feel extra special. It’s all about having fun and discovering what works for your creative vision.
Troubleshooting Common Problems
Fixing Mismatched Seams and Uneven Pieces
If your seams aren’t aligning properly or your pieces aren’t lining up, don’t panic! A good tip is to gently press your seams with an iron before you sew them to help them sit flat.
If your pieces are still uneven, you can trim them down to size, being careful to leave enough seam allowance for sewing. Sometimes, it helps to pin the pieces together before sewing so they stay in place. Don’t be afraid to adjust as you go—perfection isn’t the goal, but a cohesive look is!
Handling Fabric Distortion and Maintaining Clean Edges
For Fabric Distortion:
Make sure you’re not pulling the fabric while stitching. It’s also essential to keep the edges neat—this can be tricky, especially with stretchy or slippery fabrics.
Maintain clean edges:
Always use a sharp needle and avoid using a high stitch length that could cause fabric to gather or warp. A little patience goes a long way! Just remember, it’s all about taking your time, making adjustments, and embracing the process as you create your perfect patchwork project.
Conclusion
Making your own patchwork fabric is more than just a craft—it’s a creative journey that allows you to express your personality through every stitch. Whether you’re just starting out or have been quilting for years, the joy of creating something unique is truly fulfilling.
Patchwork offers endless opportunities for experimentation, so don’t be afraid to try new fabrics, patterns, or techniques. Remember, each project is a chance to learn and grow.
If you’re looking to get started, make sure you’re using the best materials. Visit F&A Fabric to find premium quilting fabrics and tools that will help bring your patchwork visions to life. Ready to dive into your next creative project? Start today and make something beautiful!
What types of fabric are best for patchwork?
How do I decide on a patchwork design?
Sketch your ideas on paper or use a digital tool. Simple designs like squares or rectangles are great for beginners.
What tools do I need for making patchwork fabric?
You’ll need fabric scraps, fabric scissors or a rotary cutter, a cutting mat, a ruler, sewing tools, and an iron.
How do I cut fabric pieces accurately?
Use a rotary cutter and ruler on a cutting mat for precise cuts. Ensure all pieces are the same size for a uniform look.
Do I need to pre-wash my fabric?
Yes, pre-wash and press your fabric to remove sizing and prevent shrinkage after your project is complete.
How do I press seams properly?
Iron each seam flat as you go to keep your patchwork fabric smooth and avoid wrinkles.
What seam allowance should I use?
A ¼-inch seam allowance is standard for patchwork. It ensures that all pieces fit together correctly.
How do I assemble my patchwork fabric?
Sew your fabric pieces into smaller blocks first, then join these blocks together to create the final patchwork.
Can I add batting to my patchwork fabric?
Yes, adding batting between the patchwork and backing fabric can provide extra padding and make it more durable.
What are some common mistakes to avoid?
Avoid inconsistent seam allowances, uneven cutting, and not pressing as you go. These can lead to a misaligned or unprofessional-looking patchwork.