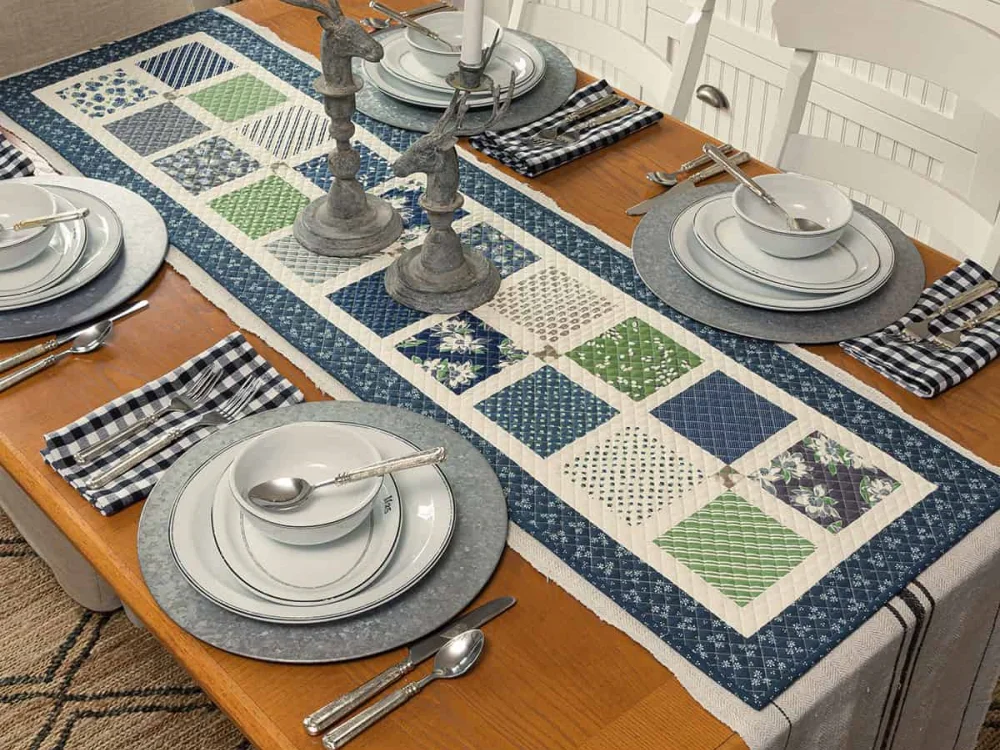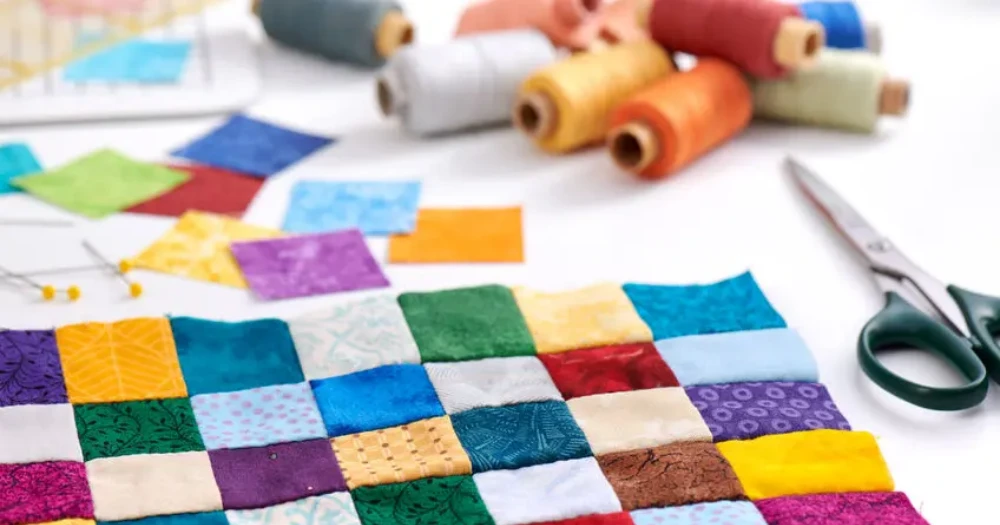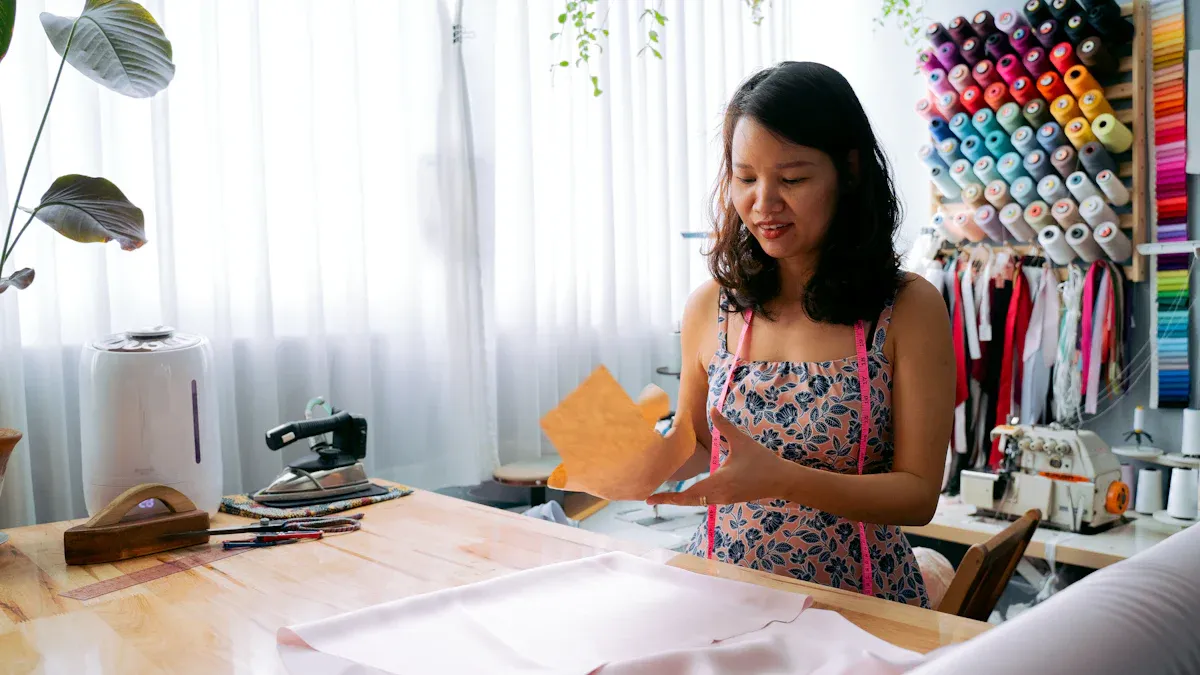
Ready to learn how to make a table runner with border fabric that looks professional, even if you’re just starting out? You’ll love working with Fanda Fabrics’ high-quality quilting bundles for this diy table runner.
This tutorial breaks down each step so you can create a beautiful table runner with confidence. Many beginners wonder about measuring, cutting, and how to make a table runner with neat borders or decorative finishes. You’ll find all the tools and tips you need right here to get started.
Key Takeaways
Gather all necessary tools and choose high-quality cotton fabric for a smooth sewing experience and professional results.
Plan your table runner size carefully to fit your table and style, using Fanda Fabrics bundles for easy color and pattern matching.
Cut fabric pieces precisely using a rotary cutter and ruler, and align border prints carefully to create a neat, balanced look.
Sew the main panel and attach borders in the right order, pressing seams after each step to keep your runner flat and polished.
Finish edges with binding or self-binding, press carefully for a crisp look, and follow gentle washing tips to keep your runner beautiful for years.
Materials & Fabric Selection

Tools Needed
Before you start your table runner project, gather all your supplies. You’ll need:
Sewing machine (a basic one works great)
Rotary cutter and self-healing cutting mat
Quilting ruler (8.5″ x 12″ or 12″ x 12″ is handy)
Sharp fabric scissors and small thread snips
Straight pins and safety pins
100% cotton or polyester thread to match your fabric
Iron and pressing surface
Marking pencil or fabric marker
Tip: Use 100% cotton fabric for easy sewing and a professional finish. Fanda Fabrics’ quilting bundles and quilting collection offer high-quality cotton options that make your project easier and more enjoyable.
Choosing Fanda Fabrics Quilting Bundles
Picking the right fabric sets the tone for your table runner. Pre-printed border fabrics or coordinated bundles save you time and help your design look polished. Here’s what to keep in mind:
Start with a curated or pre-cut bundle. Fanda Fabrics’ quilting bundles come in fat quarters, layer cakes, and charm packs, all pre-coordinated for you.
Choose a color scheme or theme that fits your space or the season. Earthy tones, bold geometrics, and artisan prints are trending right now.
Borders frame your runner, so select prints that contrast or complement your main fabric.
Fanda Fabrics bundles offer a wide range of patterns and textures, letting you mix and match without stress. You get premium, durable cotton in every pack.
Explore Fanda Fabrics Quilting Bundles for inspiration and easy matching.
Preparing Your Workspace
A tidy, safe workspace helps you sew with confidence. Set up your area with these steps:
Place your cutting mat on a sturdy table.
Keep your rotary cutter sharp and always cut away from your body.
Store pins, scissors, and rulers within reach but out of the way.
Have your iron and pressing board close to your sewing machine for quick pressing.
Practice cutting on scrap fabric to get comfortable with your tools.
Note: Take your time and enjoy the process. Starting with a table runner is a great way to build your quilting skills and create something beautiful for your home.
How to Make a Table Runner with Border Fabric?
Planning Size & Design
Before you start cutting, take a moment to plan your table runner. Think about your table’s size and the look you want. Most people like a runner that sits about one-third the width of the table and hangs over the ends for a touch of elegance. Here’s a quick guide to help you decide:
Table Size/Shape | Runner Width | Runner Length (with overhang) |
|---|---|---|
Rectangular 48″ wide | ~16″ | Table length + 12″ to 20″ |
Rectangular 42″ wide | ~14″ | Table length + 12″ to 20″ |
Rectangular 60″ long | N/A | 72″ to 80″ |
Rectangular 72″ long | N/A | 84″ to 92″ |
Round 36″ diameter | ~12″ | 48″ to 56″ |
Tip: If your runner feels too narrow, add decorative trims or wider borders. For a dramatic look, let the runner hang longer over the table ends. Always make sure the runner doesn’t get in the way of plates or guests’ comfort.
Choose your fabric based on the season or your room’s style. Fanda Fabrics’ quilting bundles make it easy to match colors and patterns. You can layer your runner over a tablecloth or use it alone for a clean, modern look. Planning ahead helps you avoid mistakes and makes the rest of the tutorial much smoother.
Cutting Fabric Pieces
Now you’re ready to cut your fabric. This step is all about accuracy. Start by washing and pressing your fabric to remove any wrinkles. Lay your fabric flat on a cutting mat and line up the edges with the grid lines. Use a rotary cutter and a quilting ruler for straight, clean cuts.
Follow these steps for the best results:
Square up your fabric by aligning the selvage edges and trimming off any uneven parts.
Measure twice before you cut. Double-check your runner’s planned width and length.
Use a sharp rotary cutter and a non-slip ruler. Hold the ruler firmly so it doesn’t slip.
Mark your cutting lines with a fabric marker or chalk if you need extra guidance.
Cut single layers for the most precise results, especially if your fabric has a directional print or border.
Remove the selvage edges, as they can distort your runner’s shape.
If you’re adding borders, cut those strips now. Make sure they’re the same width for a balanced look.
Note: Beginners sometimes cut border strips too long and trim them later, which can cause wavy edges. Instead, measure your runner at several points and average the numbers for a perfect fit.
Take your time with this part. A little patience here saves you from headaches later. If you’re new to making a table runner, practice cutting on a scrap piece first.
Aligning Border Prints
This is where your table runner starts to shine. Aligning border prints takes a bit of care, but it’s worth the effort for a professional finish. Lay out your main fabric and border strips before sewing anything. Check that the border design lines up evenly on both sides and at the ends.
Here are some tips to help you get it just right:
Divide the edges of your runner into equal sections and mark them with pins or a fabric marker.
Use a quilting ruler to measure and evenly space your border strips.
If you’re working with pre-printed border fabric, match the pattern at the corners for a seamless look.
Keep the fabric flat and smooth as you pin the borders in place. Avoid stretching or pulling.
Maintain even tension while sewing to prevent puckering or rippling.
For symmetrical borders, start pinning from the center and work out toward the ends.
Tip: Use stitch markers or a blocking mat to help keep everything lined up. If you’re using a sewing machine, a ruler foot can help you sew straight, even lines along the border.
Take a step back and look at your runner before sewing. Adjust the borders if needed. This extra check helps you avoid surprises and gives your finished project a balanced, polished appearance.
With these steps, you now know how to make a table runner with border fabric that looks beautiful and fits your table perfectly. The next part of the step-by-step sewing tutorial will guide you through assembling and finishing your runner.
Step-by-Step Sewing Tutorial

Assembling the Runner
Let’s start putting your table runner together! Lay out your main fabric panel on a flat surface. Make sure the right side faces up. Smooth out any wrinkles with your hands or give it a quick press with your iron. Double-check that your panel is squared up and matches the measurements you planned earlier in this tutorial.
Pin the main panel to keep it from shifting. If you want a classic quilted table runner, you can add a thin layer of low-loft batting underneath the main panel at this stage. This will help your runner stay flat and look crisp on your table.
Now, sew along the edges of your main panel using a quarter-inch seam allowance. Remove pins as you go. Press the seams flat with your iron. This step gives your table runner a neat, professional look and makes it easier to attach the borders.
Tip: Always press your seams after sewing. Pressing helps your fabric lay flat and keeps your lines straight.
Attaching Borders
Borders frame your table runner and make the design pop. Attaching them in the right order is key for a smooth, even finish. Here’s how you do it:
Measure the top edge of your table runner.
Measure the bottom edge and compare the lengths.
If the top and bottom are different, split the difference and cut your border strips to match.
Find the center of both your runner edge and the border strip. Mark these spots.
Pin the border to the runner, matching the centers first. Pin at each end, then fill in between, easing the fabric as needed.
Sew the top and bottom borders first.
Repeat the same process for the side borders.
Attaching the top and bottom borders before the sides helps prevent puckering or wavy edges. You get a smooth, even border that looks polished. After sewing each border, press the seams toward the border fabric. This step keeps your quilted table runner looking crisp and helps the borders lay flat.
Note: Take your time pinning and sewing. Careful work here makes a big difference in the final result.
Layering & Quilting
Now it’s time to layer your table runner and add quilting. Place your backing fabric right side down on your work surface. Fanda Fabrics’ Quilting Collection offers beautiful options for backing, with plenty of colors and patterns to choose from.
Lay your low-loft batting on top of the backing. Then, place your assembled table runner top (right side up) on the batting.
Smooth out all the layers so there are no wrinkles or bumps. Pin or baste the layers together to keep them from shifting. Low-loft batting works best for table runners because it’s thin and flat, less than a quarter-inch thick.
This keeps your runner from looking bulky and helps it stay flat on your table, even after washing. Low-loft batting also makes it easier to quilt by machine, and your stitches will show up nicely.
Quilt your table runner as you like. You can sew straight lines, echo the border design, or try simple free-motion quilting. Start quilting from the center and work outward to avoid puckers. Remove pins as you go. When you finish quilting, trim the edges so everything is even and square.
Tip: If you want your quilted table runner to have a modern look, try straight-line quilting with a walking foot. For a traditional style, echo the border or use a simple meander stitch.
You’ve now completed the main steps to sew a table runner that looks beautiful and professional. The next part of this tutorial will show you how to finish the edges and care for your new creation.
Finishing & Care
Binding or Turning Edges
You’ve finished quilting, so now it’s time to give your table runner a clean edge. You have a few great options for finishing. The most popular method is binding. You can use straight grain binding for straight edges, which gives a crisp, flat look and uses fabric efficiently.
Bias binding works well if you have curves or want extra flexibility, but it uses more fabric. If you want a quick finish, try self-binding. This method folds the backing fabric over the edge and stitches it down. It’s simple and creates a neat, reversible finish—perfect for a fast project.
Binding Method | Description | Best Use Case | Advantages | Considerations |
|---|---|---|---|---|
Bias Binding | Cut at a 45° angle, stretches for curves | Curves, rounded edges | Flexible, prevents puckering | More fabric needed |
Straight Grain Binding | Cut along the fabric grain, no stretch | Straight edges | Stable, crisp, fabric efficient | Not for curves |
Self Binding | Backing folded over the edge and stitched down | Quick, small projects | Simple, no extra fabric needed | Can be bulky at corners |
Pre-Made Bias Tape | Ready-made, easy to apply | Time-saving | Convenient, consistent results | May not match exactly |
Most quilting guides suggest binding with fabric strips, but self-binding is a favorite in many tutorials for its speed and clean look.
Final Pressing
Pressing is the secret to a polished, professional finish. Don’t iron by sliding the iron—press by lifting and setting it down. This keeps your table runner flat and prevents stretching. Always press seams before opening them to sink the thread and reduce bulk. Use a hot, dry iron unless your fabric is delicate.
A pressing cloth helps protect your fabric from shine or scorching. If you have a wool mat, it holds heat and presses both sides at once. For extra crispness, use a tailor’s clapper after pressing. Press after every step to keep your project accurate and flat. Take your time here for the best results.
Tip: Be patient and precise when pressing. This step makes your quilted table runner look truly professional.
Care Tips
You want your table runner to look great for years. Here’s how to care for it:
Wash on a gentle cycle with cold water to keep colors bright.
Skip harsh detergents and bleach to protect the fabric.
Hand wash delicate runners or use a quilt bag in the machine.
After washing, shake gently to even out the batting.
Air dry for softness. If you use a dryer, pick low heat and remove while still damp.
Iron with steam, but avoid pressing directly on quilted seams.
Store in a cool, dry place. Use cotton bags, not plastic, to let it breathe.
Keep out of direct sunlight to prevent fading.
If you notice misaligned borders or puckering, check your tension and slow your sewing speed. Use basting stitches or pins to keep layers in place. Always test on scraps before finishing your main project. Clean your machine and tools often to avoid problems.
Note: Handle your table runner gently and fix loose threads right away. Regular care keeps your project looking fresh and beautiful.
Conclusion
You’ve learned how to make a table runner with border fabric by piecing, quilting, and finishing with care. Try mixing fabric bundles, adding appliqué, or changing border widths for a look that’s all your own. Fanda Fabrics gives you everything you need, from vibrant cottons to helpful guides.
Practice makes each project easier and more fun. Show off your finished table runner at home or give it as a thoughtful gift. For more ideas and supplies, visit Fanda Fabrics and let your creativity shine!
FAQ
How do I keep my border fabric from shifting while sewing?
Pin your borders every few inches. Use a walking foot if you have one. Press your seams after sewing each border. This helps keep everything flat and even.
Can I make a table runner without a sewing machine?
Yes! You can sew your table runner by hand. Use small, even stitches for strength. It takes more time, but you’ll get a beautiful result.
What size should I cut my borders?
Measure your main panel. Cut your border strips to the same length as each side. For a balanced look, keep border widths between 2″ and 4″.
How do I fix puckering or wavy edges?
Try pressing your seams flat. If you see puckers, check your thread tension and slow down your sewing speed. Pin or baste layers before sewing to keep them in place.
Can I wash my table runner in the washing machine?
You can! Use cold water and a gentle cycle. Air dry or use low heat. Avoid bleach. For best results, wash your runner in a mesh laundry bag.
