Quilting is not just a hobby, it’s a tradition that stitches together memories, warmth, and creativity. For many, the idea of making a quilt with fabric scraps may seem daunting, but it’s a beautiful way to repurpose materials and create something unique.
In this comprehensive guide, we’ll explore the step-by-step process of turning fabric scraps into a stunning quilt, ensuring that every stitch tells a story.
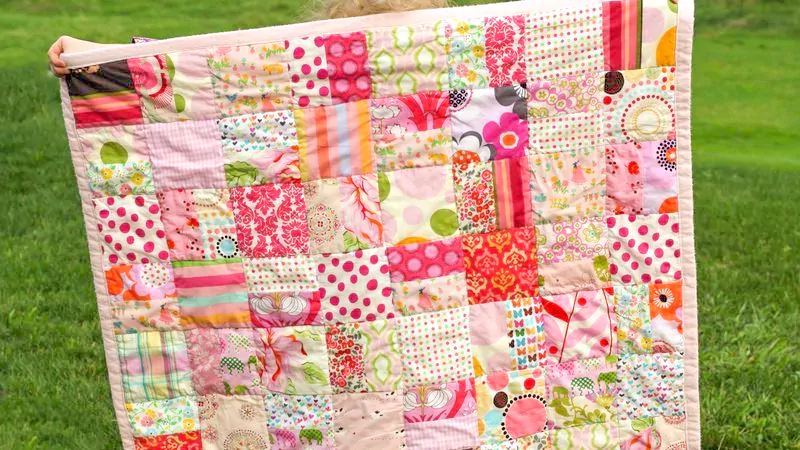
Quilt Made From Scraps of Fabric Sewn Together
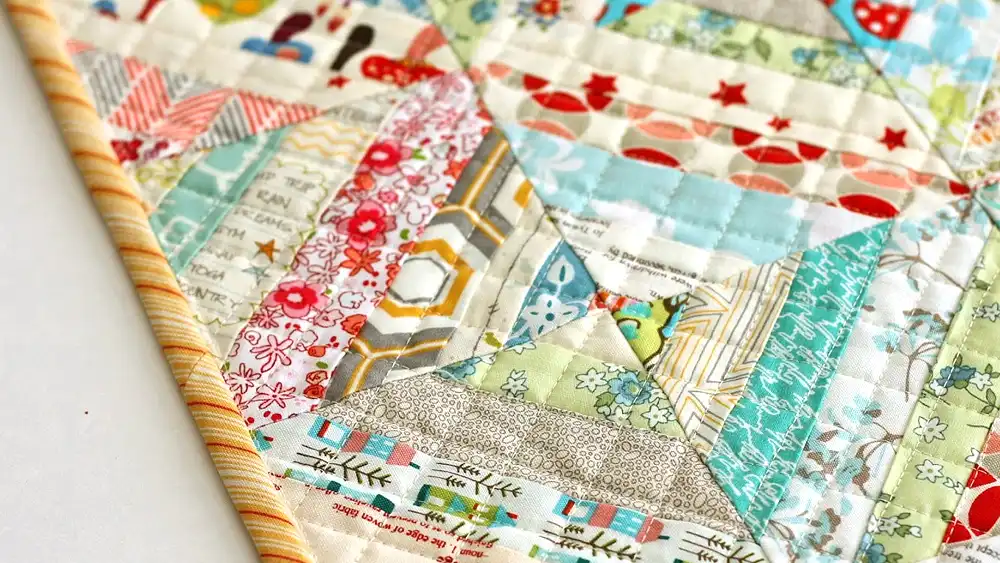
A quilt made from scraps of fabric sewn together is a beautiful testament to creativity, resourcefulness, and sustainability. This type of quilt, often referred to as a scrap quilt, is crafted by piecing together small pieces of fabric left over from other sewing projects. The result is a patchwork masterpiece that tells a story with every stitch.
Gathering Materials and Tools
Essential Tools for Quilting:
- Rotary cutter and mat
- Quilting rulers
- Sewing machine
- Needles and threads
Types of Fabric Scraps Suitable for Quilting:
- Cotton fabrics
- Batiks
- Flannels
Additional Supplies:
- Batting
- Backing fabric
- Safety pins or basting spray
How to Make a Quilt With Fabric Scraps?
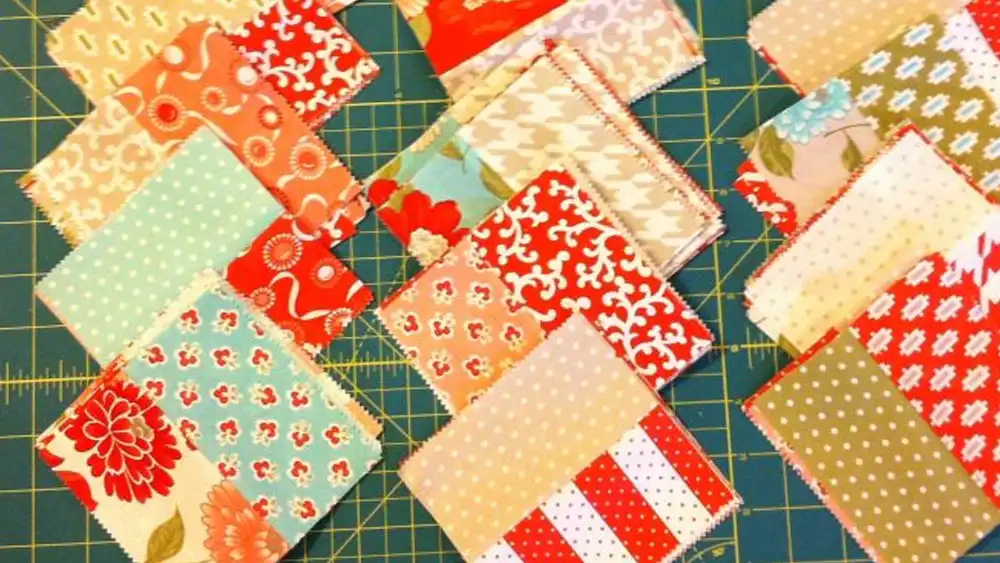
Step 1: Preparing Your Fabric Scraps
Before you start quilting, it’s important to prepare your fabric scraps properly. Begin by sorting the scraps by color, pattern, and size. This helps in planning your quilt design and ensures a cohesive look. Clean and iron each piece to remove any wrinkles and dirt. Cut the scraps into usable shapes like squares, rectangles, or triangles using a rotary cutter and mat.
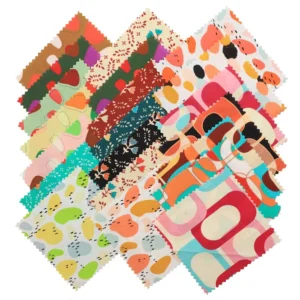
Buy Evenly Cut Scraps for Quilting


Step 2: Choosing a Quilt Design
When choosing a quilt design, consider your skill level and the amount of fabric you have. Traditional designs like the log cabin, nine-patch, or rail fence are great for beginners. If you’re more experienced, you might want to try more complex patterns like the flying geese or star blocks. Modern designs often incorporate asymmetry and bold colors, offering a contemporary twist to traditional quilting.
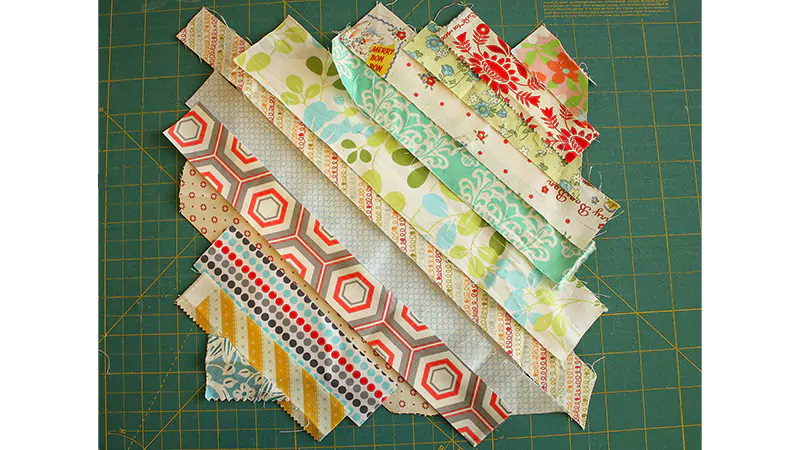
Step 3: Planning Your Quilt Layout
Planning your quilt layout is a crucial step. Use a design wall or quilt software to arrange your fabric pieces. This allows you to see how the colors and patterns work together. Ensure that the layout is balanced and visually pleasing. Take your time to move pieces around until you’re satisfied with the overall design.
Step 4: Piecing Your Quilt Top
Piecing involves sewing your fabric scraps together to form the quilt top. Use a quarter-inch seam allowance for accuracy. Chain piecing, where you sew multiple pieces in a continuous chain without cutting the thread, can speed up the process. Press the seams open or to one side, depending on your preference and the pattern requirements.
Step 5: Adding Borders and Sashing
Borders and sashing frame your quilt top and can enhance its overall look. Measure and cut the borders accurately to avoid any distortion. Sew the borders to the quilt top, ensuring they are even and flat. Sashing strips are sewn between the blocks, adding structure and definition to the quilt.
Step 6: Creating the Quilt Sandwich
The quilt sandwich consists of the quilt top, batting, and backing. Choose batting that complements the weight and texture of your quilt. Lay the backing fabric on a flat surface, followed by the batting and the quilt top. Smooth out any wrinkles and baste the layers together using safety pins, basting spray, or large basting stitches.
Step 7: Quilting Your Quilt
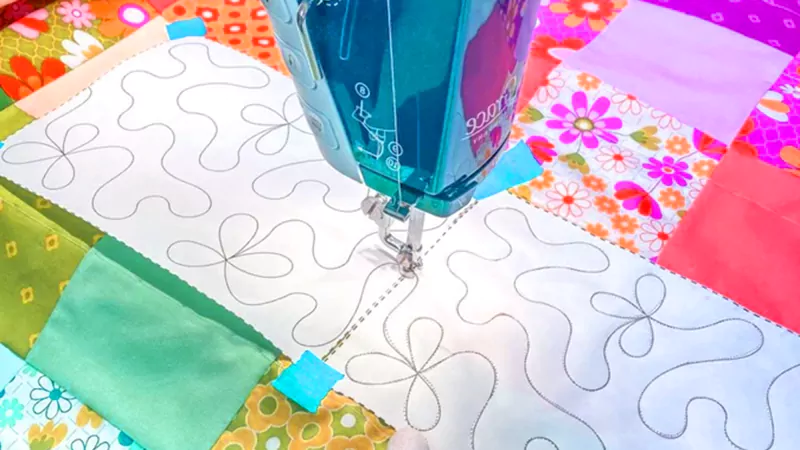
Quilting can be done by hand or machine, depending on your preference. Hand quilting involves stitching through all the layers with a needle and thread, creating a textured, handcrafted look. Machine quilting is faster and can be done with a regular sewing machine or a long-arm quilting machine. Choose quilting patterns that enhance your quilt design and avoid puckers by smoothing the fabric layers regularly.
Step 8: Binding Your Quilt
Binding finishes the edges of your quilt and gives it a polished look. Prepare binding strips from coordinating fabric and attach them to the quilt edges. You can sew the binding by machine for speed or by hand for a more delicate finish. Ensure the corners are neatly mitered for a professional appearance.
Step 9: Final Touches
After binding, trim any excess fabric and threads. Add a quilt label with your name, the date, and any other relevant information. Wash the quilt to remove any marks and give it a fresh, finished look. Properly caring for your quilt ensures it lasts for years to come.
Quilts can be displayed as wall hangings, draped over furniture, or used as bed coverings. They can also serve as thoughtful, personalized gifts. When not in use, store your quilt in a cool, dry place away from direct sunlight to prevent fading and damage.
FAQs for Quilting with Fabric Scraps
What are some common challenges in scrap quilting?
Managing varied fabric sizes and colors can be challenging. It’s important to plan your layout carefully and stay organized.
How can beginners get started with scrap quilting?
Start with simple patterns and gradually move to more complex designs. Join a quilting group or online community for support and inspiration.
What are some sustainable quilting practices?
Use natural, biodegradable materials, recycle old clothing or linens, and avoid waste by repurposing every scrap of fabric.
Conclusion
Quilting with fabric scraps is more than just a creative project. It’s a way to repurpose cherished materials and breathe new life into forgotten pieces. From the first step of gathering your materials to the final touch of binding, every part of the process is a testament to your skills, patience, and artistic vision.
Whether you’re crafting a quilt to adorn your home, to gift to someone special, or simply to enjoy the satisfaction of creating something unique, the end result will be a lasting treasure. Remember, quilting is about more than perfection—it’s about the joy of creation and the warmth that comes from something handmade.