Making a picture quilt at home feels simple and rewarding, even if you’re new to sewing. You just need to pick your favorite photos, print them onto fabric, and stitch them together. Many beginners feel overwhelmed by complex patterns or forget to press their fabric, but starting with an easy design makes a big difference.
If you want to learn how to make a picture quilt using high-quality materials, check out Fanda Fabrics. This photo quilt tutorial will help you create picture quilts that capture your memories in a cozy, creative way.
Key Takeaways
Select high-quality fabrics for your quilt. Fanda Fabrics offers durable options that enhance your quilt’s longevity and appearance.
Choose clear, high-resolution photos to ensure vibrant prints. Aim for images with at least 200dpi for the best results.
Plan your quilt layout before sewing. Sketch your design to visualize how photos will interact and create a balanced look.
Use the right tools for sewing. A rotary cutter and a good iron help achieve crisp seams and a professional finish.
Follow proper care instructions to maintain your quilt’s beauty. Wash gently in cold water and air-dry to keep colors vibrant.
How to Make a Picture Quilt: Supplies
Fabric Choices from Fanda Fabrics

When you start a picture quilt, fabric selection makes a big difference. You want your memories to last, so choosing high-quality materials is key. Fanda Fabrics offers several options that work perfectly for photo quilts:
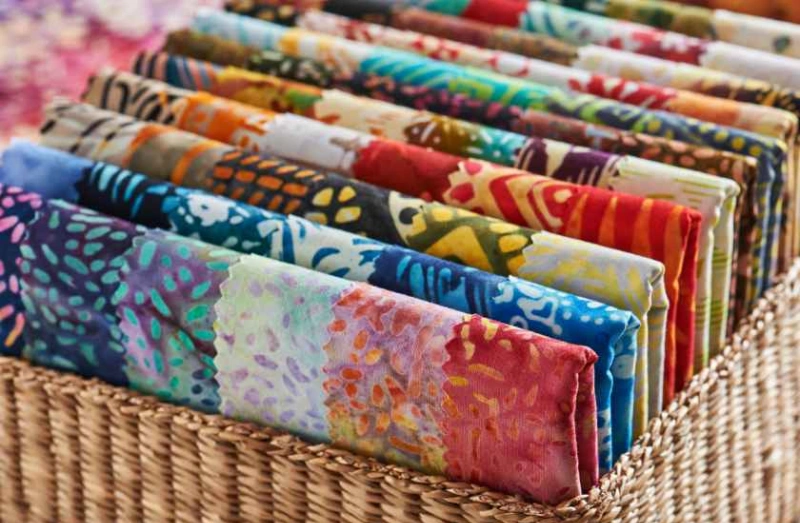
Quilting Fabric Bundles: These pre-cut bundles save you time and help you keep your blocks uniform. You get a mix of colors and patterns that coordinate easily, so your quilt looks polished even if you’re a beginner.
Quilting Collection: This collection features 100% cotton and quilter’s cotton, both known for their durability and color retention. These fabrics hold up well through washing and daily use.
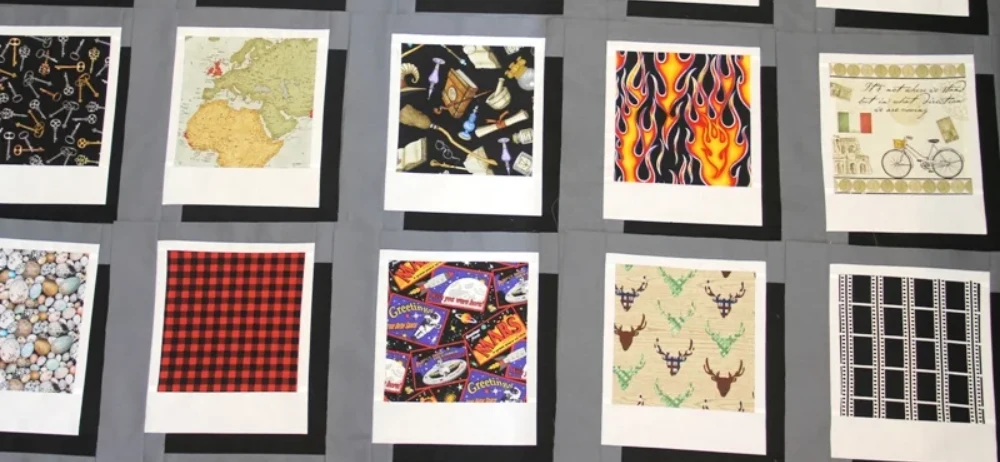
Solid Color Quilt Fabric: Solid colors create a clean background for your photos. They also help your images stand out and make the quilt design pop.
Tip: Pre-cut fabric bundles from Fanda Fabrics not only save you time on cutting, but also reduce fabric waste and make it easier to match colors and patterns. You can focus more on creativity and less on prep work!
Here’s a quick look at why these fabrics work so well:
Fabric Type | Why It’s Great for Photo Quilts |
|---|---|
100% Cotton | Durable, soft, and easy to sew |
Quilter’s Cotton | Holds color, resists shrinkage, keeps shape |
Simple Weave Cotton | Gives your quilt a stable, long-lasting structure |
Tools and Essentials
You’ll need a few basic tools and supplies to get started. Gather these before you begin:
Batting (for softness and warmth)
Backing fabric (about 2 yards)
Bubble Jet Set 2000 and Bubble Jet Rinse (for prepping and setting photo fabric)
Freezer paper and a large lasagna pan (for soaking and stabilizing)
Cardboard, paper, and pencil (for templates and planning)
Large piece of thick felt (for laying out your design)
Computer, inkjet printer, and printer paper (for printing your photos)
Digital camera or smartphone (to capture your favorite images)
Disappearing ink pen, black ultra-fine marker, and glue stick
Midweight fusible stabilizer (like Pellon® 809 Décor-Bond®)
Sewing supplies: scissors, thread, rotary cutter, cutting mat, seam ripper, iron, ironing board, sewing machine, pins, and quilt thread
Wide masking tape and bent quilter’s pins (for assembling layers)
Using the right tools, like a rotary cutter and a good iron, helps you achieve crisp seams and accurate cuts. This makes your finished quilt look neat and professional.
Choosing quality supplies from the start sets you up for success. You’ll find that Fanda Fabrics’ materials make the process smoother and your finished quilt even more special.
Photo Quilt Preparation

Choosing Photos
Picking the right images is the first step in making a photo quilt that feels special. You want each photo to tell a story or spark a memory. Start by looking for high-resolution pictures. Blurry or pixelated images won’t look sharp when you print photos on fabric. Try to use photos that are at least 200dpi for the best results.
Think about the mood you want your quilt to have. Family portraits, vacation snapshots, or even scanned artwork can all work well. If you want your quilt to feel balanced, use the rule of thirds when cropping your images. This simple trick helps your photos look more interesting and professional.
Here’s a quick table to help you choose the best photos for your quilt:
Criteria | Description |
|---|---|
Preparation | Pick clear, high-resolution images for a polished look. |
Background Selection | Choose backgrounds that don’t distract from the main subject. |
Composition Techniques | Use the rule of thirds for dynamic, eye-catching photos. |
Emotional Impact | Select images that bring back happy memories or tell a story. |
Tip: Neutral or solid backgrounds, like those from Fanda Fabrics’ solid color quilt fabric, help your photo quilt block stand out and keep the focus on your memories.
Printing Photos on Fabric
Once you’ve chosen your images, it’s time to print photos on fabric. You have a few options, but using printable fabric sheets is the easiest for beginners. These sheets go right into your inkjet or laser printer. Make sure your photos are in the sRGB color space for the brightest colors.
Follow these steps for the best results:
Edit your photos in image-editing software and crop them to size.
Set your printer to 200dpi and use the highest quality setting.
Add a small white border around each image to avoid cutting into the photo.
Print photos on fabric sheets that are treated for colorfastness and washability.
Let the fabric dry completely before handling.
If you want to try a transfer method, use a gel medium or transfer paper. Place the printed image face down on your fabric, apply even pressure, and let it cool before peeling away the paper. This helps the image bond well and keeps colors vibrant.
Bright or solid color fabrics from Fanda Fabrics make perfect backgrounds for your photo blocks. They highlight your images and add a pop of color to your quilt.
Note: Always wash your printed fabric gently to keep your photo quilt looking fresh and vibrant for years.
Assembling Picture Quilts
Layout and Design
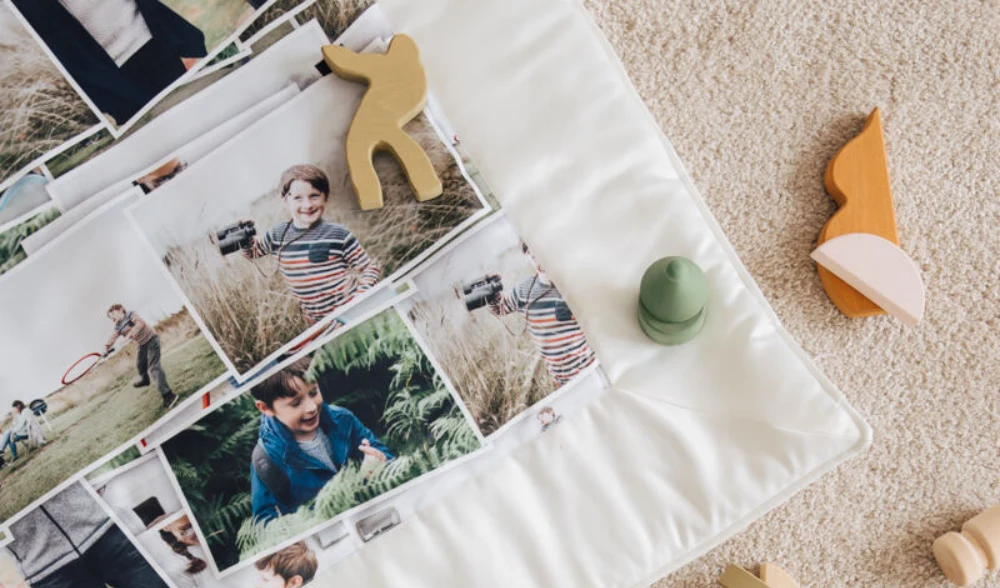
Planning your layout is where your creativity shines. You get to decide how each photo tells its story within your quilt. Start by choosing your favorite images and thinking about their orientation. Some photos look better in portrait, while others fit landscape. You can mix both styles for a dynamic look.
Here’s a simple way to plan your layout:
Pick your photos and decide which ones you want to highlight.
Sketch your ideas on paper before you start stitching. This helps you visualize the final quilt.
Arrange your photo blocks on a large piece of thick felt or a design wall. Move them around until you find a layout that feels balanced.
Use basic patchwork designs to fit photos of different sizes. Adjust filler blocks to match the orientation of your images.
Tip: Drawing your layout first lets you experiment with color and placement. You can see how each photo interacts with the others.
When you arrange your photo blocks, you create illusions of depth and movement. Color gradients add a sense of three-dimensionality. Geometric patterns can make your quilt feel lively, even when the photos are still.
If you want your quilt to pop, try adding borders or sashing using Fanda Fabrics’ Kaleidoscope Quilting Fabrics or Bright Quilt Fabric. These fabrics bring vibrant color and intricate patterns that frame your memories beautifully.
Decide which parts of your quilt top you want to emphasize.
Choose motifs for different areas to add interest.
Think about whether you want to quilt within the seam lines or ignore them for a more modern look.
Learning how to make a picture quilt starts with a strong design plan. These tricks help you create picture quilts that look professional and personal.
Sewing Photo Blocks

Once your layout feels right, it’s time to sew your photo blocks together. You want your quilt to last, so durability matters. Here are some tricks for strong seams:
Use a grid system. Divide your quilt into a mosaic grid and assemble each block with care.
Print your photos onto fusible fabric. This adds stability and keeps your images crisp.
Choose mono-filament thread for sewing. It secures the edges and prevents shine, especially on dark fabrics.
Start by sewing the blocks row by row. Press each seam flat with a hot iron. This keeps your quilt smooth and helps the blocks line up perfectly. If you’re using sashing or borders, add them between the photo blocks.
Fanda Fabrics’ Kaleidoscope Quilting Fabrics or Bright Quilt Fabric works well for this step. They add a burst of color and make your quilt tutorial stand out.
Pro Tip: Pin your blocks before sewing to avoid shifting. Use a rotary cutter for straight edges and a seam ripper for quick fixes.
You’ll notice that picture quilts come together quickly when you follow these steps. The process feels rewarding, and you get to see your memories take shape.
Adding Batting and Backing
The final step in how to make a picture quilt is adding batting and backing. These layers give your quilt structure, warmth, and a professional finish. You have several options, each with its own benefits.
Batting Type | Characteristics | Recommended Use |
|---|---|---|
Cotton | Available in white and natural colors; shows through white fabric if natural. | Best for quilts with a lot of white. |
Polyester | Fluffier, higher loft; does not shrink; good for tied quilts. | Ideal for puffy quilts and stability. |
Cotton Blends | 80% cotton and 20% polyester; combines qualities of both materials. | Popular among long-arm quilters. |
Wool | Lightweight, warm, and shows quilting stitches nicely; washable. | Great for three-season quilts. |
For wall hangings, use cotton or an 80/20 cotton/polyester blend. These materials keep your quilt stable and flat. Fusible fleece works well for table runners and place mats, giving them a crisp finish.
Wool batting is perfect for bed quilts because it’s lightweight and breathable. If you’re making a kid’s quilt, cotton or cotton blends hold up to frequent washing.
To assemble your quilt:
Lay your backing fabric flat, right side down.
Place the batting on top, smoothing out any wrinkles.
Position your quilt top (with photo blocks) right side up.
Pin all layers together with bent quilter’s pins.
Use wide masking tape to secure the edges before quilting.
Note: Choose backing fabric from Fanda Fabrics for a soft, durable finish. Their solid color quilt fabric works well and complements your photo blocks.
You’ve now learned how to make a picture quilt from start to finish. With these tricks and quality materials, your picture quilts will look vibrant and last for years.
Finishing Your Art Quilt from a Photo
Quilting Techniques
You’ve pieced your photo quilt top, and now it’s time to add those finishing touches that make your art quilt from a photo truly shine. When you quilt your layers together, you can choose between machine quilting and hand quilting.
Machine quilting gives your quilt a polished look and helps it hold up to daily use. Hand quilting, on the other hand, offers a softer stitch that’s less likely to break, which can be especially important for a fabric collage art quilt you want to last for years.
If you want to get creative, try some popular finishing techniques:
Artist binding reduces bulk in the corners, which is perfect for art quilts.
Satin stitch edging works well for jagged or irregular edges, giving a smooth, professional finish.
Couch yarn or pearl cotton edging adds texture and a unique touch.
Curved edge binding and fused curved binding let you play with shapes and modern styles.
You can also create a fabric collage by mixing these techniques. This approach lets you add dimension and personality to your personalized project.
Binding and Care
Binding your photo quilt is the last step before you can show it off. Here’s a simple way to get a neat, professional finish:
Fold the binding over to the back and pin it in place.
Use a slip stitch to attach the binding invisibly.
When you reach a corner, sew to the edge, fold the corner down, and keep stitching.
Use tiny stitches and hide knots under the binding for a clean look.
Want your art quilt from a photo to stay vibrant? Follow these care tips:
Shake off dust and spot clean any dirty spots.
Wash with mild detergent on a gentle cycle in cold water.
Remove your quilt promptly to avoid creases.
Air-dry flat and avoid high heat.
Store your quilt in a cool, dry place and dust it regularly.
Fanda Fabrics’ high-quality materials help your photo quilt keep its color and shape. Their unique patterns also let you create a fabric collage art quilt that feels truly personal. Check out this table for ideas on how their fabrics can make your quilt stand out:
Fabric Type | Description |
|---|---|
Vibrant Prints | Bold colors for eye-catching designs |
Minimalist Designs | Subtle backgrounds to enhance your photos |
Textured Fabrics | Add depth and interest to your quilt |
Mix of Solids and Prints | Combine for a look that matches your own style |
With these finishing steps, you can create a fabric collage that’s both beautiful and durable. Your photo quilt will become a cherished keepsake and a true reflection of your creativity.
Conclusion
You can create a picture quilt at home that helps you preserve memories and celebrate special moments. Many people make these quilts as a handmade gift for friends or family, especially when they want to honor someone or keep family traditions alive.
Your finished quilt can become a keepsake that brings comfort and joy. If you use Fanda Fabrics, you get:
Durable, soft cotton that feels great and lasts for years
Vibrant colors and easy-to-sew textures for creative designs
Fabrics that keep their beauty after many washes
Start your project today and let your memories shine!
FAQ
How do you wash a picture quilt without fading the photos?
Wash your quilt in cold water on a gentle cycle. Use mild detergent. Air-dry flat. Avoid bleach and high heat. This keeps your photos bright and your quilt looking new.
Can you use any printer for printing photos on fabric?
You need an inkjet printer for printable fabric sheets. Laser printers may not work well. Always check the fabric sheet instructions before printing your photos.
What size should your photo blocks be?
Most quilters use 4″ x 6″ or 5″ x 7″ blocks. You can choose any size that fits your design. Just make sure all blocks are the same size for easy assembly.
Do you need special fabric for photo quilts?
Yes, you should use high-quality cotton or printable fabric sheets. Fanda Fabrics offers solid colors and bundles that work great for photo quilts. These fabrics help your photos stay sharp and vibrant.
Can you make a picture quilt if you’re a beginner?
Absolutely! Picture quilts are beginner-friendly. Start with simple layouts and use pre-cut bundles from Fanda Fabrics. You’ll find the process easy and fun, even if it’s your first quilt.
