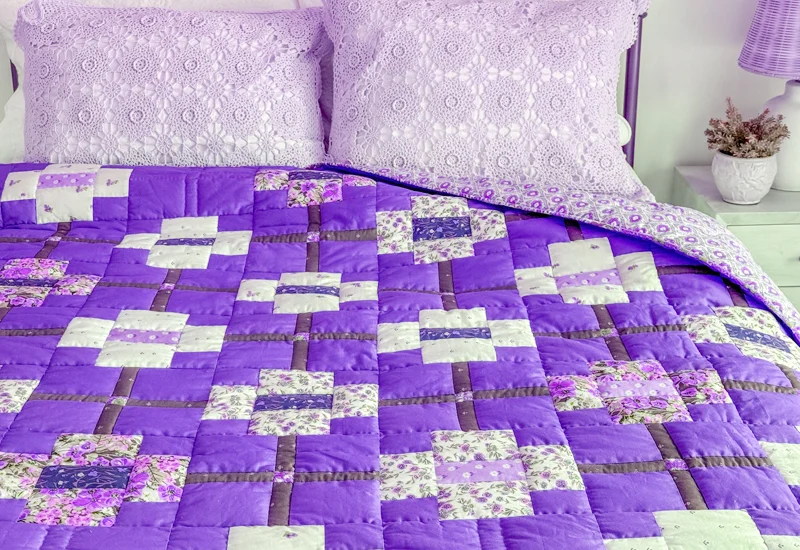
Patchwork quilts are a great way to dive into quilting, especially for beginners. Essentially, patchwork quilting involves sewing together small pieces of fabric to create a larger, beautiful design. You can mix and match colors, textures, and patterns to bring your vision to life.
Whether you’re using fabric scraps or pre-cut pieces, this process is not only fun but also a perfect way to make something beautiful out of leftover materials.
What makes patchwork quilting ideal for beginners is its simplicity and creative freedom. You don’t need fancy tools or complicated techniques to get started. Plus, it’s an incredibly sustainable craft, allowing you to create something unique with fabric scraps. Ready to learn how to make your first patchwork quilt? Let’s jump in and start sewing!
Patchwork vs Quilting: What’s the Difference?
If you’re new to quilting, you might find the terms “patchwork” and “quilting” used together, but they actually refer to two distinct parts of the process. Let’s break it down in simple terms:
Patchwork
This is the first step in quilting, where you create the quilt top by sewing together different fabric pieces. Think of it like putting together a puzzle, where each piece contributes to the overall design. Patchwork gives you the chance to be creative, mixing and matching fabrics, and you can even use fabric scraps for a one-of-a-kind quilt.
Quilting
After your patchwork top is ready, it’s time for quilting! This step involves stitching through all three layers— the quilt top, batting (the middle layer), and the backing— to hold everything in place. Quilting adds texture and depth to your quilt, and you can choose simple or complex patterns. Whether you’re hand quilting or using a machine, this is where your quilt really starts to take shape.
Why Both Steps are Essential?
Both patchwork and quilting play an important role in making a quilt. Patchwork creates the design, while quilting makes the quilt functional and durable. Without the patchwork, you’d have a plain piece of fabric, and without quilting, your fabric layers wouldn’t be held together.
How to Make a Patchwork Quilt: Step-by Step Guide
Step 1: Choosing the Materials You’ll Needed
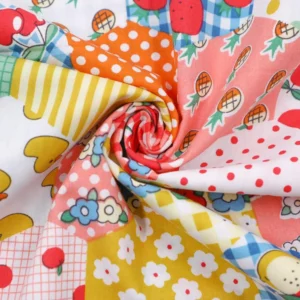
1.1 Selecting Fabric
Types of Fabric for Patchwork Quilts:
- Cotton: The go-to fabric for patchwork quilts—durable, easy to sew, and comes in a wide range of colors and patterns.
- Flannel: Soft and cozy—ideal for making quilts that are warm and perfect for cooler weather.
- Batiks: Hand-dyed fabrics with rich colors and textures, giving your quilt a unique, artistic flair.
- Other Fabrics: Fabrics like linen or polyester can also be used depending on your desired texture and quilt purpose.
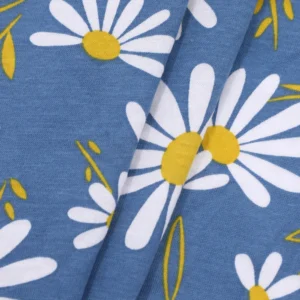
Fabric Patterns:
- Florals: Classic and versatile, perfect for a vintage or feminine vibe.
- Solids: Great for creating contrast and balancing out busier patterns.
- Stripes: Ideal for modern, linear designs—just be mindful of aligning them correctly!
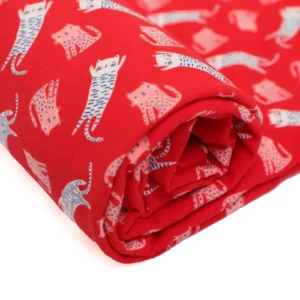
- Polka Dots, Plaids, and Geometrics: Add fun and personality to your quilt with playful patterns.
Color Palette:
- Cohesion is Key: Choose a color scheme that works well together. A mix of light, medium, and dark tones adds depth to your design.
- Warm vs. Cool: Decide if you want a warm, cozy feel (reds, oranges, yellows) or a cool, calm vibe (blues, greens, purples).
- Contrast: High-contrast colors will make your quilt pop, while softer tones create a more subtle look.
Fabric Quality:
- Longevity: Stick to high-quality fabrics like 100% cotton to ensure your quilt lasts for years.
- Fabric Weight: Quilter’s cotton is a great choice for beginners. It’s sturdy yet easy to work with, and it holds up well over time.
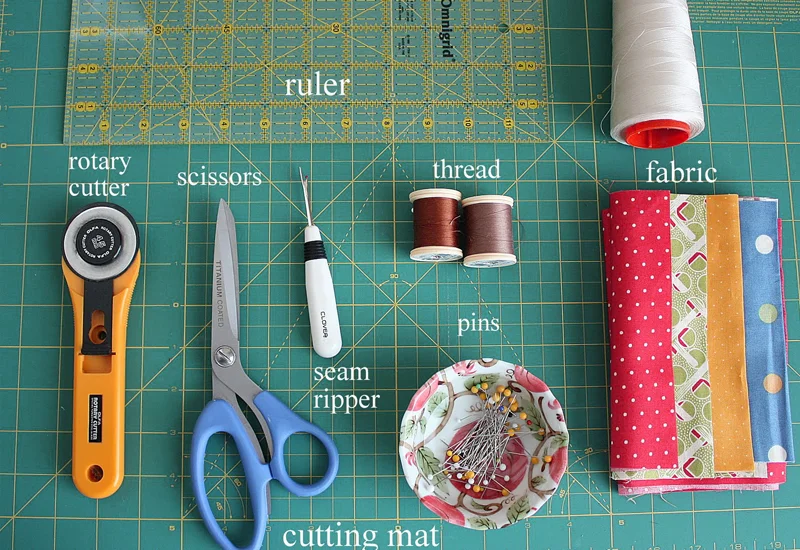
1.2 Tools You Will Need
Basic Tools:
- Sewing Machine: A must-have for piecing and quilting. Most machines will work, but a larger sewing surface is more comfortable for quilting.
- Rotary Cutter: Helps you make precise cuts, speeding up the process and improving accuracy.
- Quilting Ruler: Use this to measure and cut fabric pieces accurately.
- Fabric Scissors: For cutting fabric pieces and snipping threads.
- Quilting Pins: To secure fabric layers while sewing.
Additional Tools:
- Quilting Foot: Ensures accurate seam allowances for smooth, even stitching.
- Quilting Mat: Protects your workspace and gives you a grid for precise cutting.
- Seam Ripper: For fixing mistakes—no worries, it happens to everyone!
- Pressing Tools: A small iron and pressing mat help you set your seams and give your quilt that professional finish.
Notions:
- Basting Spray or Pins: Temporarily holds quilt layers together before quilting.
- Thread: Choose cotton or polyester thread in a neutral color for piecing.
- Needles: Use a sharp-pointed needle (size 11 or 12) for piecing.
- Fabric Markers: Helpful for marking your seams or cutting lines.
With these materials and tools in hand, you’re all set to start your patchwork quilt.
Step 2: Preparing Your Fabric
2.1 Pre-Washing Your Fabric
Pre-washing removes any chemicals or sizing left on the fabric and helps avoid shrinkage after the quilt is finished. You want your quilt to stay the same size after washing!
- How to Pre-Wash Fabric:
- Wash your fabric in cold water on a gentle cycle to prevent shrinkage.
- Use a mild detergent to avoid fading the fabric’s colors.
- Dry on low heat or air dry to minimize shrinkage.
- Once dry, press the fabric with an iron to remove wrinkles and prepare it for cutting.
2.2 Cutting Fabric to Size
If your fabric isn’t cut evenly, your quilt won’t come together as smoothly, and that can mess with your design. The more precise you are, the better your quilt will look!
- How to Measure and Cut Fabric:
- Lay the fabric flat on a cutting mat and smooth out any wrinkles.
- Use a quilting ruler to measure and mark fabric according to your pattern.
- For the best precision, use a rotary cutter—it’s faster and more accurate than scissors.
- When cutting strips, make sure the fabric is aligned straight and use the ruler for consistent measurements.
- Rotary Cutter vs Scissors:
- Rotary Cutter: Perfect for cutting multiple layers of fabric at once. It saves time and gives you a clean, straight edge.
- Scissors: You can use scissors if you don’t have a rotary cutter, but it’s slower and less precise for straight cuts.
2.3 Choosing Block Size
Choose block sizes that fit the pattern you’re following to make piecing easier.
Common Block Sizes:
- 6×6 inches: Ideal for small, intricate designs or if you’re working with fabric scraps.
- 8×8 inches: A great middle-ground for beginners, offering a bit more space.
- 10×10 inches: Perfect for larger quilts or a more relaxed project.
Tips on Choosing Block Size:
- Consider your quilt’s overall size—larger blocks mean a quicker project.
- If you have a lot of fabric scraps, smaller blocks might be the way to go.
Step 3: Creating the Patchwork Blocks

3.1 Types of Patchwork Blocks
Before you start stitching, it’s helpful to know the basic types of blocks you can create. Here’s a list of a few options:
- Nine-Patch: A simple, classic block made by stitching nine squares together. It’s perfect for beginners!
- Log Cabin: Uses strips of fabric arranged in a square pattern. Great for showcasing different fabrics.
- Half-Square Triangle: Combines two triangles to form a square. Great for sharp angles and geometric designs.
- Other Blocks: Once you’re comfortable, try out other patterns like stars, triangles, or brick-style blocks.
3.2 Sewing the Blocks Together
It’s time to sew! Here’s how you’ll stitch your fabric pieces into blocks:
- Sewing Squares or Strips Together:
- Lay out your fabric pieces in the order you want them.
- Sew your pieces together using a consistent 1/4-inch seam allowance. Keep your seams even for the best results.
- Maintaining Accurate Seam Allowances:
The 1/4-inch seam allowance is key in quilting. Even small variations can throw off the fit of your blocks, so measure carefully and sew with precision. - Pressing Seams:
After each seam, press your fabric flat. This helps everything align nicely as you sew.- You can press seams open for a flatter finish, or press them to one side based on your pattern’s instructions.
- A small iron and pressing mat are super helpful for pressing as you go—no need to get up constantly!
3.3 Arranging the Blocks
Once your blocks are sewn, it’s time to figure out how to arrange them for your quilt top. Ensure there’s balance and symmetry so no area feels too heavy or too light.
Tips for Arranging Blocks:
Rows: Simple horizontal or vertical rows create a classic, clean look.
Grids: Arrange your blocks in a grid pattern for a more structured design.
Diagonal Arrangements: Placing blocks diagonally can add an exciting twist to your quilt!
Planning for Color Balance and Symmetry:
Spread your colors evenly throughout the quilt, avoiding clustering too many similar colors together (unless that’s part of your design).

Step 4: Assembling the Quilt Top
4.1 Joining Blocks Together
- Joining your blocks into rows. Lay them out in the order you want, then sew them together using a consistent 1/4-inch seam allowance.
- After completing each row, press the seams flat. Pressing helps ensure everything stays smooth and neat, giving your quilt top a crisp, professional look.
4.2 Sewing Rows Together
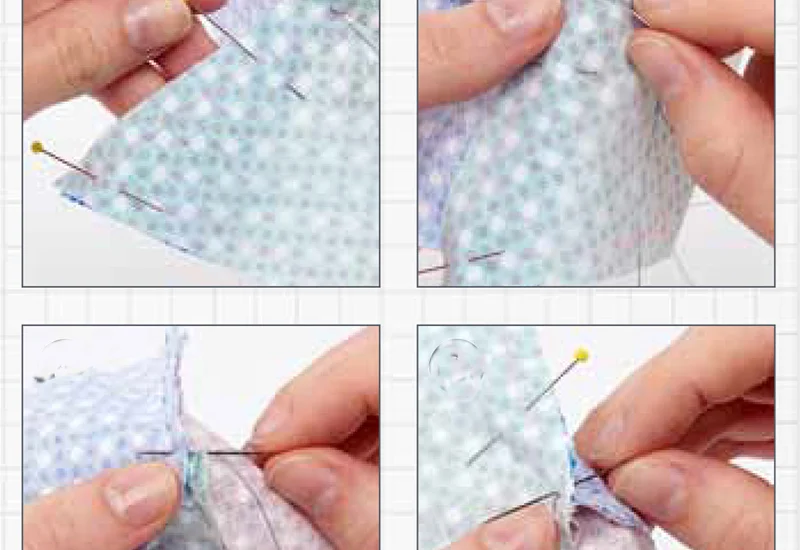
- When you sew the rows together, match the seams at the intersections carefully. This ensures the blocks line up perfectly, making your quilt top look seamless.
- Pin the seams at the intersections before sewing to help align the rows. For a clean finish, keep your seams aligned and sew slowly for the best accuracy.
4.3 Adding Borders
- Borders can enhance your quilt’s appearance and provide a clean, finished edge. You might want to add borders if you plan to make your quilt larger or just for added design appeal.
- Choose a border fabric that complements your quilt’s colors and design. Measure carefully to make sure the borders fit perfectly, then sew them on, pressing the seams flat for a neat, polished finish.
Step 5: Quilting the Layers Together
Piecing the Fabric Blocks Begin assembling your quilt top by sewing fabric pieces (blocks) together. Start with smaller units and gradually join them into larger sections.
Arranging Blocks for a Cohesive Design Lay out your fabric blocks before sewing to ensure the design flows smoothly. Rearrange if needed to balance colors and patterns.
Joining Blocks with Seam Allowances Each block must be sewn with a ¼-inch seam allowance for consistency. After sewing, press the seams flat to one side for a smooth finish.
Step 5: Sewing the Quilt Top
5.1 Preparing the Quilt Sandwich
- Lay your quilt top down first, then place the batting on top, followed by the quilt backing fabric. Make sure everything is smooth, with no wrinkles or bumps.
- Use quilting pins or basting spray to temporarily hold everything in place. Start from the center and work your way out, pinning or basting as you go. This step helps keep your quilt layers aligned and prevents any bunching.
5.2 Choosing a Quilting Method
As a beginner, machine quilting is often the way to go. It’s faster, and you get even stitches with less effort. Hand quilting gives a lovely, textured look but takes longer and requires more patience.
If you’re machine quilting, using a walking foot can make a huge difference. It helps move all three layers evenly through the machine, ensuring even stitching and preventing shifting. It’s especially helpful for quilting large quilts.
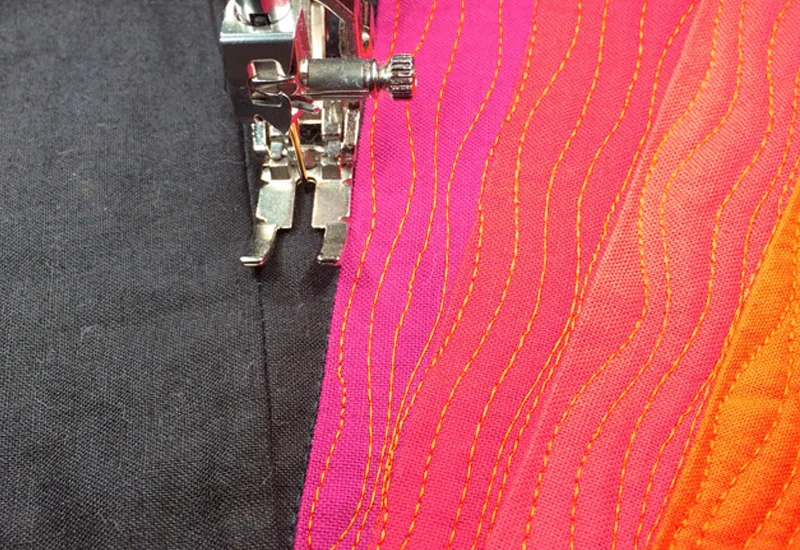
5.3 Basic Quilting Patterns
Take your time and focus on keeping your quilting lines straight. Use the lines on your sewing machine or quilting foot as guides, and remember to keep the tension even. If you’re quilting by hand, try to keep your stitches uniform in size for a clean finish.
If you’re new to quilting, start with simple patterns like straight lines, stippling, or meandering. These patterns are easy to follow and look beautiful on any quilt.
Step 6: Binding Your Patchwork Quilt

6.1 Preparing the Quilt Binding
Cutting fabric strips to make your binding. For a throw-sized quilt, you’ll need about 300 inches of binding. Cut your strips on the bias (diagonally) to add a little stretch. Then, sew the strips together to create one long continuous strip.
6.2 Attaching the Binding
For a clean, crisp corner, stop stitching 1/4 inch from the edge. Then, fold the binding at a 45-degree angle and continue sewing along the next edge. This ensures a neat, professional finish.
Step-by-Step Guide to Attaching Binding:
- Align the raw edge of the binding with the quilt edge, right sides together. Sew along the edge, leaving a 1/4-inch seam allowance. Be sure to backstitch at the beginning and end to secure the seam.
- If you choose machine stitching, sew around the quilt, then flip the binding to the back and hand stitch to secure it.

Step 7: Final Steps and Quilt Care
7.1 Squaring Up Your Quilt
Use a large quilting ruler and a rotary cutter to trim the edges. Place the ruler along the quilt’s edge and trim off any uneven fabric. Make sure your cuts are straight so your quilt looks neat and squared up. You may need to trim the corners a bit to get them just right.
7.2 Washing and Caring for Your Quilt
- How to Wash Your Quilt:
Use cold water on a delicate cycle with mild detergent. This helps your quilt maintain its shape and color without causing any damage to the fabric. - Tumble Drying vs Air Drying:
While you can tumble dry your quilt on low heat, air drying is the best option for longevity. Hang your quilt outside or lay it flat to dry. This avoids the stress of high heat, which can cause shrinkage and wear over time.
7.3 Storing Your Quilt
Store your quilt properly. Avoid hanging it by the edges, as this can cause stretching. Instead, fold it gently and store it in a cool, dry place. You can also use a quilt storage bag to protect it from dust and light.
Conclusion
You’ve learned all the key steps—choosing fabrics, cutting, piecing, quilting, and adding that perfect binding. Now that you’ve got the basics down, it’s time to dive in! Patchwork quilting is a fun, creative journey that beginners can really enjoy. Remember, every stitch brings you one step closer to something truly beautiful!
So, what are you waiting for? Gather your materials from F&A Fabric and kick off your quilting adventure. Happy quilting!