Many crafters find solace and joy in the art of quilting. Among the many techniques of this precious craft, fabric patchwork quilting stands out. With a fusion of color, texture, and pattern, fabric patchwork quilting offers a unique opportunity to create stunning works of art.
In this article, we delve into How To Make A Fabric Collage Quilt, walking readers through the process of bringing their artistic vision to life one step at a time.
What Is A Fabric Collage Quilt?
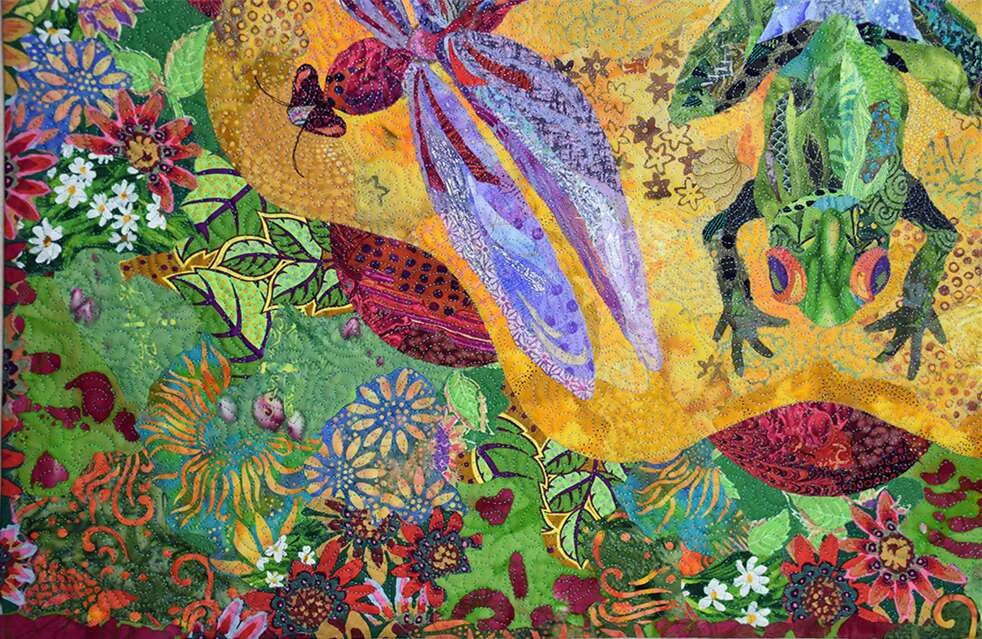
A fabric collage quilt is a textile artwork created through a process that involves layering various fabric pieces to form a cohesive design. Unlike traditional quilting methods that rely on structured piecing and patterns, fabric collage quilting embraces a more intuitive and freeform approach to composition.
Quilters adept in this technique carefully select fabric swatches, considering factors such as color, texture, and pattern, to construct intricate designs that often mimic the complexity and depth of traditional collage art. The process typically involves the use of fusible webbing or fabric glue to affix fabric pieces onto a base fabric, allowing for greater flexibility in arrangement and manipulation.
Fabric collage quilts offer a unique platform for artistic expression, enabling quilters to explore innovative design concepts and experiment with unconventional materials.
Materials Required Make A Fabric Collage Quilt
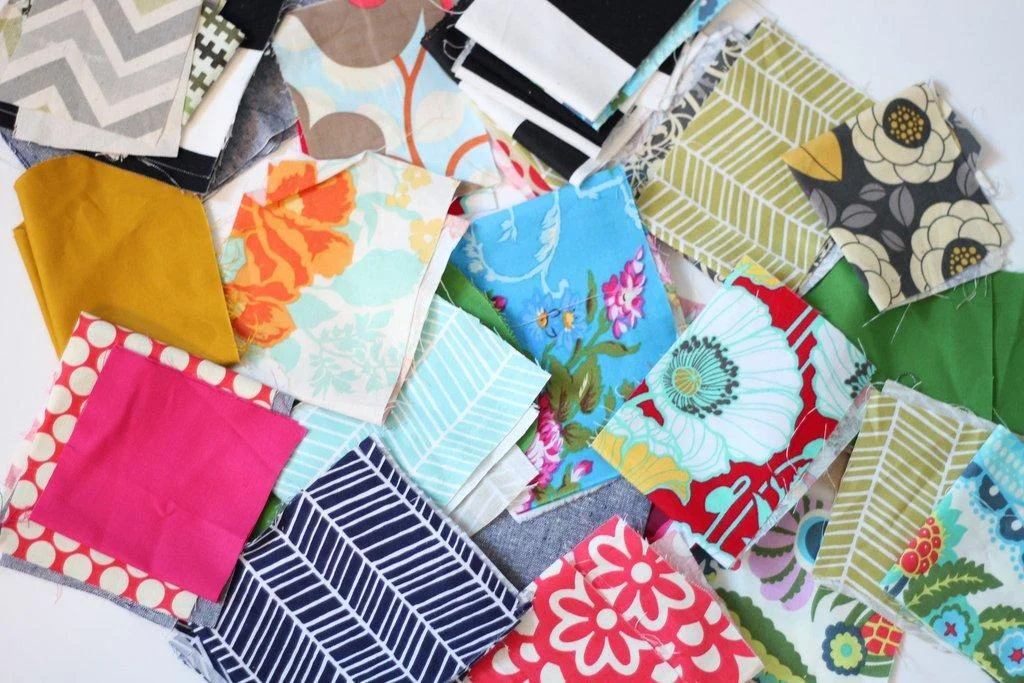
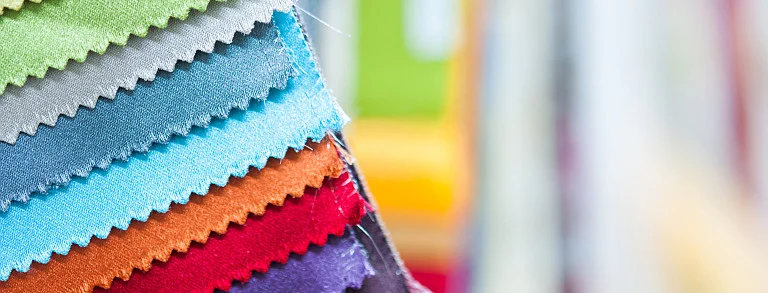
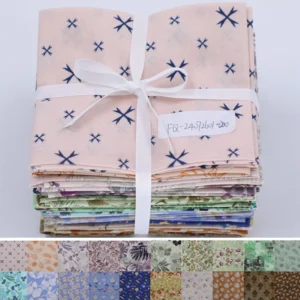
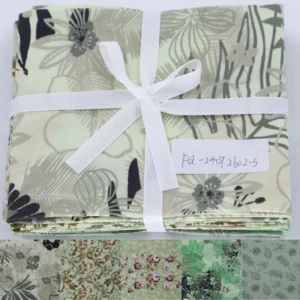
Fabric scraps: Various colors, patterns, and textures. For an effective fabric purchase, opt for small quantities but diverse options. Simplify shopping with curated fabric bundles suited for collage.
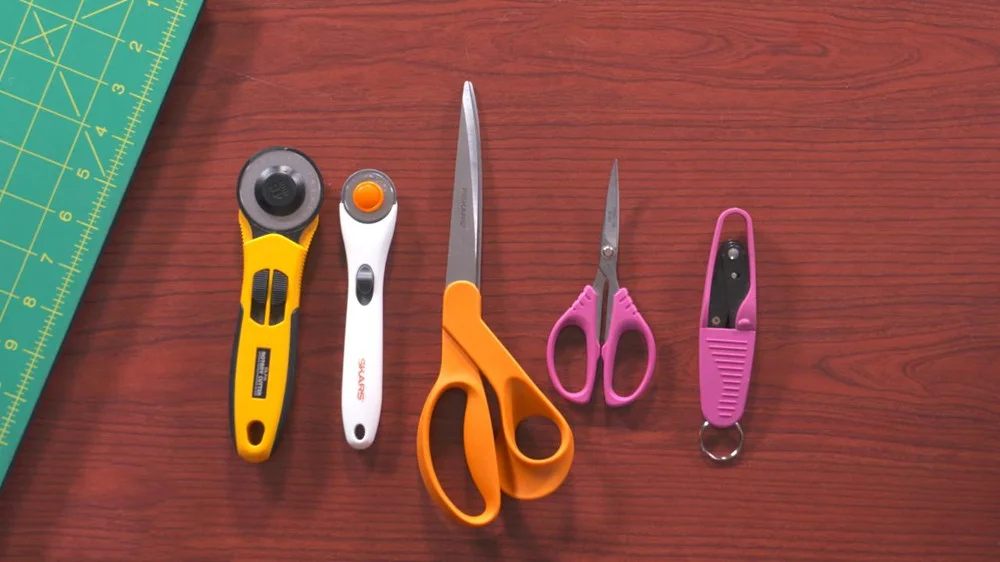
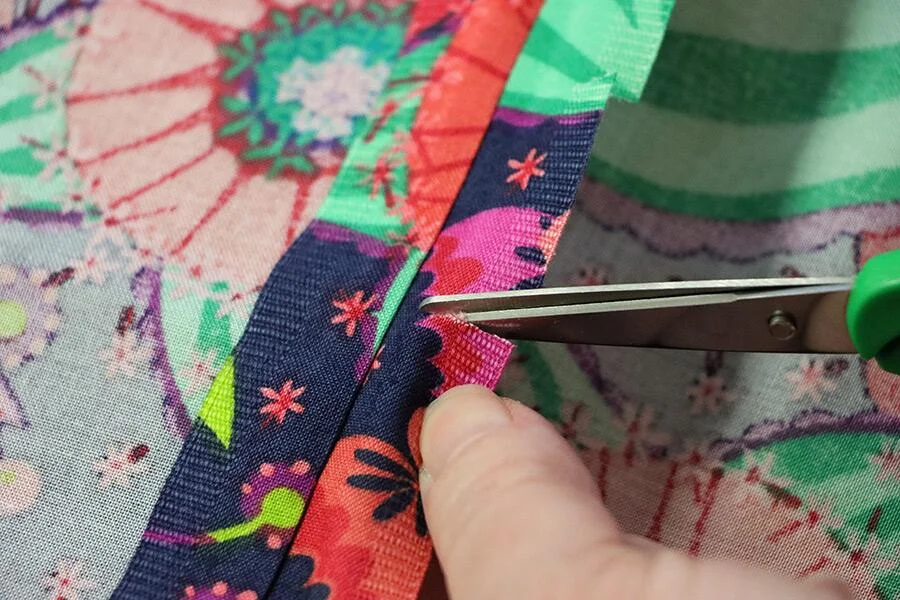
Scissors or rotary cutters: Scissors and rotary cutters are indispensable tools for cutting fabric pieces in textile projects. Each has its own advantages and is preferred depending on the specific needs of the project and personal preferences.
Fusible webbing: To adhere fabric pieces together. To use fusible webbing, simply place it between two fabric pieces, with the adhesive side facing one of the fabrics. Apply heat, usually with an iron, to activate the adhesive and create a strong, permanent bond between the fabrics.

Fabric glue: Fabric glue is a convenient alternative to sewing or fusible webbing for securing fabric pieces together. It comes in various forms and provides a strong, flexible bond that is washable and resistant to fraying. Ideal for attaching appliqué, trims, and embellishments, fabric glue is a versatile tool in fabric arts and crafts.
Base fabric: The base fabric serves as the background for the collage, providing a foundation for the artwork.
Cutting mat and quilting ruler: Cutting mats and quilting rulers ensure precise and accurate cutting in fabric projects.
Iron and ironing board: An iron and ironing board is essential for fusing fabric pieces and flattening seams in fabric projects.
Backing fabric: Backing fabric is the final layer of fabric used to complete a quilt.
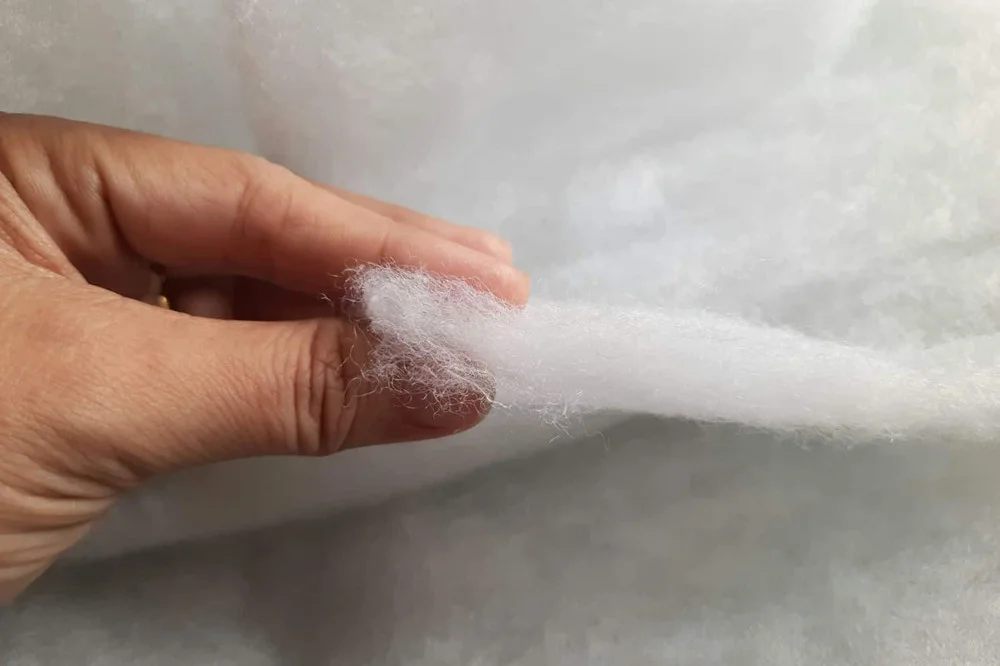
Batting: Batting provides insulation and padding in quilts.
Sewing machine (optional): A sewing machine, if available, can be used to stitch fabric pieces together in fabric projects.
Embellishments (optional): Embellishments, like beads, buttons, or embroidery threads, can be added for decorative purposes in fabric projects.
These supplies provide the foundation for creating a fabric collage, allowing for creative exploration and artistic expression.
Steps For How To Make A Fabric Collage Quilt

Once you’ve selected an image as your inspiration, the subsequent stage in crafting a fabric collage quilt involves crafting a basic pattern. This pivotal phase is crucial, as even novice learners intuitively grasp its significant impact on the final outcome. Recognizing the weight of responsibility tied to forming an appropriate pattern can make this task feel daunting for beginners.
It doesn’t need to be scary. The basic steps are simple:
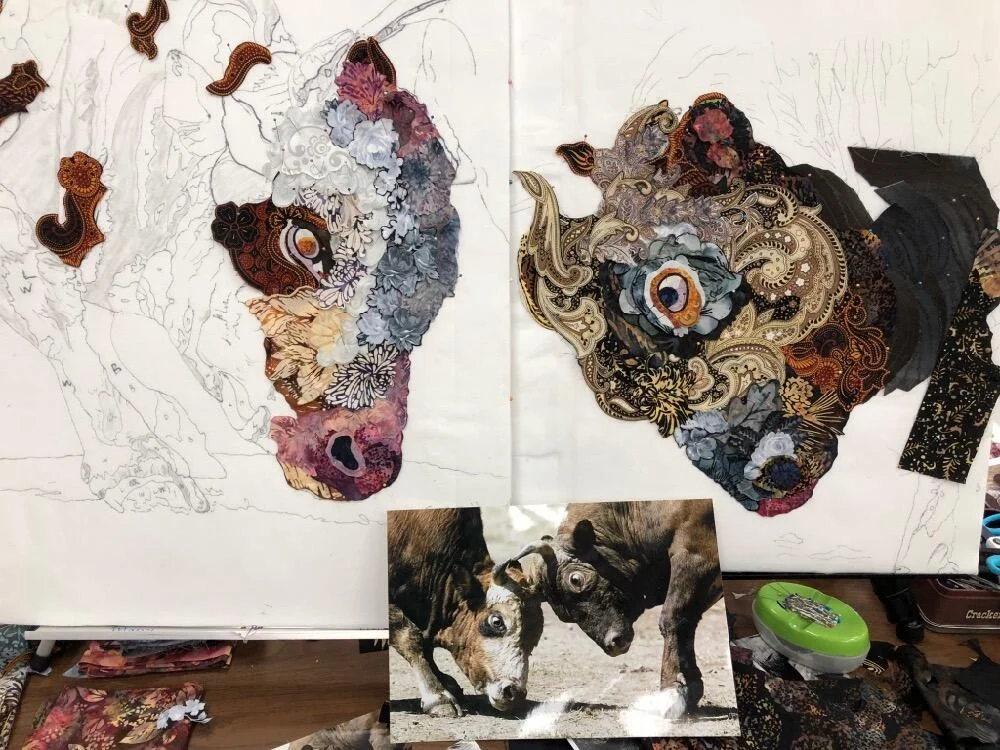
Step 1: Choose a Photo
Choose a photograph with clearly defined subject matter and distinctive features that you aim to replicate using fabric. Opt for an image that captivates you and offers ample opportunity for creative interpretation through textile art. Look for bold shapes, intricate details, and compelling compositions that will translate effectively into your fabric collage.
Step 2: Prepare the Photo
Before translating the photo into fabric, adjust its size and contrast as needed to enhance clarity and ensure that key features are easily discernible. If necessary, simplify the image by reducing intricate details or complex elements that may be challenging to replicate using fabric.
Step 3: Gather materials
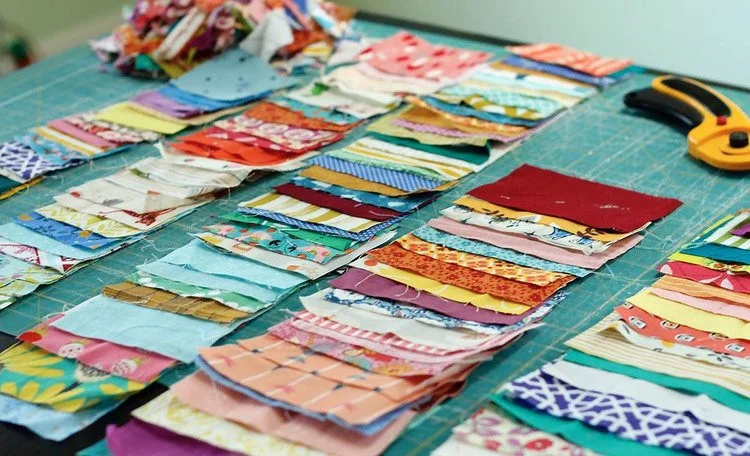
Gather an assortment of fabric scraps in a diverse range of colors and textures that correspond to the various elements present in the photo. Pay close attention to the hues, patterns, and surface qualities depicted in the image, selecting fabrics that closely mimic these characteristics.
Step 4: Create a Pattern
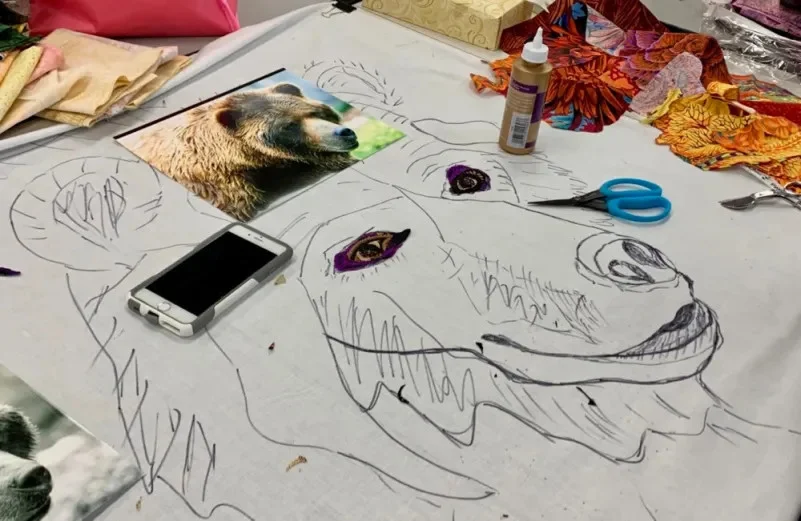
Trace the outlines of the main elements from the photo onto a piece of paper or fabric, creating a detailed guide to assist in cutting the fabric pieces. This step serves as a blueprint for accurately replicating the shapes and proportions of the original subject matter.
Step 5: Cut Fabric Pieces
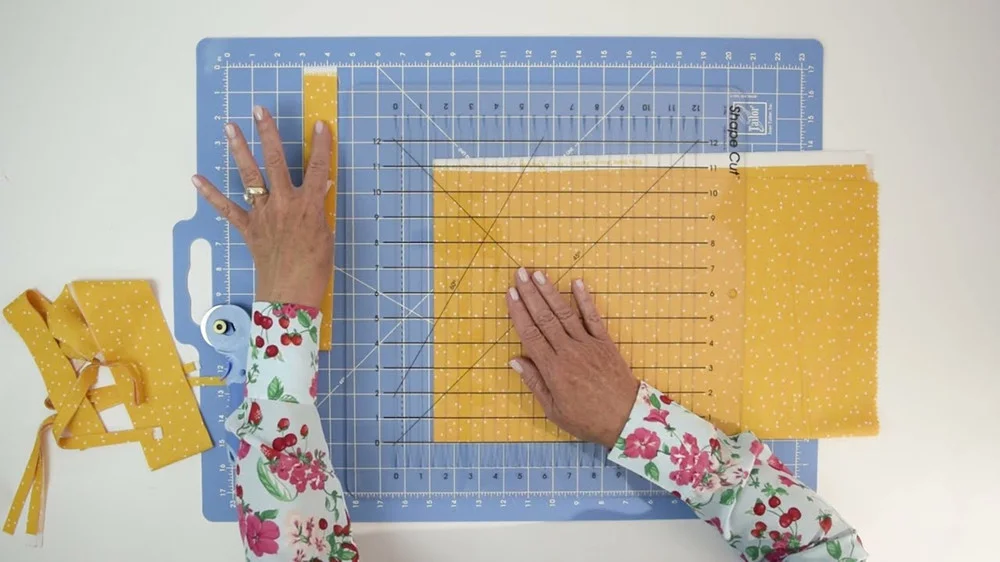
Utilize scissors or a rotary cutter to meticulously cut fabric pieces following the outlines of the traced pattern, paying close attention to the shapes and colors depicted in the photo. Take care to match the colors and textures of the fabric pieces to the corresponding elements in the photo, ensuring a faithful representation in your fabric collage.
Step 6: Arrange Fabric Pieces
Arrange the cut fabric pieces on a base fabric, adhering to the outlines of the traced photo and strategically layering them to generate depth and dimension in your fabric collage. Pay careful attention to the placement of each element, ensuring that they align accurately with the original composition.
Step 7: Fuse or Glue Fabric Pieces
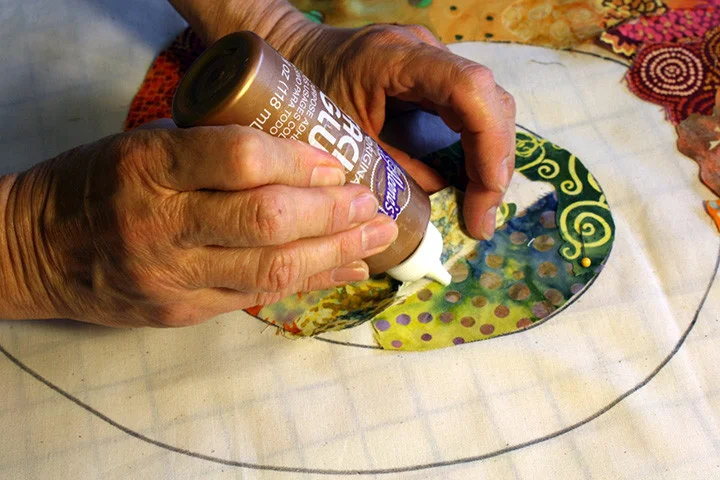
Employ fusible webbing or fabric glue to affix the fabric pieces onto the base fabric, firmly securing them in their designated positions. Apply the fusible webbing or fabric glue according to the manufacturer’s instructions, ensuring thorough coverage to bond the fabric pieces securely to the base fabric.
Step 8: Add Details
Incorporate smaller fabric pieces or employ embroidery techniques to introduce finer details and textures into the collage, capturing the intricacies and subtleties depicted in the photo. Utilize tiny fabric scraps to replicate delicate features or intricate patterns, enhancing the realism and depth of your fabric composition.
Step 9: Quilt the Collage
Layer the fabric collage with batting and backing fabric, creating a sandwich-like structure that provides stability and dimension to your artwork. Once layered, proceed to quilt the layers together using your preferred quilting technique.
Step 10: Finish the Quilt
After quilting, carefully trim any excess fabric from the edges of the quilt to create a clean and polished finish. Next, add binding along the edges to encase the raw edges and provide a neat border for your artwork. Choose a fabric that complements the colors and aesthetic of your fabric collage.
How to Get the Fabric to Stay in Place?
Method 1
Utilize a fabric base with fusible material underneath. Layer your fabric and then fuse together. For additional layers, fuse or glue as necessary.
Method 2
Apply fusible to each fabric piece. Fuse the pieces, then cut and layer them.
Method 3
Utilize a glue stick or liquid fabric adhesive to secure each piece. This method avoids excessive thickness from fused fabric, ensuring easier quilting and flexibility. However, expect additional machine quilting for complete adhesion.
Method 4
Netting fabric can cover the entire quilt, serving as a foundation for machine quilting. This technique secures everything and adds a unique aesthetic. While not suitable for all quilts, it’s worth exploring for some.
Conclusion
In conclusion, creating a fabric collage quilt is a delightful journey of artistic exploration and expression. Through careful selection of fabrics, innovative layering techniques, and meticulous attention to detail, quilters can transform a simple idea or photograph into a stunning work of textile art. From selecting materials to designing the layout, each step offers opportunities for creativity and personalization.