Fringed flannel fabric can add a touch of rustic charm and unique style to various projects. If you’re wondering “How to Fringe Flannel Fabric”, you’re in the right place. Whether you’re working on a cozy flannel blanket, a trendy piece of clothing, or a creative home decor item, learning the proper technique for fringing flannel fabric is essential to achieve that perfect, finished look.
What is Fringing?
Fringing is a decorative technique. It involves creating a border of loose threads or yarns at the edge of a fabric or material. Fringing can be applied to various items like clothing, curtains, or rugs. It adds a unique, textured look.
Usually, it’s done by cutting or unraveling the fabric edges to form the fringe, and sometimes additional elements like beads or knots are added for more visual interest.
Why Fringe Flannel Fabric?
Fringing flannel fabric can provide several benefits, both aesthetically and functionally. Here are a few reasons why you might want to consider adding a fringe to your flannel fabric:
1. Decorative Appeal: Fringe adds a decorative touch to any fabric item. It can make a simple blanket, scarf, or table runner look more interesting and unique. Whether you’re going for a rustic, boho, or chic look, a fringe can add that extra flair to your flannel piece.
2. Prevents Fraying: Flannel fabric tends to fray at the edges over time, especially with regular use and washing. Fringing the edges can help prevent this fraying, as it involves removing threads to create the fringe.
3. Adds Texture: The fringe adds a tactile element to your fabric items. It creates a soft, fuzzy edge that’s pleasant to touch, enhancing the overall feel of your flannel piece.
4. Versatility: Fringed flannel items can be used in a variety of ways. A fringed flannel blanket, for example, can serve as a cozy throw for your couch, a picnic blanket, or even a stylish shawl.
5. Customization: Fringing allows you to customize your flannel items. You can control the length and thickness of the fringe, and even add beads or knots for extra decoration.
6. Fun and Easy: Last but not least, fringing flannel is a fun and easy DIY project. It’s a great way to get creative and make something truly your own.
So, whether you’re looking to enhance the look of your flannel items, prevent fraying, or simply enjoy a fun DIY project, fringing flannel fabric is definitely worth considering!
Materials Needed for Fringing Flannel
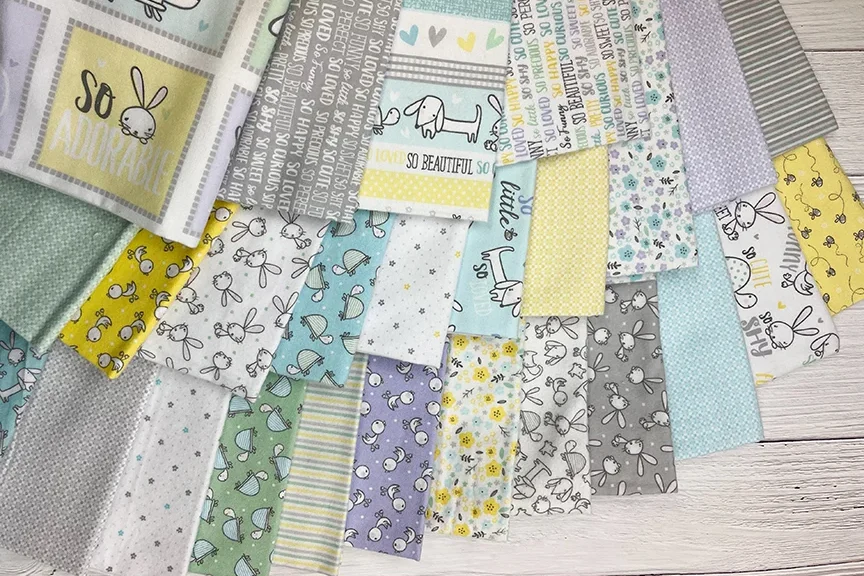
When it comes to creating fringing flannel, several key materials are essential. Firstly, high-quality flannel fabric forms the base. Opt for a thick and durable flannel that can withstand the fringing process without unraveling easily. Wool-based flannels are often a great choice due to their natural resilience.
Next, sharp scissors are a must. They need to be precise enough to cut clean, even fringes along the edges of the fabric. A ruler or measuring tape is also required to ensure the fringes are of uniform length.
Thread, preferably a strong and color-matching one, is used to sew any loose ends or reinforce areas that might be prone to fraying. Additionally, if you plan to add embellishments like beads or sequins, you’ll need those as well. Overall, having these materials on hand will set you up for success in crafting beautiful fringing flannel pieces.
How to Fringe Flannel?
Fringing flannel fabric can add a rustic, charming touch to your items. Whether you’re making a cozy blanket, a trendy scarf, or a decorative table runner, here’s how you can create a beautiful fringe on your flannel fabric:
1. Prepare Your Fabric:
Start by washing, drying, and ironing your flannel fabric. This will pre-shrink the fabric and ensure your measurements are accurate.
2. Measure and Mark:
Decide how long you want your fringe to be. A good rule of thumb is to make it about 1 to 2 inches long. Use your ruler or measuring tape to measure this distance from the edge of your fabric. Mark this line along the edge of your fabric using a fabric pen or chalk. This will be your cutting guide.
3. Cut the Fringe:
Use your sharp fabric scissors to cut thin strips along the edge of your fabric up to the marked line. Each strip should be about 1/4 inch wide, but you can adjust this depending on how thin or thick you want your fringe to be. Make sure your cuts are straight and even.
4. Create the Fringe:
Once you’ve cut all your strips, it’s time to create the fringe. Flannel is a woven fabric, which means it has threads running in two directions: warp (long ways) and weft (across). To create the fringe, you’ll need to remove the weft threads.
Starting at the end of one strip, use a pin or your fingernail to loosen and pull out the weft threads. Be patient and take your time with this step. As you remove the weft threads, the warp threads will stay in place, creating a fuzzy fringe.
5. Finish the Fringe:
After you’ve fringed all your strips, give your fabric a gentle shake to remove any loose threads. You can also run your fingers through the fringe to fluff it up and give it a fuller look.
And there you have it! You’ve created a beautiful fringe on your flannel fabric. With a little practice, you’ll be able to fringe flannel like a pro. Happy crafting!
Conclusion
Conclude the blog post by encouraging readers to try fringing flannel fabric themselves. Reiterate the benefits of fringing and the versatility of fringed flannel items. Encourage readers to share their fringed flannel projects and experiences.