Velvet fabric is already a lovely material, but adding texture and dimension to it with an embossed design is a creative and satisfying process. Embossing velvet may turn your fabric into a distinctive and eye-catching item, regardless of your level of experience with fabric or desire to try something new.
This tutorial will show you how to emboss velvet fabric and provide you with the materials, methods, and advice you need to produce stunning effects.
Understanding Velvet Fabric
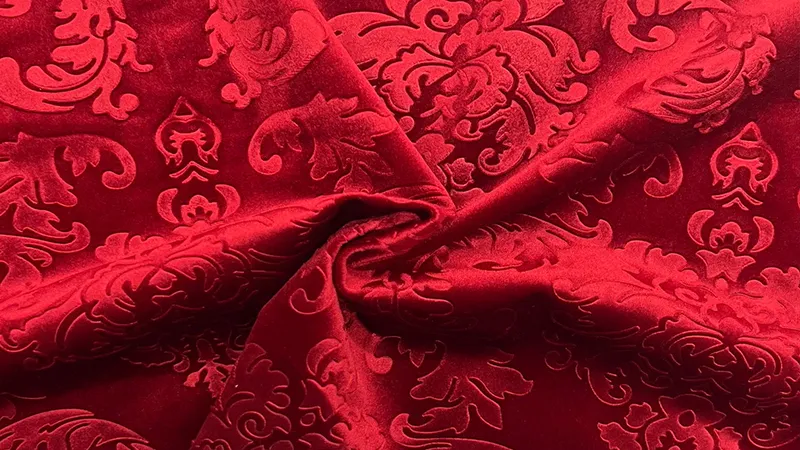
Prior to beginning the embossing process, it’s critical to comprehend what makes velvet special. Velvet has a unique velvety feel because it is a tufted, woven fabric with regularly spaced cut threads. Velvet was once only composed of silk, but these days it may also be constructed from synthetic fibers, which increases its accessibility and adaptability.
Velvet is a popular material for many purposes, including home décor items, clothes, and accessories because of its opulent texture and look. But because of its fragile nature, any alteration process—including embossing—must be handled carefully.
Materials You Will Need
These supplies are needed to emboss velvet fabric:
Velvet Fabric: For optimal effects, go for a premium velvet fabric. Crushed velvet should be avoided since it could not retain the embossed design properly.
Stamps and Embossing Plates come in a variety of patterns. Moreover, you may use a laser cutter or 3D printer to make personalized patterns.
Iron: To apply heat and transfer the embossing design onto the cloth, a regular home iron is required.
Ironing Board: A strong ironing board is required to offer a level surface for the embossing process.
Protective Cloth: To shield the velvet fabric from direct heat, use a thin cotton cloth.
How to Emboss Velvet Fabric Step-by-Step Guide
Step 1: Prepare Your Workspace
Start by setting up a clean and organized workspace. Ensure that your ironing board is sturdy and covered with a protective cloth. Plug in your iron and set it to a medium heat setting. Velvet is sensitive to high temperatures, so avoid using the highest heat setting to prevent scorching.
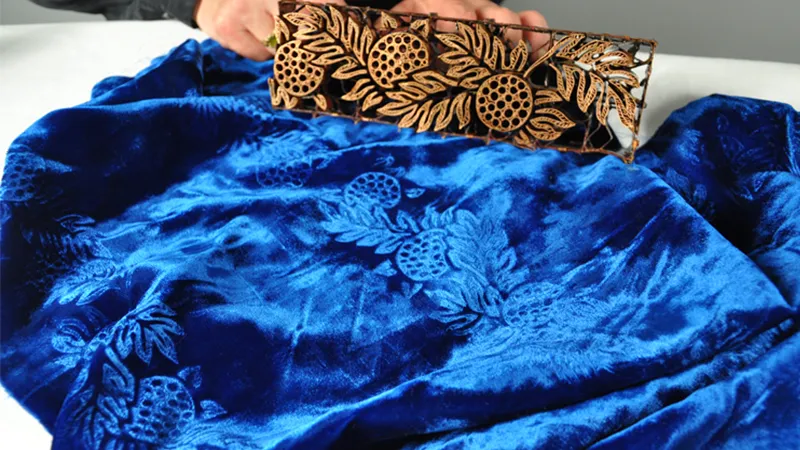
Step 2: Position the Embossing Plate
Place the embossing plate or stamp on the ironing board with the design facing up. Make sure the plate is clean and free of any debris that could interfere with the embossing process.
Step 3: Position the Velvet Fabric
Lay the velvet fabric over the embossing plate with the right side facing down. Ensure that the fabric is smooth and free of wrinkles. The area to be embossed should be directly over the design on the plate.
Step 4: Cover with Protective Cloth
Place a thin cotton cloth over the velvet fabric. This cloth acts as a barrier, protecting the delicate velvet from direct contact with the iron while still allowing heat to transfer the design.
Step 5: Apply Heat
With the iron set to medium heat, press it firmly onto the protective cloth, covering the area of the fabric to be embossed. Apply even pressure and hold the iron in place for about 10-15 seconds. Avoid moving the iron back and forth, as this can distort the design.
Step 6: Check the Embossing
Carefully lift the iron and remove the protective cloth. Gently lift the velvet fabric to check the embossing. If the design is not as defined as desired, repeat the process, applying a bit more pressure or slightly increasing the heat setting.
Step 7: Allow the Fabric to Cool
Once you’re satisfied with the embossing, allow the fabric to cool completely before handling it. This helps set the design and ensures that the embossed pattern remains intact.
Tips for Successful Velvet Embossing
- Test on a Scrap Piece: Before embossing your main piece of velvet, practice on a scrap piece to get a feel for the process and adjust your technique if necessary.
- Avoid Overheating: Velvet is sensitive to heat, so it’s crucial to use the appropriate temperature setting. If in doubt, start with a lower heat setting and gradually increase it as needed.
- Use a Protective Cloth: Always use a protective cloth between the iron and the velvet to prevent direct contact, which can damage the fabric.
- Experiment with Designs: Don’t be afraid to experiment with different embossing plates or stamps. This is a great way to create unique and personalized designs on your velvet fabric.
Advanced Techniques
For those looking to take their velvet embossing skills to the next level, here are a few advanced techniques to consider:
Custom Embossing Plates
Creating custom embossing plates allows for more personalized designs. You can design your own patterns and have them cut using a laser cutter or 3D printer. This opens up endless possibilities for unique and intricate designs.
Multi-Layer Embossing
Multi-layer embossing involves using multiple embossing plates or stamps to create complex patterns and textures. This technique requires careful planning and precision but can yield stunning results. Start with the largest design and gradually add layers of smaller designs.
Combining Techniques
Consider combining embossing with other fabric manipulation techniques, such as painting or dyeing, to add color and further enhance the texture of the velvet. For example, you can use fabric paints to highlight embossed areas or create a gradient effect.
Caring for Embossed Velvet
To keep your embossed velvet fabric looking beautiful and lasting a long time, proper maintenance is necessary. The following advice can be used to maintain embossed velvet:
Gentle Cleaning: To protect the velvet fabric, it should be cleaned carefully. Use a moist cloth or a fabric cleaner made especially for velvet, spot cleaning.
Steer Clear of Direct Heat: Always use a protective towel and steer clear of direct heat while ironing embossed velvet. For optimal effects, gently renew the cloth (being careful not to flatten the embossed image) with a steam iron.
Storage: Keep the embossed velvet fabric somewhere dry and cold. Long-term folding may cause the embossed design to become flat, therefore avoid doing so. To maintain the fabric’s texture, roll or hang it instead.
Conclusion
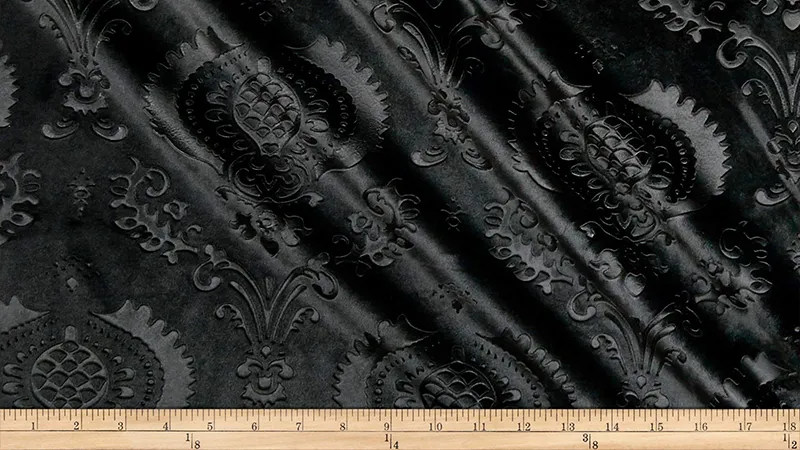
Velvet fabric may be delightfully textured to give your designs a distinctive look. You may make exquisitely detailed embossed velvet fabric with complex patterns and textures by following the instructions provided in this tutorial.
Always remember to take your time, try out various methods, and most of all, have fun while creating. You’ll be able to create gorgeous designs that present velvet’s opulent richness in a completely new way with experience.