Beading on tulle fabric adds exquisite detail and sparkle to garments and accessories, transforming simple pieces into stunning creations. Tulle’s delicate, net-like structure provides a unique canvas for intricate beadwork, allowing for both subtle embellishments and dramatic designs. Mastering this technique opens up a world of creative possibilities, from bridal wear to haute couture.
This guide explores the essential steps and techniques for beading on tulle, ensuring your projects achieve professional-level results. We’ll cover everything from selecting the right beads and tools to securing them effectively, providing you with the knowledge to bring your sparkling visions to life. Whether you’re a seasoned crafter or a beginner, this tutorial will equip you with the skills to confidently bead on tulle.
What Is Beading on Tulle Fabric
Beading on tulle fabric is the art of embellishing this delicate, net-like material with beads, sequins, or other small decorative elements. Tulle, often used in bridal wear, evening gowns, and costume design, provides a sheer and ethereal backdrop for intricate beadwork. This technique allows for the creation of stunning visual effects, adding sparkle, texture, and dimension to the fabric.
The process involves carefully attaching beads to the tulle, either by hand-sewing or using specialized beading needles and threads. Due to tulle’s fine structure, precision and patience are essential to avoid damaging the fabric. Beading on tulle can range from simple scattered embellishments to elaborate, densely beaded patterns, making it a versatile technique for both subtle and dramatic designs.
How to Bead on Tulle Fabric?
Beading on tulle fabric is a delicate yet rewarding process that adds sparkle and texture to this sheer material. Proper techniques and careful handling are essential for achieving beautiful and durable results. Here’s a step-by-step guide to beading on tulle:
Tools Needed
When beading on tulle fabric, having the right tools is essential for a smooth and successful process. Here’s a list of the necessary tools:
- Pliers (Optional): Some people prefer using small pliers when pulling the needle through the fabric.
- Tulle Fabric: The base material you will be embellishing.
- Beads, Sequins, or Other Embellishments: The decorative elements you’ll be attaching.
- Fine Beading Needles: These are thin needles designed to pass easily through beads and tulle without damaging the fabric.
- Thread: Choose a strong, thin thread that matches or complements the tulle’s color. Nylon or silk threads are often preferred for their durability.
- Scissors: For cutting thread and trimming excess material.
- Beading Hoop or Frame (Optional): This helps to keep the tulle taut and prevent shifting during beading.
- Water-Soluble Marker (Optional): For marking your design directly onto the tulle.
- Beading Tray or Mat (Optional): This helps to keep beads organized and prevents them from rolling away.
- Lighting: Good lighting is crucial for seeing the fine details of the tulle and beads.
Step 1: Prepare Your Materials and Workspace
Begin by gathering all necessary materials, including tulle fabric, beads, needles, thread, and scissors. Ensure your workspace is clean and well-lit. Choose a fine needle that can easily pass through the beads and tulle without damaging the fabric. Select a strong, thin thread that matches or complements the tulle’s color.
Proper preparation is key to a successful beading project. A clean workspace prevents dust and debris from contaminating the delicate tulle. Using the right needle and thread ensures smooth and efficient beading. Matching thread to the tulle creates a seamless, professional finish.
Organizing your materials beforehand saves time and prevents frustration during the beading process. Ensure you have all the necessary tools and supplies within reach. Pre-cutting a length of thread and threading the needle before starting can streamline your workflow.
Step 2: Plan Your Design and Secure the Tulle
Plan your beading design by sketching it on paper or directly on the tulle using a water-soluble marker. Secure the tulle to a stable surface, such as a hoop or a piece of cardboard, to prevent shifting during beading. This ensures precise bead placement and prevents distortion of the fabric.
Planning your design ensures a cohesive and visually appealing finished product. Sketching or marking the tulle helps guide your bead placement. Securing the tulle prevents unwanted movement and maintains fabric tension, making beading easier and more accurate.
A stable surface is crucial for maintaining control while beading. A hoop provides even tension, while cardboard offers a firm backing. If using a hoop, ensure the tulle is taut but not overly stretched. Using a water-soluble marker allows for easy removal of markings after beading.
Step 3: Attach the Beads
Thread your needle and tie a secure knot at the end of the thread. Bring the needle up through the tulle at the desired bead placement. String a bead onto the needle and bring the needle back down through the tulle, securing the bead. Repeat this process, following your design. Ensure each bead is securely attached to prevent slippage.
Proper bead attachment is essential for a durable and aesthetically pleasing finish. Secure knots prevent thread slippage and ensure beads stay in place. Consistent stitching maintains even spacing and alignment. Avoid pulling the thread too tightly to prevent puckering or tearing the tulle.
For intricate designs, consider using a beading needle, which is longer and thinner, making it easier to pick up and string multiple beads. Experiment with different beading techniques, such as backstitching or couching, to achieve various textures and effects. Secure each bead with a double stitch for added durability.
Step 4: Finish and Secure the Thread
Once you have completed your beading design, bring the needle to the back of the tulle and tie a secure knot to fasten the thread. Trim any excess thread close to the knot. Inspect your work to ensure all beads are securely attached and the tulle is free from damage.
Properly finishing and securing the thread prevents unraveling and ensures the beads remain firmly attached. Tie multiple knots for added security, especially in areas with heavy beading. Trimming excess thread close to the knot creates a clean finish.
Inspect your work carefully to identify any loose beads or damaged tulle. Reinforce any weak points by adding extra stitches or knots. Ensure the back of the tulle is neat and tidy to prevent snagging or discomfort. Gently press the beaded tulle with a cool iron to flatten any puckering or wrinkles.
Why Beading on Tulle Fabric Is Needed
Beading on tulle fabric serves both aesthetic and functional purposes, enhancing the visual appeal and structural integrity of garments and decorative items. The delicate, sheer nature of tulle provides an ideal canvas for intricate beadwork, allowing for the creation of stunning, ethereal designs. Beads add sparkle, texture, and weight, transforming simple tulle into luxurious, eye-catching pieces. This technique is particularly popular in bridal wear, evening gowns, and costumes, where a touch of glamour and sophistication is desired.
Furthermore, beading can reinforce the delicate structure of tulle, adding durability and preventing tearing. By strategically placing beads, particularly along seams or edges, the fabric becomes more resilient to wear and tear. This reinforcement is crucial in garments that require movement and flexibility, ensuring they maintain their shape and integrity over time. Beading also allows for customization and personalization, enabling designers to create unique, bespoke pieces that reflect individual style and preferences.
Aesthetic Enhancement:
- Adds sparkle and texture.
- Creates ethereal designs.
- Enhances visual appeal.
Structural Reinforcement:
- Increases durability.
- Prevents tearing.
- Adds weight and stability.
Customization:
- Allows for personalized designs.
- Enables bespoke creations.
What Material Can Be Beaded on Tulle
Tulle fabric, with its delicate, net-like structure, can be embellished with a variety of materials to create stunning effects. Here are some materials commonly used for beading on tulle:
Beads:
- Glass beads: These come in various shapes, sizes, and colors, adding sparkle and dimension.
- Seed beads: Small, uniform beads perfect for intricate designs.
- Crystal beads: These catch the light beautifully, adding a touch of elegance.
Sequins:
- Flat sequins: These provide a shimmering, flat surface.
- Cup sequins: These have a curved shape, adding depth and texture.
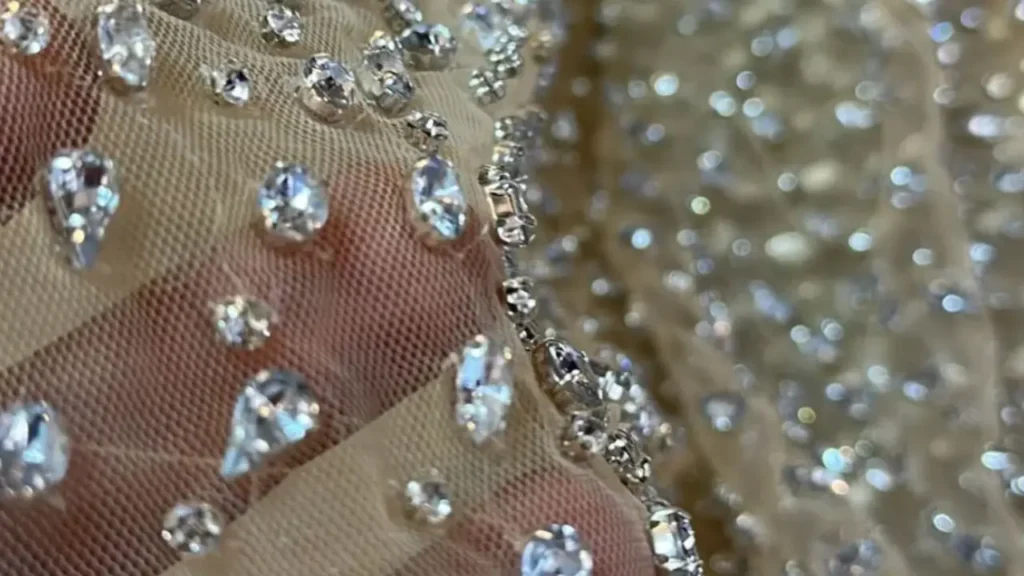
Rhinestones:
- These faceted crystals add sparkle and glamour. They can be sewn on or attached using a heat-setting tool.
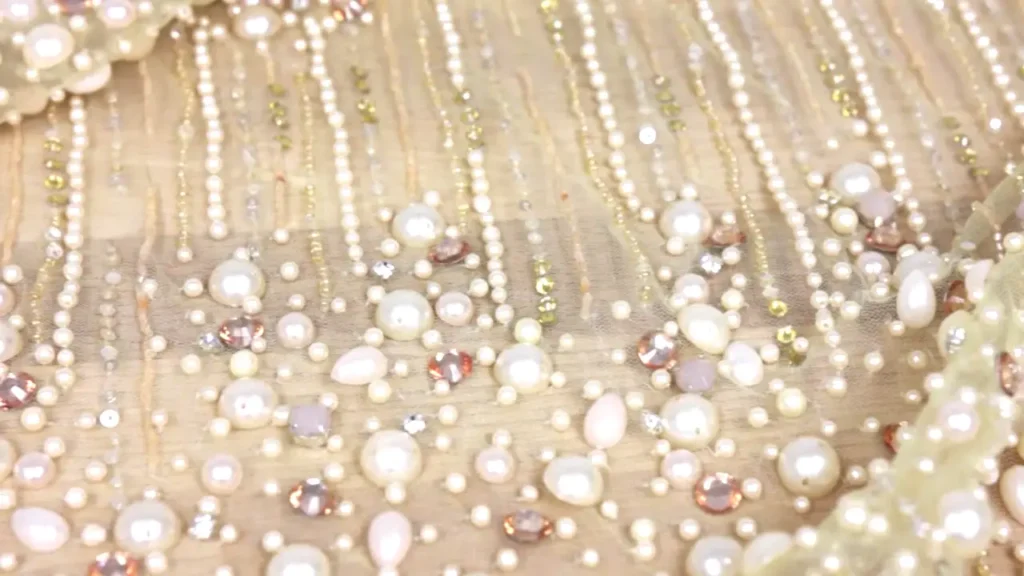
Pearls:
- Real or faux pearls add a classic, elegant touch.
Crystals:
- Swarovski crystals, or other similar crystals, add a brilliant sparkle.
Thread and Wire:
- Metallic thread: Adds a shimmering effect.
- Fine wire: Can be used to create intricate beaded designs.
Small Fabric Pieces:
- Small pieces of lace or other delicate fabrics can be incorporated into beaded designs.
Feathers:
- Small feathers can be combined with beads for a unique, textured effect.
When selecting materials, it’s essential to consider the weight and size of the embellishments to ensure they don’t damage the delicate tulle. Also, choose materials that are compatible with the tulle’s color and intended use.
Conclusion
Beading on tulle fabric requires careful preparation, precise techniques, and the right tools. Understanding the delicate nature of tulle and using appropriate needles, threads, and bead types is essential for achieving beautiful and durable results. Taking the time to plan your design and practice your stitching ensures a professional finish.
Properly securing the beads and managing the tulle’s sheer texture are key to successful beading. Whether you choose to hand-sew or use a beading needle, consistent tension and secure knots are vital for preventing bead slippage. Experimenting with different bead types and patterns can enhance the fabric’s elegance and create stunning embellishments.
Mastering the art of beading on tulle allows for a wide range of creative possibilities, from adding subtle accents to creating elaborate designs. With patience and attention to detail, you can transform simple tulle fabric into exquisite pieces.