Discover everything you need to know about Jelly Roll Quilts with this complete guide to quilting with precuts. We’ll walk you through the basics of Jelly Rolls, show you how to make a Jelly Roll Quilt, and share some of the best easy patterns perfect for beginners.
Let’s delve into the colorful world of Jelly Roll Quilt and explore its myriad wonders.
What is a Jelly Roll?
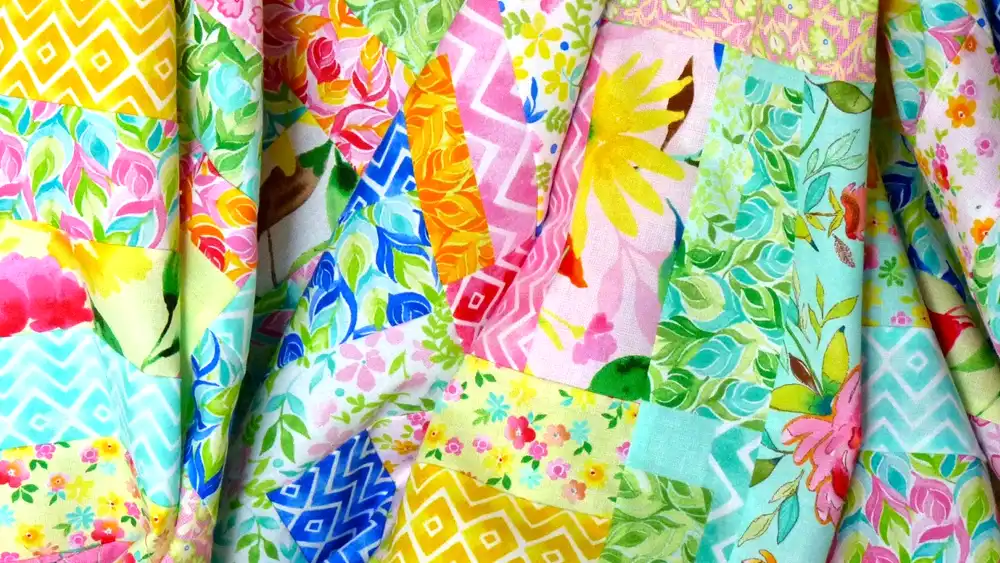
A Jelly Roll is a bundle of pre-cut fabric strips, each about 2.5 inches wide and usually 44 to 45 inches long. These strips all come from the same fabric collection, so you don’t have to worry about matching colors and patterns.
The best part? You can skip the time-consuming step of cutting each strip yourself. Instead, you get a perfectly coordinated bundle, ready for your quilting projects. It’s basically a shortcut to quilting success! Jelly Rolls have become a game-changer in the quilting world because they simplify and speed up the process. Instead of spending hours cutting fabric, you can dive straight into piecing your quilt top.
Whether you’re a beginner or an experienced quilter, Jelly Rolls make quilting faster and more fun—without sacrificing creativity. So, if you love quilting but want to skip the prep work, Jelly Rolls are a great way to save time while still creating something beautiful.
Benefits of Jelly Rolls in Quilting
Convenience
If you’ve ever spent hours cutting fabric strips for a quilt, you know how time-consuming it can be. Jelly Rolls take all that prep work off your plate by providing a pre-cut bundle of strips, ready to go. No measuring, no cutting—just grab your Jelly Roll and start sewing. It means more time for the fun, creative part of quilting!
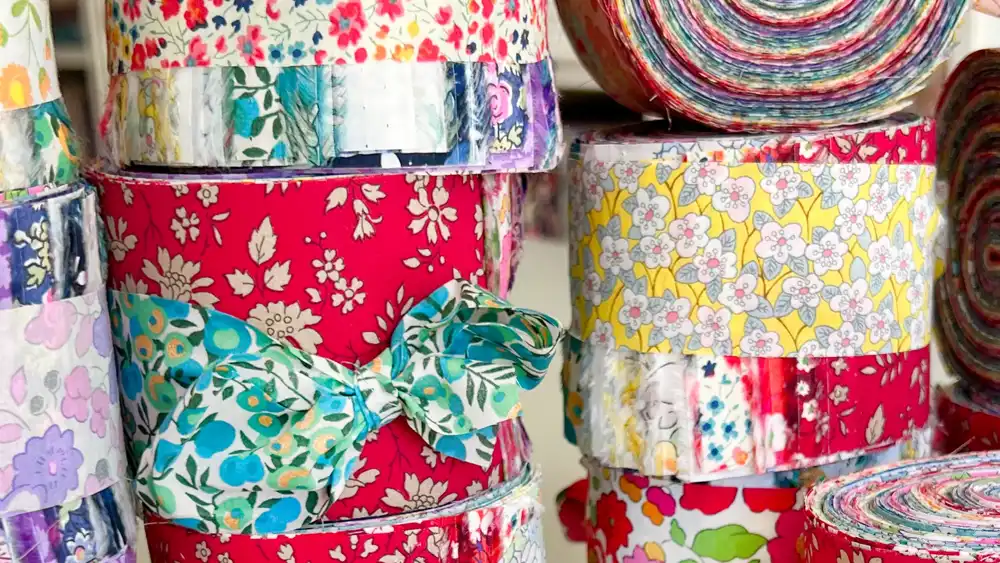
Variety
Jelly Rolls come in tons of different fabric collections and color combinations, making it easy to find one that suits your style. Whether you love bold, vibrant prints or soft, pastel florals, there’s a Jelly Roll that has exactly what you need. You can mix and match or stick to a single collection for a more coordinated look—totally up to you!
Consistency
One of the best things about Jelly Rolls is the consistency they offer. Every strip is pre-cut to the exact same size, so there’s no need to worry about uneven cuts or mistakes. This makes piecing your quilt top much smoother, and you’ll end up with a professional-looking quilt without all the stress. Less worry, more stitching!
What Are Jelly Rolls Used For?
Jelly rolls are not just for quilting; they’re also great for a variety of other sewing projects. Some popular ideas for using jelly rolls include:
- Throw pillows and cushions: Jelly Rolls are perfect for making colorful throw pillows. Pick your favorite strips, sew them together, and voilà! You’ve got a stylish pillow to liven up your space.
- Table runners and placemats: Want to add some charm to your dining table? Jelly Rolls are fantastic for creating table runners and placemats that bring a pop of color and personality to any meal.
- Bags, pouches, and home décor items: Whether you’re after a cute handbag or a practical fabric pouch, Jelly Rolls make sewing accessories quick and easy. They’re also perfect for adding a homemade touch to your home décor.
- Small projects: Mug rugs, coasters, and more: Leftover strips? Jelly Rolls are great for smaller projects like mug rugs, coasters, and other quick-sew items that are both practical and pretty.
How to Choose the Right Jelly Roll for Your Project?
When choosing the perfect Jelly Roll for your project, there are a few things to consider.
- Fabric Collection: Decide whether you want something soft and floral or bold and modern.
- Colors: Choose colors that match your space or personal style.
- Coordinating Strips: Pick Jelly Rolls with coordinating strips for a more balanced and cohesive quilt design.
- Pattern Style: Think about the type of patterns you like—geometric shapes or freeform designs.
For beginners, it’s best to start simple. Go for a Jelly Roll that already has coordinating strips, so you don’t have to stress over matching patterns and colors yourself. Trust your gut, and don’t be afraid to experiment with different combos! With Jelly Rolls, you really can’t go wrong.
What Is a Jelly Roll Quilt?
A Jelly Roll Quilt is a quilt created with pre-cut fabric strips from a Jelly Roll. These quilts can be as simple or as complex as you want, and can have either modern or traditional designs, depending on the pattern you pick. Usually, Jelly Roll Quilts are more straightforward, making them perfect for beginners or even experienced quilters looking for a quick and satisfying project.
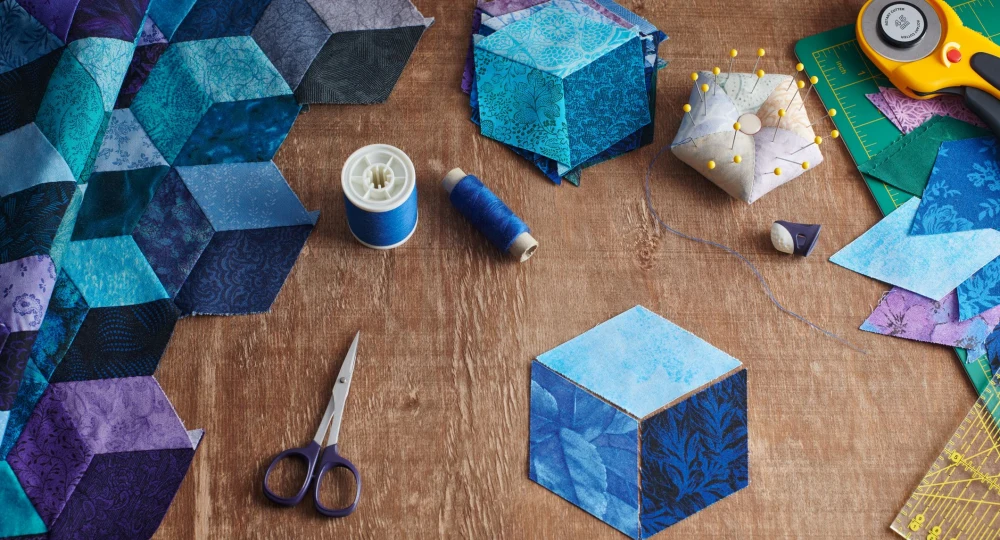
How to Make a Jelly Roll Quilt: Step-by-Step Guide
Making a Jelly Roll Quilt is so much fun and super quick—perfect for quilters of all levels. Whether you’re just starting out or you’ve been quilting for a while, this guide will help you create a beautiful quilt without any stress. Ready to get started?
Step 1: Preparing the Jelly Roll Strips
Before you dive in, you’ll want to get your Jelly Roll strips ready. They come pre-cut, but you may need to trim off any selvage edges (those little bits on the edges that are thicker and not as cute). It’s also a good idea to check if your strips are even.
A quick trim here and there can save you time later. And don’t forget about your seam allowance! It’s usually 1/4 inch, and it’s super important when you start piecing everything together.
Step 2: Choosing Your Quilt Pattern
Now comes the fun part—choosing a pattern! Jelly Rolls are great for a variety of quilt designs, and some popular ones include:
- Jelly Roll Race: This one’s fast! You just sew all your strips together, cut them in half, and join them in rows.
- Rail Fence: A simple, stylish pattern with alternating strips.
- Log Cabin: A cozy classic where you sew strips around a central square.
These patterns are all beginner-friendly and give you the freedom to get creative with your fabric choices. Whether you like bold designs or subtle ones, there’s a pattern for you!
Step 3: Cutting, Sewing, and Piecing Together the Quilt Top
Time to start sewing! Depending on your pattern, you might need to cut your strips into smaller pieces, or you can keep them as they are. Either way, take your time to get those seams just right. Aim for a 1/4 inch seam allowance, and make sure everything lines up. No need to stress about perfection, just keep things neat and enjoy the rhythm of sewing those strips together.
Step 4: Assembling the Quilt Blocks
Blocks are just sections of your quilt that get repeated across the design. Depending on your pattern, you might want to arrange your strips in rows or stack them in a different way. Play around with the layout until it feels right—it’s your quilt, so make it yours!
Step 5: Joining Quilt Blocks and Attaching Borders
Sewing your blocks together. Pin the edges of your blocks and sew them in rows, making sure everything stays nice and aligned. Ironing your seams flat will help keep things neat and smooth.
Once your blocks are joined, you can add borders to frame the quilt. You can either use fabric from your Jelly Roll or pick a complementary solid color. Borders are like the finishing touch—they really make your quilt pop!
Step 6: Quilting and Binding
You’re almost there! The last steps are quilting and binding. Here’s what you can do:
- Machine Quilting: If you’re looking for a quick finish, machine quilting is your friend. You can use a basic stitch or get creative with some decorative stitches.
- Hand Quilting: Want to add a personal touch? Hand quilting takes longer but gives your quilt a unique, handcrafted feel.
How Many Jelly Rolls to Make a Quilt?
How many jelly rolls you’ll need for your quilt depends on a few factors:
Quilt Size: The size of the quilt you want to make plays a huge role in determining how many Jelly Rolls you need. A small lap quilt will require fewer strips than a big king-size quilt, so keep your desired dimensions in mind.
Quilt Pattern and Design Complexity: Simpler patterns, like a Jelly Roll Race or Rail Fence, usually need fewer strips since they don’t require as much cutting. But if you’re making a more intricate design, like a Log Cabin or a complex layout with many blocks, you might need extra Jelly Rolls to account for more fabric cuts and seams.
Number of Strips in Each Jelly Roll: Most Jelly Rolls come with 40 strips that are 2.5 inches wide and 44 inches long. While this is standard, some rolls may vary slightly, so always check before you start your project.
General Guidelines Based on Quilt Size:
To make things easier, here’s a simple guideline to help you figure out how many Jelly Rolls you’ll need for different quilt sizes:
- Baby Quilt (around 36″ x 48″) – 1 Jelly Roll
- Lap Quilt (around 54″ x 72″) – 1 Jelly Roll
- Twin Quilt (around 66″ x 90″) – 2 Jelly Rolls
- Full/Double Quilt (around 81″ x 96″) – 2 Jelly Rolls
- Queen Quilt (around 90″ x 108″) – 3 Jelly Rolls
- King Quilt (around 108″ x 120″) – 3+ Jelly Rolls
Of course, this is just a general guideline, and your specific quilt pattern might require a little more or less. For example, if your design has a lot of cuts or a larger block size, you may want to have an extra Jelly Roll just in case.
Easy Jelly Roll Quilt Patterns
One of the best things about using jelly rolls is the endless possibilities for mixing and matching the strips to create all sorts of fun patterns.
Here are the top 5 easy jelly roll quilt patterns to try:
- Jelly Roll Race: Quick, fun, and perfect for a fast finish.
- Rail Fence: A classic design that’s easy to sew.
- Simple Log Cabin: A timeless pattern with endless ways to arrange the blocks.
- Stripes and Squares: Bold, fun, and minimal cutting.
- Chevron: A modern zigzag pattern that looks stunning.
Tips for a Successful Jelly Roll Quilt Project
If you’re about to jump into a Jelly Roll quilt project, there are a few tips I want to share that will make everything go smoothly and help you end up with a quilt you’ll love.
1. Accuracy is Key
Quilting is all about precision! Make sure you measure and cut your fabric strips carefully. Even small discrepancies can add up, causing your quilt top to be a little off. Take your time, use a sharp rotary cutter, and double-check your measurements for the best results.
2. Pressing and Ironing
Pressing is your secret weapon in quilting. After sewing each seam, press it open or to one side (depending on your pattern’s instructions). Pressing helps everything lay flat and smooth, giving your quilt that crisp, polished look. It might seem like an extra step, but trust me, it makes all the difference!
3. Choosing the Right Thread
Thread might feel like a small detail, but the right thread makes a huge difference. For Jelly Roll quilts, go for 100% cotton thread—it blends beautifully with most fabrics. A medium-weight thread like 50-weight cotton is perfect for most quilting projects. It’s strong, durable, and won’t add unnecessary bulk.
4. Working with Fabric Collections
One of the best things about Jelly Rolls is that they come pre-coordinated, but if you’re picking fabrics on your own, it’s key to choose colors and prints that complement each other. Think about the vibe you want—bright and bold or soft and cozy—and keep your color scheme balanced. If you’re ever unsure, look for fabric collections that have been curated to match perfectly!
How to Care for Your Jelly Roll Quilt?
You’ve put in the work, and now it’s time to take care of your beautiful Jelly Roll quilt. Don’t worry—it’s easier than you think! Here are a few simple tips to help you keep it in top shape for years to come.
1. Wash with Care
Opt for a gentle cycle with cold water. This helps prevent any shrinkage or fading. Use a mild detergent—nothing too harsh! If you’re worried about colors bleeding, toss in a color catcher just to be safe.
2. Drying Your Quilt
Tumble dry your quilt on low heat. High heat can shrink it and wear out the fabric faster. If you’re extra cautious, you can air-dry it by laying it flat or hanging it on a clothesline. Just make sure it’s fully dry before storing it.
3. Store Your Quilt Properly
When you’re not using your quilt, store it somewhere cool and dry, away from direct sunlight. Avoid folding it in the same spot every time to keep it from creasing. Instead, loosely fold it and keep it in a breathable fabric bag, or even better, in a quilted storage box to keep it protected from dust and dirt.
4. Spot Clean When Needed
Got a little stain? No worries! Spot clean with a damp cloth and some mild soap. Don’t scrub too hard—you don’t want to damage the fabric. Just blot the stain, and let it air dry.
5. Regularly Check for Wear and Tear
Now and then, check your quilt for any loose threads or wear. If you catch something early, it’s easy to fix. A few stitches here and there can make a big difference!
Conclusion
In short, jelly roll quilts are the perfect blend of simplicity, speed, and creativity. Whether you’re new to quilting or a seasoned pro, using pre-cut fabric strips makes the process easier, faster, and gives you tons of room to get creative. Plus, they’re just plain fun to work with! So, if you’re thinking of making your first quilt, a Jelly Roll quilt is a great place to start.
Ready to dive in? Grab a jelly roll, pick your pattern, and let your quilting adventure begin. For more tips, resources, and next steps, be sure to contact F& A Fabric to explore their range of fabric collections and get support along the way. Happy quilting!