In this comprehensive guide, we’ll delve deep into the world of waterproofing, exploring various methods, delving into the science behind it, and offering helpful tips to ensure your project withstands the test of the weather.
From convenient sprays to natural waxes and innovative fabric fusables, we’ll equip you with the knowledge and techniques to transform your fabric creations into weather-resistant masterpieces.
What Is Waterproof Quilting Fabric
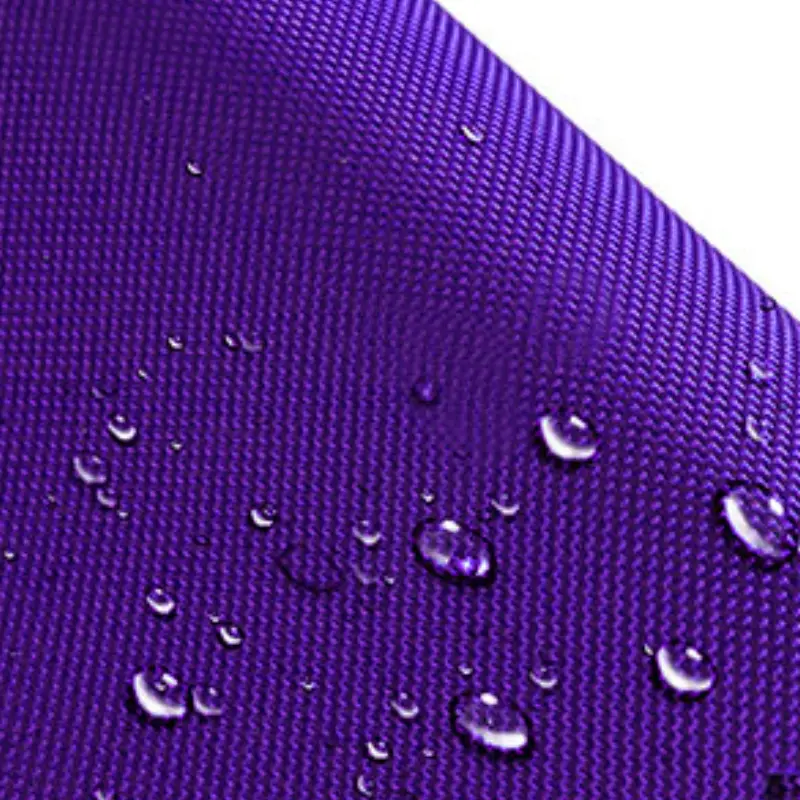
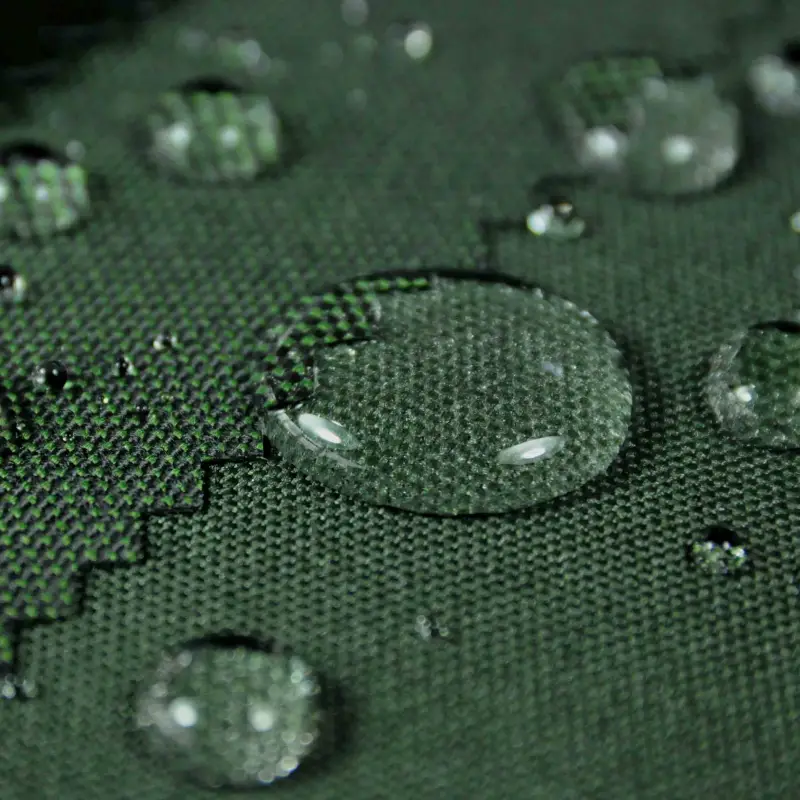
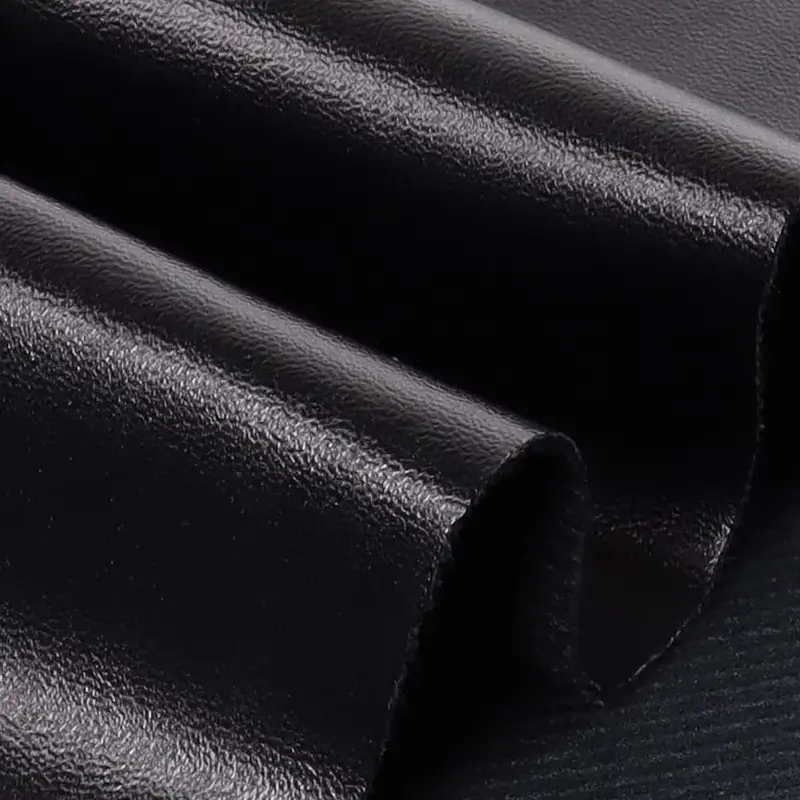
Waterproof quilting fabric is regular quilting fabric that has been treated with a special coating or finish to repel water.
This coating creates a barrier that prevents water from soaking through the fibers of the fabric, making it ideal for projects that will be used outdoors or exposed to moisture.
There are several benefits to using waterproof quilting fabric:
- Durability: The waterproof coating adds an extra layer of protection to the fabric, making it more resistant to wear and tear.
- Versatility: Waterproof quilting fabric opens doors to creating projects that can be used in various weather conditions, from picnic blankets and outdoor table runners to raincoats and pet accessories.
- Easy Care: Many waterproof fabrics are easier to clean than traditional quilting fabrics. Spills and dirt can often be wiped away with a damp cloth.
Here are some things to consider when choosing waterproof quilting fabric:
- Type of Waterproofing: Different methods offer varying levels of water resistance and breathability. Sprays might be good for light water resistance, while laminates offer strong waterproofing but may be less breathable.
- Breathability: If your project needs to breathe, choose a fabric with a breathable coating or weave.
- Weight and Drape: Consider the weight and drape of the fabric for the project’s intended use.
Where to Find Waterproof Quilting Fabric:
Waterproof quilting fabric can be found at many fabric stores, both online and in brick-and-mortar locations. Look for stores that specialize in quilting supplies or outdoor fabrics. Welcome to get premium waterproof quilting fabrics from our Fandafabric.
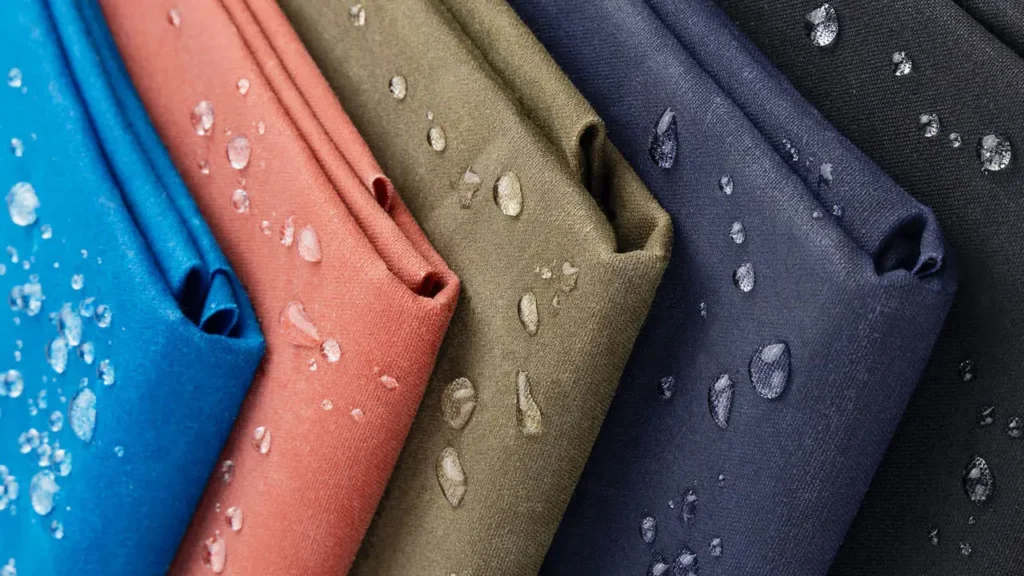
How to Waterproof Fabric
Step 1: Creating a Gentle Heat Source
We’ll begin by creating a safe and controlled heat source to melt the wax. Here’s what you’ll need:
- A saucepan
- Water
- A metal bowl (large enough to fit inside the saucepan without touching the water)
Fill the saucepan with water and bring it to a boil on the stovetop. Now, carefully place the metal bowl on top of the pan. The key here is ensuring the bowl doesn’t touch the boiling water directly. This space between the pan and the bowl creates a gentle heat bath that will melt the wax in the bowl above.
Step 2: Preparing the Wax and Fabric
Now that we have our heat source ready, let’s gather our other materials:
- Four ounces of beeswax pellets (available in the craft store)
- Four ounces of paraffin wax (cut into small chunks)
- A one-inch paintbrush with stiff bristles
- The fabric you wish to waterproof
Add the beeswax pellets and paraffin wax chunks to the metal bowl and stir them as they melt in the gentle heat. While the waxes are liquefying, preheat your fabric (if possible) by tossing it in the dryer for a few minutes. Warm fabric allows for a smoother application of the wax.
Step 3: Apply the Wax
With the wax melted and the fabric warmed, it’s time for the main event! Using your stiff-bristled paintbrush, apply a generous layer of molten wax onto the fabric, working in small sections. Aim for a consistent and even application across the entire area.
Step 4: Setting the Wax
Here’s where the magic happens! To ensure the wax bonds properly with the fabric fibers, we need to melt it slightly further. Grab your heat gun (set to low) or a hairdryer on high heat, and gently point it at the waxed section. As you move the heat source around, you’ll see the wax melt further and seamlessly integrate with the fabric. Let the treated section cool completely before proceeding.
Bonus Tip: For smaller items like shoes or upholstery fabric pieces, you can skip using the heat gun altogether. Simply slip the wax-coated item into an old pillowcase and run it through the dryer on high heat for 15 minutes. This will effectively melt the wax into the fabric.
Step 5: Repeat and Refine
Once the first coat has cooled, inspect the fabric for any uneven spots. If you notice areas needing more coverage, apply a second layer of wax and reheat it using your chosen method. Allow the entire project to cool completely before handling it further.
Step 6: Curing and Enjoying!
The final step is crucial for ensuring long-lasting results. Let your waxed masterpiece cure for at least 24 hours before using it. If you notice a slight wax odor, don’t worry! Simply let it air out for a few days. Alternatively, for faster results, you can place the waxed item in the freezer overnight. Upon retrieval, your fabric should be odorless, watertight, and ready to conquer the elements!
With the power of wax, you can transform your fabric creations into functional and beautiful works of art. So, gather your supplies, unleash your creativity, and get ready to weatherproof your next project!
How to Make Fabric Waterproof
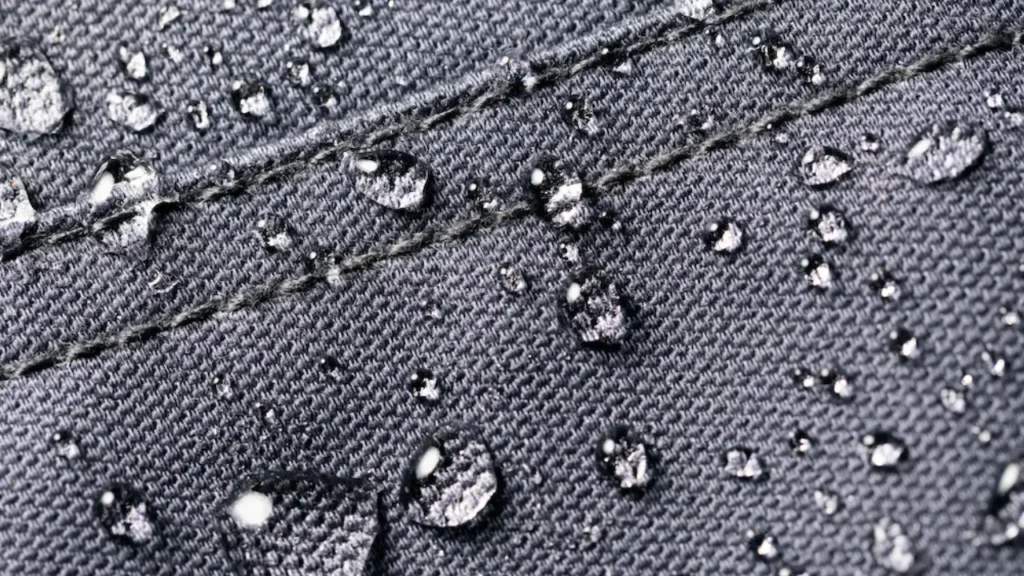
There are several ways to make fabric waterproof, each with its advantages and disadvantages. Here’s a breakdown of some popular methods:
1. Fabric Waxes:
This is a natural and eco-friendly option that adds breathability to your waterproofed fabric. Here’s a quick guide:
- Materials: Beeswax pellets, paraffin wax, double boiler (saucepan with water and metal bowl on top), paintbrush, heat gun (optional), hairdryer (optional).
- Process:
- Melt the waxes together in the double boiler.
- Warm your fabric (optional) and apply a thick layer of wax with the brush.
- Use a heat gun (low setting) or hairdryer (high heat) to melt the wax further into the fabric. Smaller items can be placed in a pillowcase and run through a hot dryer for 15 minutes.
- Apply a second coat if necessary, reheat, and let cool completely.
- Allow 24 hours for curing before use. The wax odor should dissipate naturally over time, but you can also air it out or place it in the freezer overnight.
Pros: Natural, breathable, easy for small projects.Cons: Requires reapplication over time, alters fabric texture and appearance (stiffer, darker).
2. Fabric Sprays and Sealers:
Sprays offer a convenient and user-friendly option for light waterproofing needs.
- Materials: Fabric spray or sealer formulated for your fabric type, gloves, mask (optional).
- Process:
- Work in a well-ventilated area.
- Test the spray on a scrap fabric first.
- Apply the spray in even strokes from a distance of 6-8 inches.
- Allow proper drying time between coats as per the product instructions.
- Heat-set the spray for added durability according to the manufacturer‘s recommendations (optional).
Pros: Convenient, good for light water resistance.Cons: Effectiveness wears off over time, repeated application can stiffen the fabric.
3. Fabric Fusables:
These iron-on products add both structure and waterproofing to your fabric.
- Materials: Fabric fusible (fleece or vinyl), iron.
- Process:
- Cut the fusible to the desired size and shape.
- Place the adhesive side of the fusible onto the wrong side of your fabric.
- Iron with firm pressure for the recommended time according to the manufacturer‘s instructions.
- Allow the fabric to cool completely before testing the bond.
Pros: Durable, waterproof, various options available (fleece for breathability, vinyl for stronger waterproofing).Cons: Makes the fabric stiffer and less breathable.
4. Seam Sealing:
This is crucial for projects with seams that might allow water penetration.
- Materials: Seam sealer (tape, liquid, or spray) compatible with your fabric type and waterproof coating (if applicable), application tools (brush, applicator, seam roller).
- Process:
- Follow specific instructions for your chosen seam sealer.
- Test the sealer on a scrap seam first.
- Apply the sealer in a thin, even layer from the inside of the project along the stitched seams.
- Allow the sealer to dry completely before testing its effectiveness.
Pros: Ensures waterproof seams.Cons: Requires additional step and specific products.
Choosing the Right Method:
Consider your project’s use, fabric type desired breathability, and durability needs when choosing a waterproofing method. Always test the chosen method on a scrap fabric first!
Conclusion
The world of fabric waterproofing is no longer a mystery! From the natural breathability of waxes to the convenience of sprays, you now have a toolbox of techniques to make your fabric creations weatherproof and ready for anything. Remember, the key lies in choosing the right method for your project’s needs.
So, don’t let the fear of rain hold you back! Unleash your creativity, grab your favorite fabric, and get ready to transform it into a functional masterpiece. Whether it’s a stylish tote bag for unexpected downpours, a cozy picnic blanket for outdoor adventures, or a custom-made dog raincoat for your furry friend, the possibilities are endless! Head to your local craft store, gather your supplies, and let’s conquer the elements together!
