Now it’s time to add the finishing touches to your masterpiece. One essential element in finishing a quilt is the batting—the soft layer of insulation that adds warmth, texture, and dimension to your quilt.
In this blog post, we’ll explore the final steps you need to take to finish your quilt with batting, ensuring that it looks polished, professional, and ready to be enjoyed for years to come.
How to Finish a Quilt With Batting
Preparation
A. Choosing the Right Filling
- Consider the purpose of your quilt. If you are making a quilt for warmth, look for a filling with high thermal insulation properties. If you are making a lighter quilt, choose a thinner filling.
- Fillings of different materials have different properties. Cotton filling is soft and breathable, while polyester filling is durable and easy to care for. Wool filling is warm and luxurious.
- Check the fill level of the filling. Fill level refers to the thickness of the filling after it is fluffed up. A higher fill level will make your quilt look fluffier and cozier.
B. Gather Materials and Tools
- You will need quilt cover fabric, interlining, filling, thread, needles, scissors, pins, and a sewing machine.
- Sewing tools, such as a sewing ruler, rotary cutter, and cutting mat, can make the cutting and piecing process easier and more accurate.
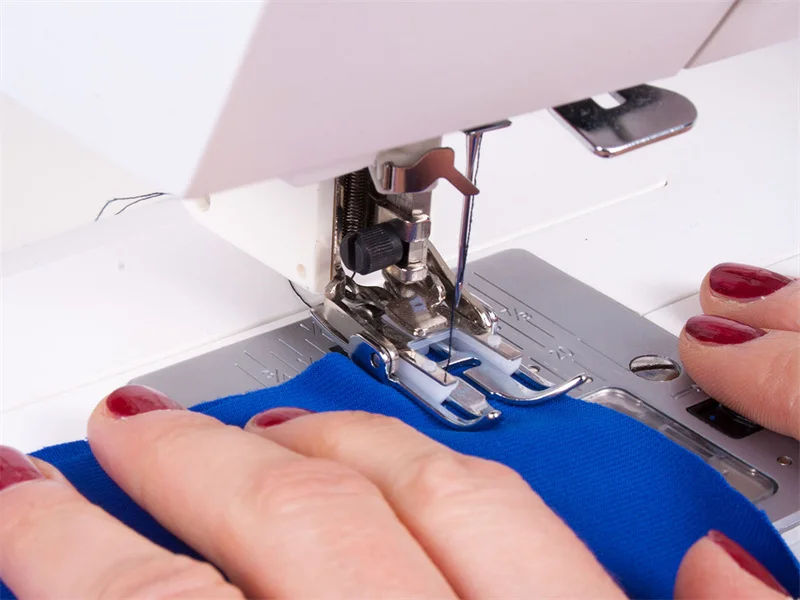
- A sewing machine’s presser foot can help feed the layers of the quilt evenly into the machine.
C. Design a Quilt Pattern
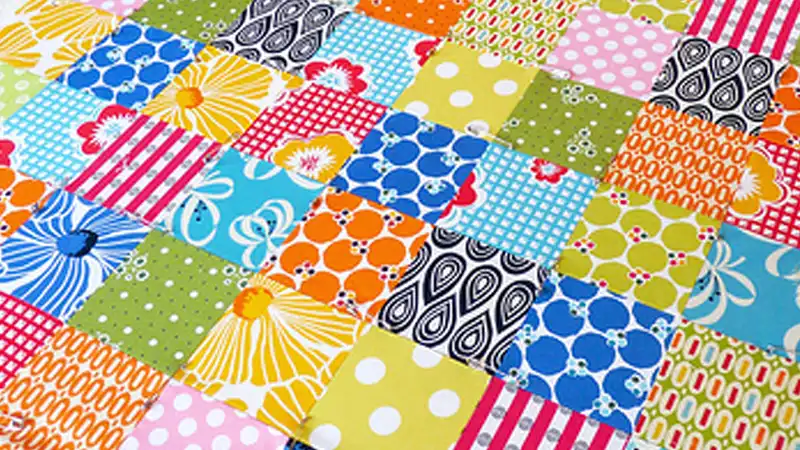
Plan a color scheme and fabric selection to complement the pattern and create a harmonious look.
Determine the size and shape of your quilt. Consider the available space and the intended use of the quilt.
Choose a quilt pattern that fits your skill level and personal style. There are many patterns to choose from, from simple patchwork to intricate applique.
Sewing Process
A. Cutting the Batting and Fabric
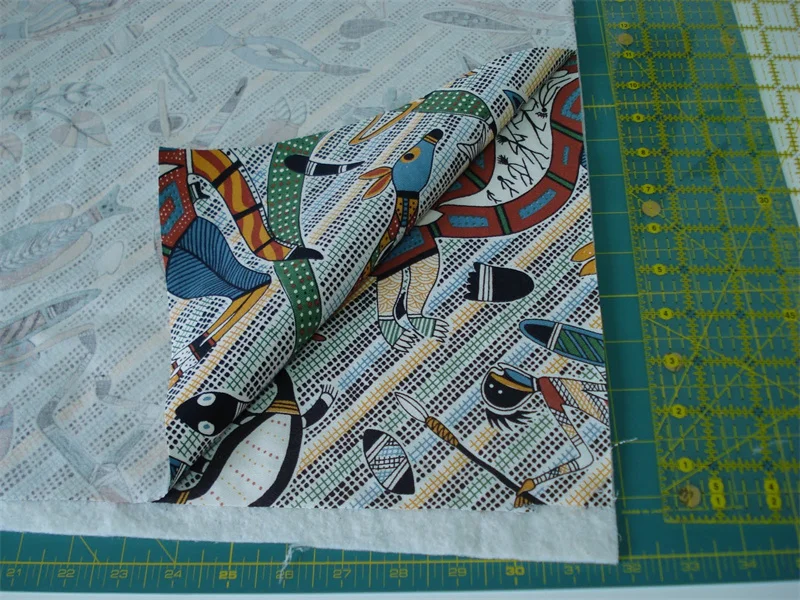
- Measure the size of the quilt cover and backing fabric. Add a few inches on each side for seam allowance.
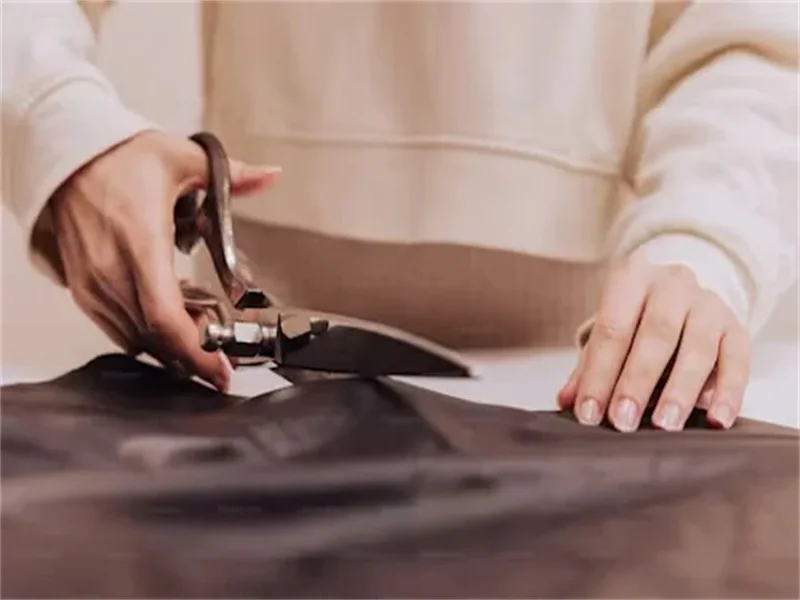
- Cut the batting to the same size as the quilt cover and backing. Use sharp scissors or a rotary cutter for precise cuts.
- When cutting fabric, always cut along the straight grain to avoid stretching or distortion. Use a quilting ruler and rotary cutter for precise cuts.
B. Joining the Fabric
- If you are using a patchwork pattern, join the fabric squares or strips together according to the pattern instructions. Use pins to hold the pieces in place while sewing.
- Sew the pieces together using a 1/4-inch seam allowance. Press the seams open to reduce bulk.
- Continue joining until the quilt cover is complete.
C. Laying the Batting
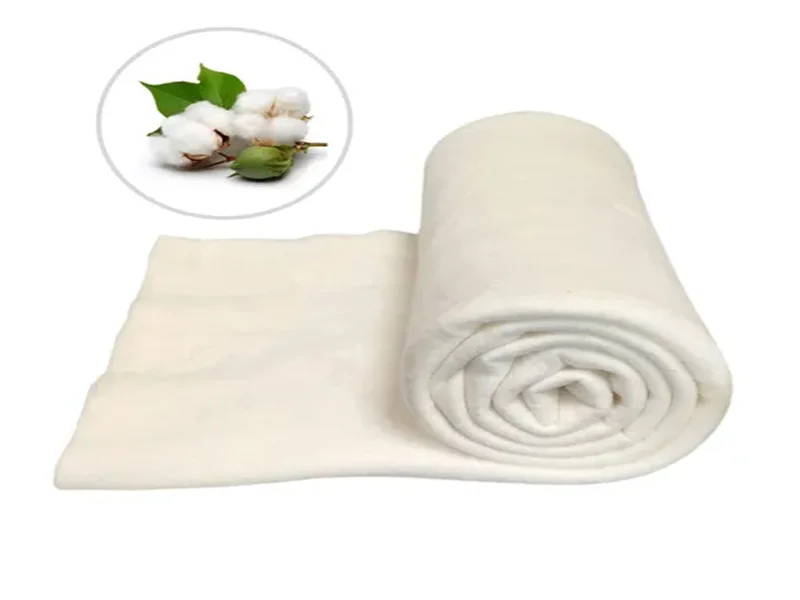
- Lay the backing fabric wrong side up on a flat surface. Smooth out any wrinkles or creases.
- Place the batting on top of the backing fabric. Make sure it is centered and flat.
- Finally, place the quilt face up on top of the batting. Align the edges and smooth out any wrinkles.
D. Sew the layers
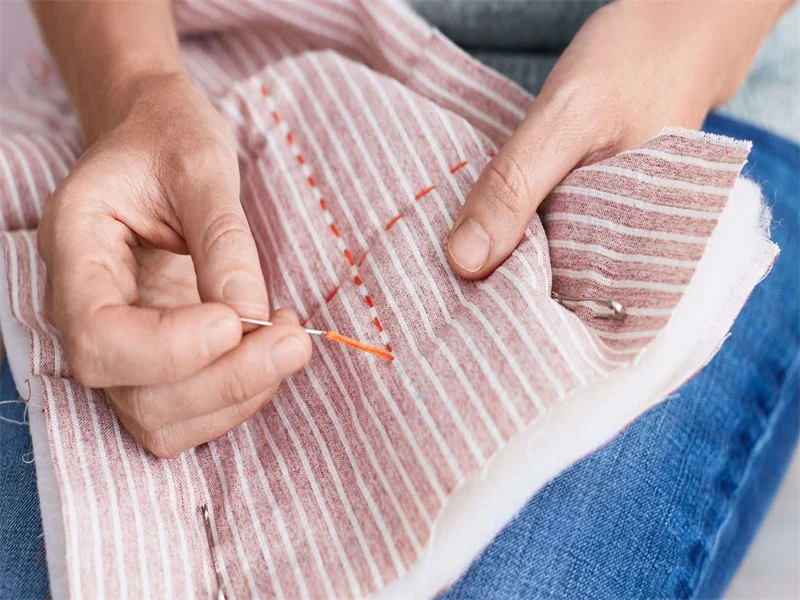
- Sew is the process of temporarily securing the layers of the quilt together before sewing them together. There are several methods of sewing, including needle sewing, spray sewing, and thread sewing.
- Needle sewing involves using straight needles to secure the layers together. Place the needles about 4 to 6 inches apart, making sure the needle goes through all three layers.
- Spray sewing uses a special adhesive spray to secure the layers together. Follow the instructions on the spray can carefully to avoid overspray or uneven bonding.
- Thread sewing involves using long needles to secure the layers together. This method is time-consuming, but provides a more secure hold.
E. Sew the quilt
Sew slowly, making sure the stitches are even and avoid wrinkling. If necessary, stop and adjust if the layers begin to move.
Decide on the quilting pattern you want to use. There are many options, including straight quilting, free-motion quilting, and stippling.
If you are using a sewing machine, install a stepping presser foot and adjust the tension and stitch length according to the thickness of your quilt.
Start sewing from the center of the quilt and work outward. Use a ruler or sewing guide to make sure your lines are straight or spaced evenly.
For free-motion sewing, lower the feed dogs on your sewing machine and use a darning foot. Move the fabric freely under the needle to create intricate patterns.
Finishing Touches
A. Trimming Excess Batting and Fabric
- After sewing the quilt, trim the excess batting and fabric from the edges. Use sharp scissors or a rotary cutter.
- Make sure to trim the edges evenly so the quilt looks clean and neat.
B. Binding the Quilt
- Binding is the process of finishing the edges of the quilt to prevent fraying. There are several methods of binding, including machine binding and hand binding.
- For machine binding, cut a strip of fabric about 2 1/2 inches wide and sew it to the edge of the quilt using a sewing machine. Fold the binding to the back of the quilt and sew it in place by hand or machine.
- For hand binding, cut a wider strip of fabric and fold it in half lengthwise. Press it flat. Starting at one corner of the quilt, sew the binding to the front of the quilt using a blind stitch. Fold the binding to the back of the quilt and sew it in place by hand.
C. Checking for Quality
Iron the quilt one last time to smooth out any wrinkles and give it a professional finish.
Carefully inspect the quilt for loose threads, missed stitches, or uneven areas. Cut off any loose threads and repair any imperfections.
CARE AND MAINTENANCE
A. Washing Your Quilt
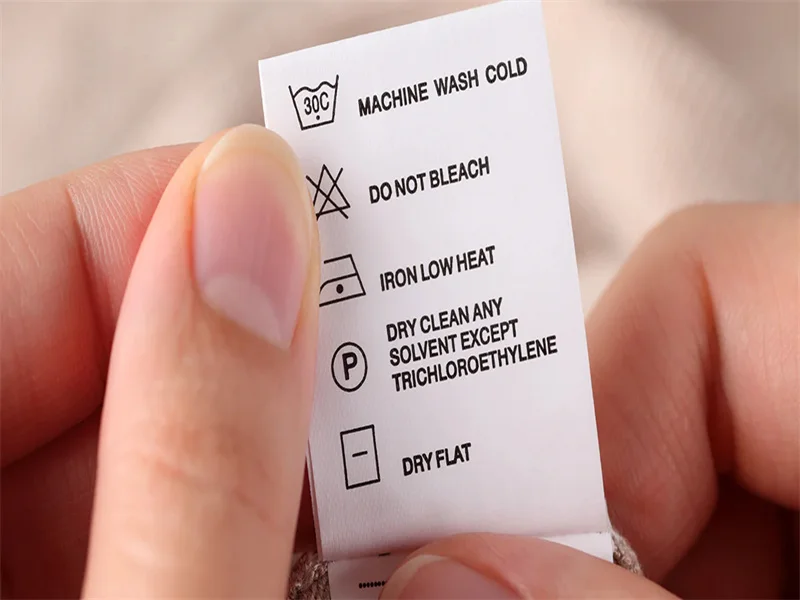
- Before washing your quilt, read the care instructions on the batting label. Some batting may require special washing instructions.
- Wash your quilt on a gentle cycle in cold water. Use a mild detergent and avoid using bleach or fabric softener.
- Place your quilt in a large mesh laundry bag to prevent tangling or snagging.
- After washing, remove your quilt from the washing machine immediately and lay it flat to dry. Avoid hanging your quilt, as this will cause it to stretch.
B. Storing Your Quilt - Store your quilt in a clean, dry place. Avoid storing it in damp, dusty areas or places exposed to sunlight.
- Fold your quilt neatly and place it in a breathable storage bag or box. You can also store your quilt on a shelf or in a closet.
- If possible, avoid storing your quilt for long periods of time. Take it out and dry it regularly to prevent mold or odors.
Frequently Asked Questions
A. What is the easiest way to finish your quilt?
The easiest way to finish your quilt depends on your skill level and the tools you have available. Machine binding is usually the easiest option for beginners. It is quick and relatively easy to do with a sewing machine. Another option is to use a pre-made binding, which can be sewn by machine or by hand.
B. How to use batting in a quilt?
The batting is sandwiched between the quilt facing and backing fabric. It provides warmth and loft to the quilt. To use batting, cut it to the same size as the quilt facing and lining. Turn the lining fabric wrong side up, place the batting on top, and then turn the quilt facing right side up. Sew the layers together before sewing.
C. Which side of the batting goes next to the quilt facing?
The smooth side of the batting usually goes next to the quilt facing. This provides a more even surface for sewing and makes the quilt look nicer. However, some sewists prefer to use the rough side next to the quilt facing for a different texture.
D. Is the rough side of the batting facing up or down?
The rough side of the batting can face up or down, depending on your preference. Some sewists prefer to have the rough side facing up for a more textured look, while others prefer to have it facing down for a smoother finish. Try different directions to see which you like best.
Conclusion
All in all, finishing a quilt with batting is a rewarding and enjoyable process. Follow the steps outlined in this article and take your time, and you can create a beautiful and unique quilt that will be treasured for years to come. Whether you’re a beginner or an experienced quilt maker, there’s always something new to learn and explore in the world of quilt making. So gather your materials, choose a pattern, and get started on your own masterpiece.
If you have any question,pls fell free to contact us!
