Quilting is not just a hobby; it’s an art form that allows you to express your creativity while creating something practical and beautiful. How to Square Fabric for Quilting, before you can start piecing together your quilt blocks, you need to ensure that your fabric is properly squared.
In this comprehensive guide, we’ll walk you through the step-by-step process of squaring fabric for quilting, whether you’re a novice or a seasoned quilter looking to refine your skills.
Preparing Your Workspace for Squaring Up Fabric
Clearing Your Work Area
Before you begin, it’s essential to clear your work area of any clutter. A clutter-free space will allow you to work efficiently and avoid any unnecessary distractions.
Gathering Your Supplies
Next, gather all the necessary supplies for squaring fabric, including a cutting mat, rotary cutter, quilting ruler, and, of course, your fabric. Having everything within reach will streamline the process and make it easier to stay organized.
Preparing Your Fabric
Washing and Ironing
Start by washing and ironing your fabric to remove any creases or wrinkles. This step is crucial as it ensures that your fabric is clean and flat, making it easier to square accurately.
Folding Your Fabric
Once your fabric is clean and pressed, fold it in half lengthwise, aligning the selvages (finished edges) together. Smooth out any wrinkles and ensure that the edges are perfectly aligned.
Aligning the Fabric Edges
With the fabric folded, align the selvage edges carefully, making sure they are flush with each other. Any misalignment at this stage can result in inaccuracies later on, so take your time to ensure everything is perfectly straight.
How to Square Fabric for Quilting?
How to square up fabric for quilting? To square fabric for quilting, follow these step-by-step instructions:
Step 1: Fold Fabric Selvage to Selvage:
Begin by folding the fabric selvage to selvage while lightly pinching between your fingers. This step helps to ensure that the fabric falls flat and aligns properly. Slide the fabric back and forth until it lies flat.
Step 2: Place on Cutting Mat:
Lay the folded fabric on the cutting mat with the fold closest to you and the selvage further away. This positioning will make it easier to work with the fabric as you square it.
Step 3: Fold Fabric Again:
If space restrictions allow, fold the fabric once more to create four layers. Take the folded edge and align it with the selvage edge, ensuring that the fabric is neatly stacked and aligned properly. This step is crucial for accuracy in the squaring process.
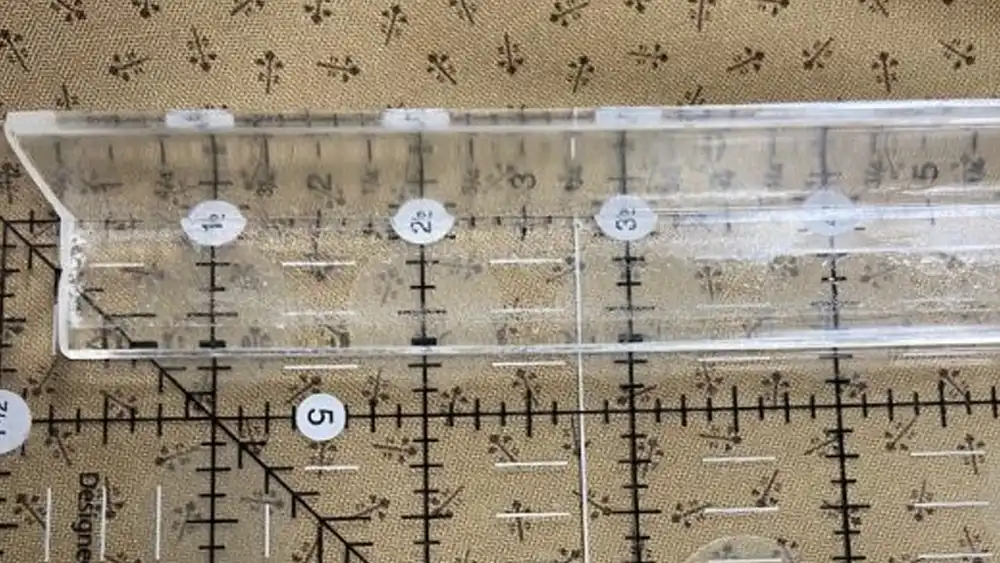
Step 4: Align and Cut Right Edge:
Using a quilting ruler, align it to make a 90-degree angle with the folded edge of the fabric. Ensure that the ruler is straight and positioned correctly before making the cut. Start cutting from the right edge, following along the ruler. It’s helpful to check where all four layers of fabric end to ensure precision and minimize fabric waste.
Step 5: Repeat for Left Edge:
Repeat the same process for the left edge of the fabric. Align the ruler carefully, and cut along the edge to create a straight line. If you’re right-handed, consider using the “second ruler trick” for added stability and accuracy.
Step 6: Trim Selvage:
Finally, trim off the selvage edge of the fabric to complete the squaring process. To ensure a straight cut, adjust the positioning of the fabric and cutting mat as needed. Using two rulers stacked on top of each other can help maintain alignment and achieve a clean cut.
By following these step-by-step instructions, you’ll be able to square fabric for quilting with precision and confidence, ensuring that your quilt blocks come together seamlessly.
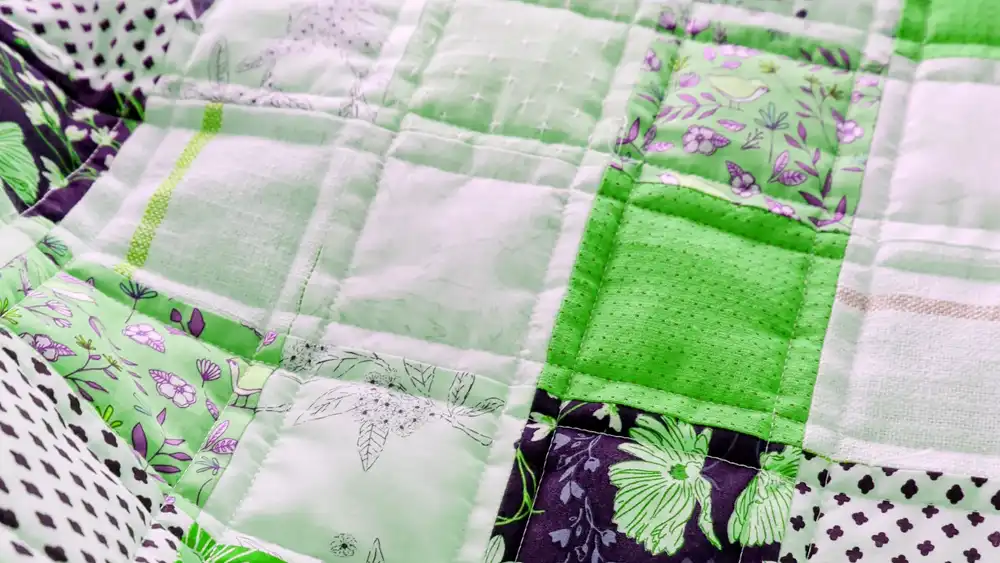
This is also a process of patchwork quilting


Tips for Success for Squaring Fabric
Measure Twice, Cut Once
The old adage holds true in quilting—always double-check your measurements before making any cuts. It’s much easier to fix a mistake before you cut than it is to try and correct it afterward.
Invest in Quality Tools
Quality tools can make a world of difference in the quilting process, especially when it comes to squaring fabric. Invest in a good rotary cutter, quilting ruler, and cutting mat to ensure precise and accurate results every time.
Practice Patience
Quilting requires patience and precision, especially when squaring fabric. Don’t rush through the process—take your time and focus on accuracy, even if it means spending a little extra time at the cutting table.
Common Mistakes to Avoid
Not Squaring Fabric Before Cutting
Skipping the step of squaring your fabric can lead to inaccuracies and misaligned pieces in your quilt blocks. Taking the time to square your fabric properly will result in a more polished finished product.
Ignoring Grainline
Failing to pay attention to the grainline of your fabric can result in distorted quilt blocks and uneven seams. Always square your fabric with the grainline parallel to the selvage edges for optimal results.
Overhandling Fabric
Excessive handling of fabric can stretch or distort it, making it challenging to square accurately. Handle your fabric with care, and avoid unnecessary pulling or tugging during the squaring process.
How Many Fabric Squares to Make a Quilt
Determining the number of fabric squares needed to make a quilt depends on several factors, including the desired size of the quilt, the size of the squares, and the quilt pattern being used. Here are some general guidelines:
- Quilt Size: Decide on the size of the quilt you want to make, whether it’s a lap quilt, twin, queen, or king-sized quilt. The larger the quilt, the more fabric squares you’ll need.
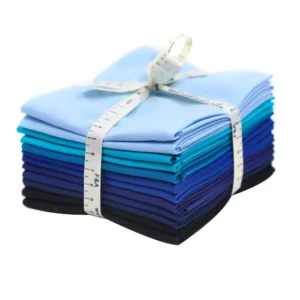
- Square Size: Choose the size of the fabric squares you’ll be using in your quilt. Common sizes range from 2.5 inches to 10 inches, with 5-inch and 10-inch squares being popular choices for pre-cut fabric packs.
- Quilt Pattern: Consider the quilt pattern you’ll be using. Some patterns, like simple patchwork designs, may require a large number of squares, while others, like strip quilts or appliqué designs, may require fewer squares.
- Quilt Block Size: If you’re making quilt blocks from squares, determine the finished size of each block and calculate how many squares you’ll need for each block. Then multiply that number by the total number of blocks required for the quilt.
- Extra Squares: It’s always a good idea to have some extra fabric squares on hand for mistakes, design changes, or to add variety to your quilt.
To calculate the exact number of fabric squares needed for your quilt, use the following formula:
Number of Fabric Squares=Quilt Size (in inches)Square Size (in inches)×Total BlocksNumber of Fabric Squares=Square Size (in inches)Quilt Size (in inches)×Total Blocks
Remember to round up to the nearest whole number to ensure you have enough fabric squares for your project. Additionally, consider adding a few extra squares to your total to account for any errors or design changes along the way.
How to Cut Fabric Squares for Quilting

Cutting fabric squares for quilting requires precision and attention to detail to ensure your quilt blocks come together seamlessly. Here’s a step-by-step guide on how to cut fabric squares for quilting:
- Preparation: Start by preparing your workspace. Clear off any clutter and ensure you have a clean, flat surface to work on. Gather all the necessary supplies, including your fabric, cutting mat, rotary cutter, and quilting ruler.
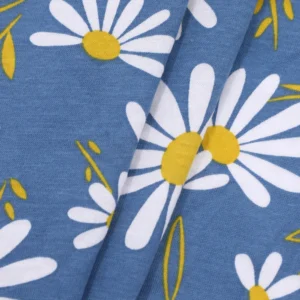
- Fabric Selection: Choose the fabric you want to use for your quilt squares. Consider the color scheme, print, and texture of the fabric, keeping in mind how it will complement the overall design of your quilt.
- Fabric Preparation: Before cutting, wash and press your fabric to remove any wrinkles or creases. This step ensures that your fabric squares will be flat and uniform in size.
- Cutting Mat Setup: Place your cutting mat on your workspace, ensuring it’s large enough to accommodate the size of fabric squares you’ll be cutting. Position it so that it’s stable and won’t shift while you’re cutting.
- Fabric Folding: Fold your fabric in half lengthwise, aligning the selvage edges (finished edges) together. Smooth out any wrinkles and ensure that the fabric is flat and evenly folded.
- Squaring the Fabric: With the fabric folded, align the selvage edges carefully, making sure they are flush with each other. This step ensures that your fabric squares will be cut accurately and without distortion.
- Cutting: Place your quilting ruler on top of the folded fabric, aligning it with the desired size of your fabric squares. Use your rotary cutter to make a clean, straight cut along the edge of the ruler. Repeat this process until you have cut all the fabric squares you need for your quilt.
- Checking for Accuracy: After cutting, unfold your fabric squares and lay them out flat on your workspace. Use a quilting ruler to measure the dimensions of each square, ensuring they are all the same size and free from any irregularities.
- Trimming Selvage: If necessary, trim off the selvage edges of the fabric squares using your rotary cutter and quilting ruler. This step ensures that your quilt blocks will have clean, finished edges when pieced together.
- Organizing: Once you’ve cut all your fabric squares, organize them by color, print, or size, depending on your quilt design. This will make it easier to assemble your quilt blocks later on.
By following these steps, you’ll be able to cut fabric squares for quilting with precision and confidence, laying the foundation for a beautiful and cohesive quilt.
FAQs
Can I square fabric without a rotary cutter?
While a rotary cutter is the preferred tool for squaring fabric due to its precision, you can also use fabric scissors, albeit with slightly less accuracy.
How do I know if my fabric is square?
You can check if your fabric is square by measuring the diagonals. If they are equal, your fabric is square.
Can I square multiple layers of fabric at once?
It’s not recommended to square multiple layers of fabric at once, as this can lead to inaccuracies. It’s best to work with one layer at a time for optimal results.
What should I do if my fabric is too large for my cutting mat?
If your fabric is too large for your cutting mat, you can fold it into smaller sections and square each section individually.
Do I need to square fabric for every quilting project?
While it’s not always necessary to square fabric for every project, doing so can help ensure more accurate and professional-looking results, especially for intricate quilt blocks.
Can I square stretchy or knit fabrics?
Squaring stretchy or knit fabrics can be more challenging due to their elasticity. However, with proper care and handling, it is possible to square these types of fabrics effectively.
Conclusion
Squaring fabric is a fundamental skill in quilting that sets the foundation for beautifully pieced quilt blocks. By following the step-by-step process outlined in this guide, you’ll be able to square your fabric with precision and confidence, resulting in quilts that are as stunning as they are functional. Remember to take your time, use quality tools, and practice patience—the key ingredients to quilting success.