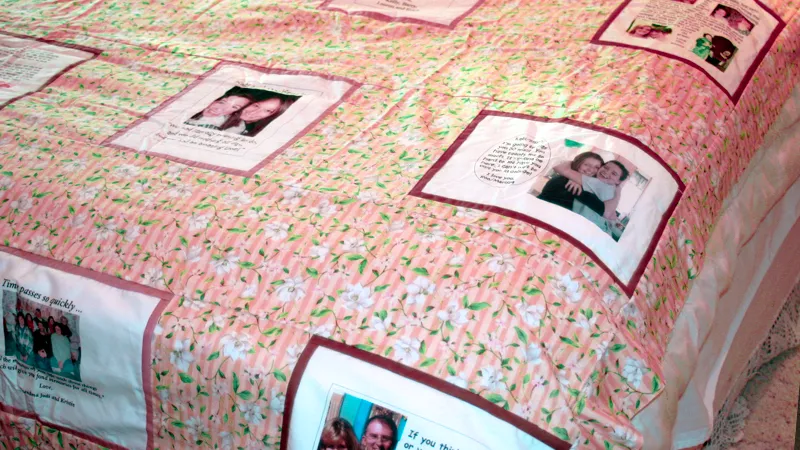
Quilting is a marvelous art form with endless design possibilities. One unforgettable way to make your quilts stand out is by using personal photos. However, ensuring the safe transfer of these photos onto fabric is crucial for the durability of your quilt.
How to Transfer Photos Onto Fabric for Quilting?
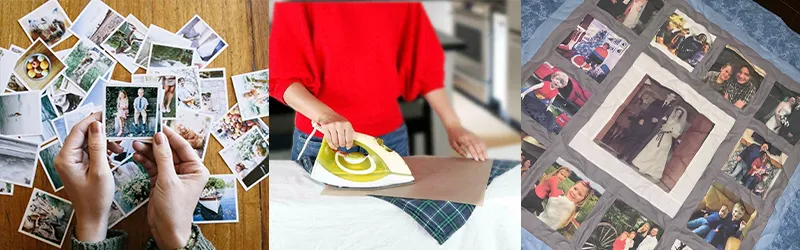
First and foremost, choosing high-quality fabric is key. Premium fabric not only accommodates photos better but also ensures the comfort and longevity of the quilt. Next, prepare your photos. Ensure they are clear, high-resolution, and appropriately processed for optimal presentation on fabric.
Then, choose the right transfer method. You can opt for heat transfer, laser transfer, or dye sublimation techniques based on the fabric type and photo characteristics. During the transfer process, ensure proper control of temperature and pressure to avoid photo distortion or damage.
After completing the transfer, proper care and maintenance of the fabric are vital. Depending on the fabric type, select the correct cleaning and maintenance methods to ensure the quilt remains aesthetically pleasing and durable for the long term.
Follow these steps to prepare your materials and try them out!
Different Ways to Transfer Photos to Quilting Fabric
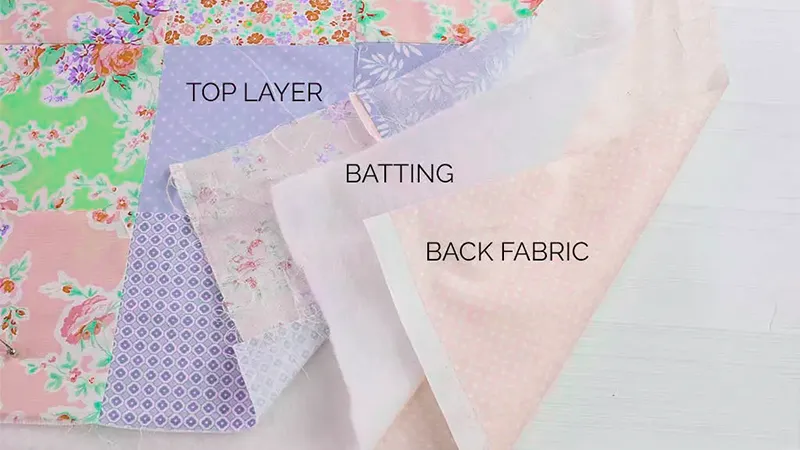
Photo transfer techniques for quilting can be broadly categorized into two main approaches: Iron-On Transfers and Digital Fabric Printing methods.
Iron-On Transfers: This method involves printing photos onto special transfer paper and then using a hot iron to transfer the image onto fabric.
Digital Fabric Printing: Utilizing specialized printers designed for fabric printing, this method allows you to directly print photos onto fabric.
What Should I Prepare for Transfer Photos to Fabric for Quilting?
High-Quality Quilting Fabric. Choose premium fabric suitable for photo transfers, ensuring durability and optimal image presentation.
Transfer Paper: Select transfer paper suitable for your printer and transfer method. Transfer papers come in different types, including light transfer paper for white or light-colored fabrics and dark transfer paper for dark fabrics.
Printer: Ensure you have a printer that is compatible with the type of transfer paper you’re using. Inkjet printers are commonly used for photo transfers.
Clear, High-resolution Photos. Prepare clear and sharp images with high resolution for better results on fabric.
Transfer tools like Electric Irons.
Ironing Flat Table with no fading color.
How to Print Photos on Quilt Fabric by Iron-On?
Step 1: Create and Print Your Design
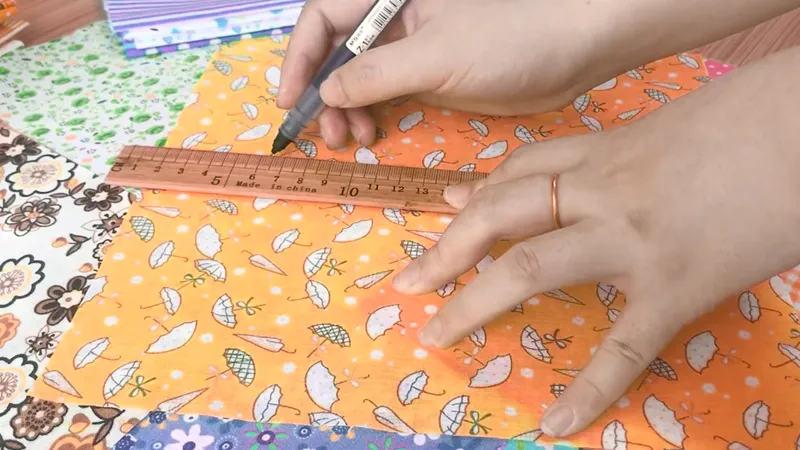
Photo transfer paper is ideal for inkjet printers, making it a preferred option for such projects. Utilize word processing or photo editing software to craft personalized graphics. Remember to mirror or flip any text in your design before printing to ensure it appears correctly when transferred onto fabric.
Step 2: Prep Quilting Fabric
Adjust your iron to medium heat and turn off the steam function. Place a durable, heat-resistant surface such as a spare piece of wood or sturdy cardboard beneath the fabric. For transferring the graphic onto a bag, insert the hard surface between the layers for added protection.
Step 3: Transfer the Photo
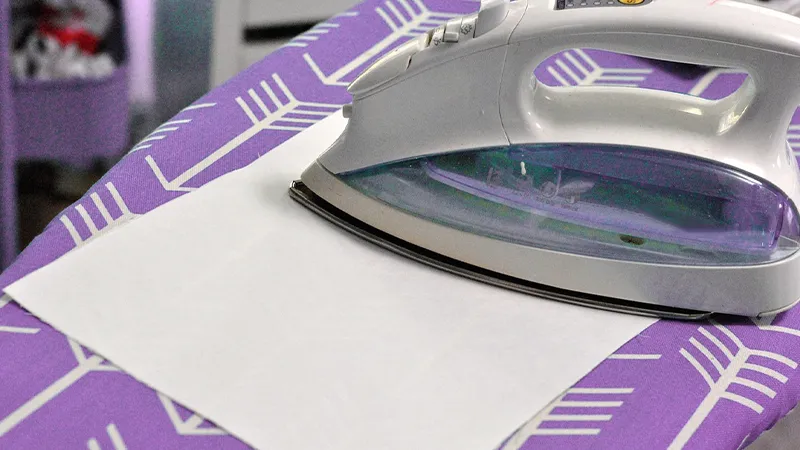
Position the transfer paper, with the design facing downward, at the center of the fabric. Insert a sheet of paper between the iron and the transfer sheet, placing it on the backside of the transfer paper. Apply firm pressure in small circular motions while ironing, ensuring not to pause for more than a few seconds in any area, until the entire surface has been ironed.
Step 4: Reveal Design
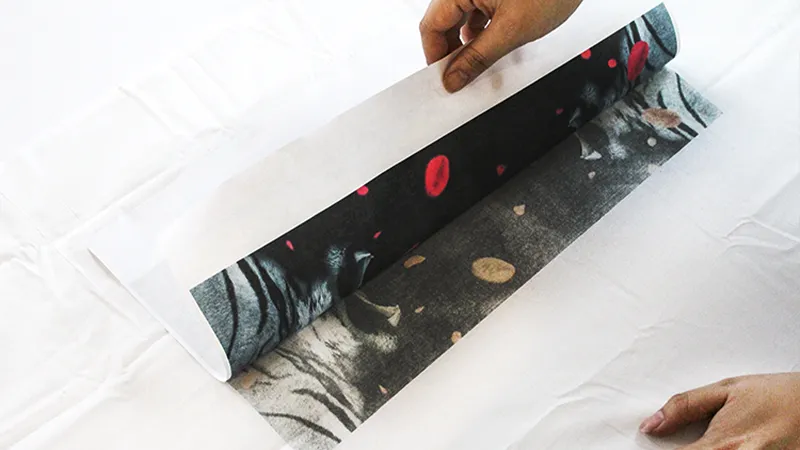
Allow the transfer to cool for a few moments, then gently peel off the backing paper. Allow the transfer paper to cool briefly before carefully peeling off the backing. If certain areas do not release, avoid ironing that spot again, as it may cause the transfer to stick to the paper again, ruining your design. Instead, try to delicately remove the remaining design from the fabric, accepting a slightly distressed appearance.
How to Put a Picture on Fabric Quilt by Digital Fabric Printing
Load the prepared fabric into the digital fabric printer according to the manufacturer’s instructions.
Print the image directly onto the fabric using the printer’s settings for fabric printing. Ensure the fabric is flat and properly aligned for accurate printing.
Once the printing is complete, allow the fabric to dry completely before handling or using it in your quilt.
For individuals’ DIY quilting fabrics, we recommend the first method. The second method is more suitable for quilting fabric wholesalers of a certain scale.
How Do I Wash Quilted Fabric With Photos on It?
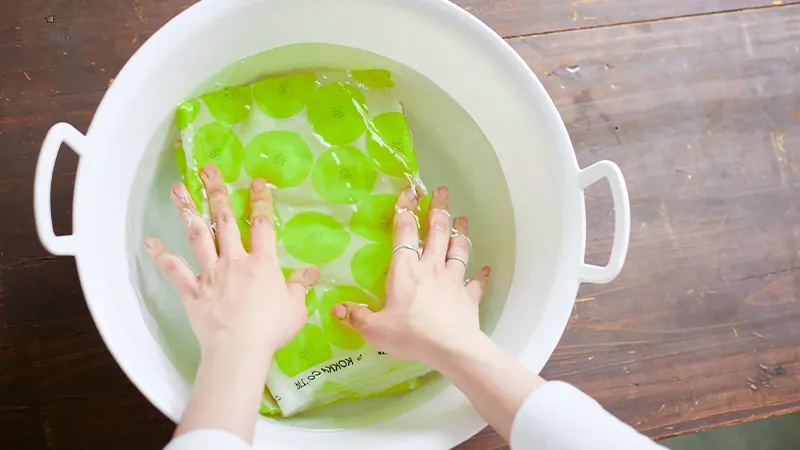
Washing quilted fabric with photos on it requires special care to preserve both the fabric and the transferred images. Follow these steps to ensure your quilted items retain their quality and appearance:
- Wait Before Washing: Allow your quilted fabric to rest for at least 24 hours after the photo transfer process. This time allows the transferred images to fully set and adhere to the fabric fibers.
- Turn Inside Out: Before placing the quilted item in the washing machine, turn it inside out. This helps protect the transferred photos from direct contact with water, detergents, and agitation during the washing cycle.
- Choose a Gentle Cycle: Select a gentle washing cycle on your washing machine. Use cold or lukewarm water to further prevent any potential damage to the fabric or photo transfers.
- Use Mild Detergent: Use a mild detergent that is suitable for delicate fabrics. Avoid using bleach or harsh chemicals that could fade or deteriorate the transferred images.
- Avoid Overcrowding: Avoid overcrowding the washing machine to ensure adequate space for the quilted item to move freely during the washing cycle. This helps prevent excessive friction that could affect the integrity of the transferred photos.
- Skip the Dryer: After washing, avoid putting the quilted fabric with photos directly into the dryer. Instead, gently squeeze out excess water by hand or use a low-speed spin cycle on your washing machine.
- Air Dry Flat: Lay the quilted item flat on a clean, dry towel to air dry. Avoid hanging the fabric with photos as this could cause stretching or distortion of the quilted design or transferred images.
- Avoid Direct Sunlight: When drying, avoid direct sunlight, as prolonged exposure to sunlight can fade both the fabric colors and the transferred images over time.
- Store Properly: Once the quilted fabric is completely dry, store it in a cool, dry place away from direct sunlight and humidity. Proper storage helps maintain the quality and longevity of both the fabric and the transferred photos.
FAQs
Q1: What materials do I need to transfer photos onto fabric?
A1: You’ll need fabric sheets designed for inkjet printers, a printer, scissors, an iron, and optional fabric markers for enhancements.
Q2: Can I use any fabric for photo transfer?
A2: It’s best to use specially coated fabric sheets or cotton fabric for better results.
Q3: Which printing method is best for photo transfer?
A3: Inkjet printers are commonly used as they can print high-quality images onto fabric sheets.
Q4: Do I need to prepare the photos before printing?
A4: Yes, adjust the resolution and size as needed. Higher resolutions yield better results.
Q5: How do I transfer the photo onto fabric?
A5: Print the photo onto the fabric sheet, then fix it with heat from an iron according to the product’s instructions.
Conclusion
Quilting with transferred photos adds a personal touch and cherished memories to your creations. By these steps for transferring and caring for photos on fabric, you can create stunning quilts that not only showcase your artistic skills but also preserve special moments for years to come.
Enjoy the process of quilting and sharing your unique stories through your beautiful creations!